Sublynk Contractor Onboarding and Profile Setup
A comprehensive guide to creating a contractor account, setting up your company profile, uploading compliance documents, and joining networks in Sublynk.
In this guide
Sublynk features three main account types: Network accounts for managing subcontractors, Contractor accounts for managing individual profiles, and Franchisor accounts, which allow you to manage multiple child organizations from a single login without needing separate credentials.
To manage your contractors/subs credentialing in Sublynk, we capture your specific compliance requirements and create your organization's network profile. Once that's complete, we will craft your messaging to invite your subs to start credentialing.
To build our TPA/MRN network compliance enforcements, we learn the granular requirements such as insurance limits, endorsements, background checks, credentials, and contracts. Once setup, your bench will be ready.
When someone gets an invite into Sublynk, before they can interact with your organization, we go through an account setup where we grab their legal business name, DBA, and EIN. Immediately in the background we conduct checks to get more information from the secretary of state and IRS , including liens and bankruptcies.
Account Creation and Organization Setup
Step 1
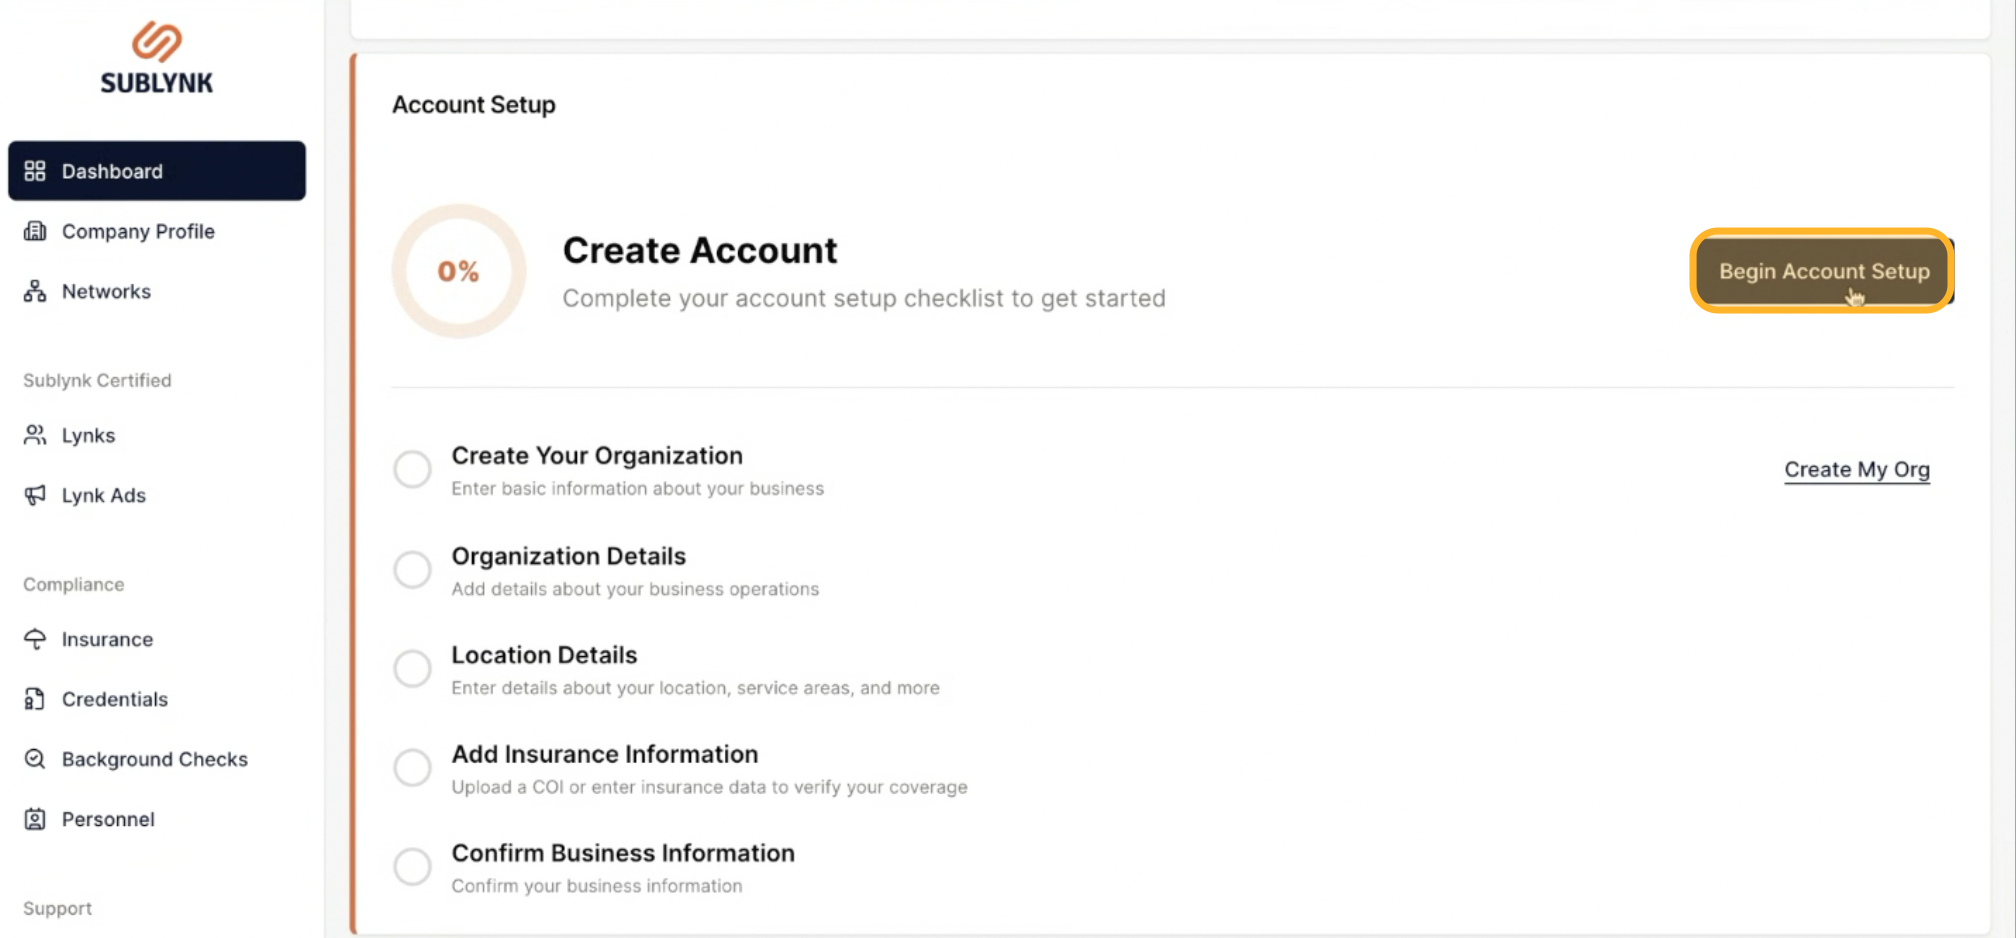
First, navigate to your dashboard to begin the setup process. Then on the top right hand corner, click Begin Account Setup.
Step 2
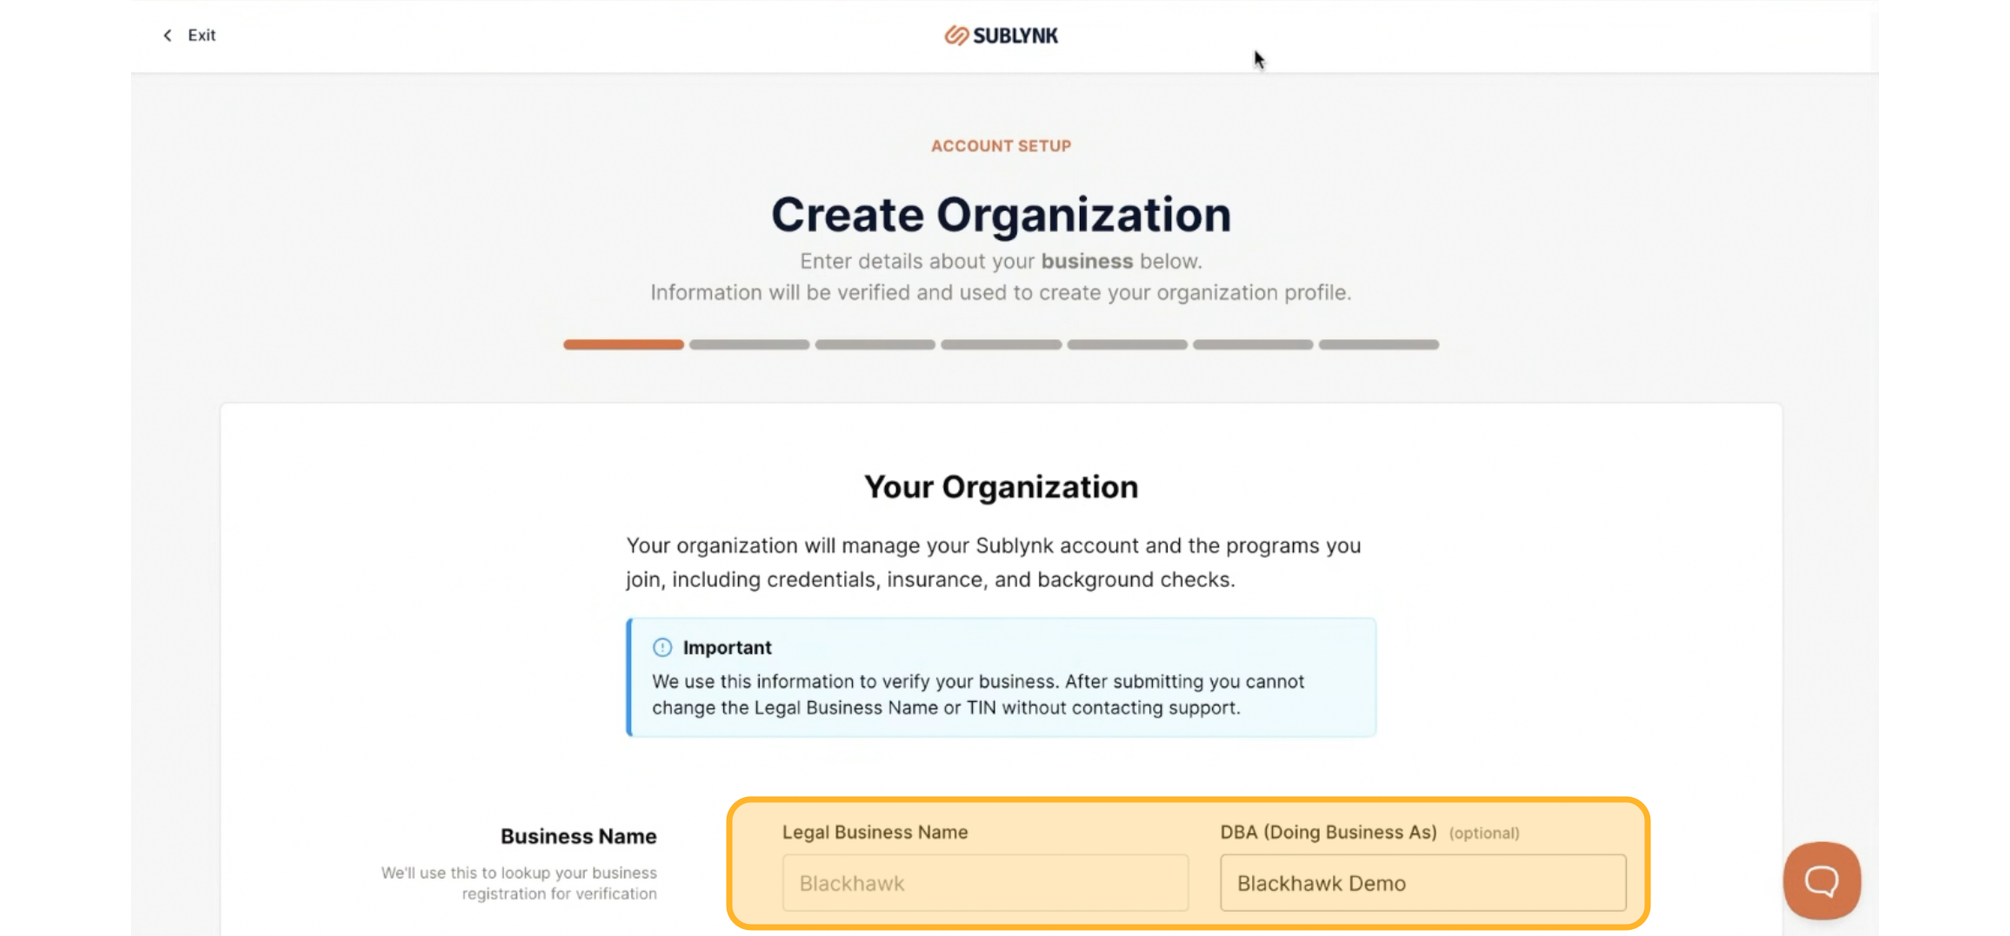
Creating your organization is easy. Start by adding your legal business name and optionally your DBA.
Step 3
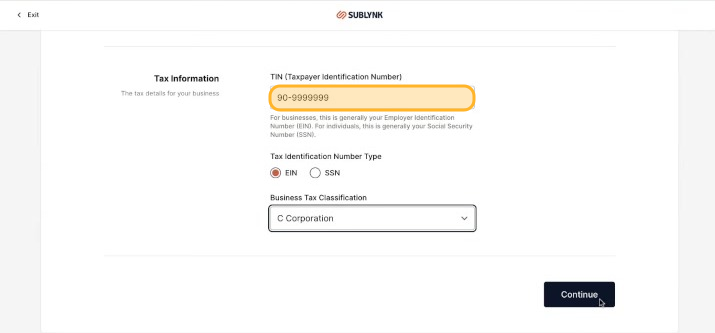
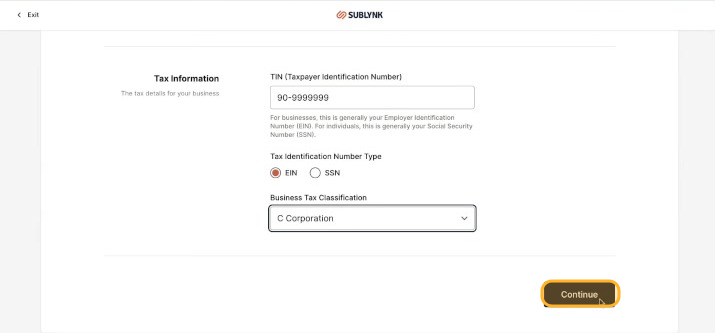
Then, enter your Tax ID.
Step 4
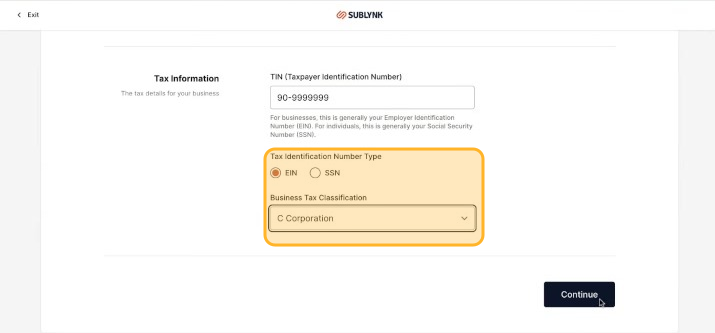
Choose the tax ID type and select your business tax classification.
Step 5
Click Continue.
Step 6
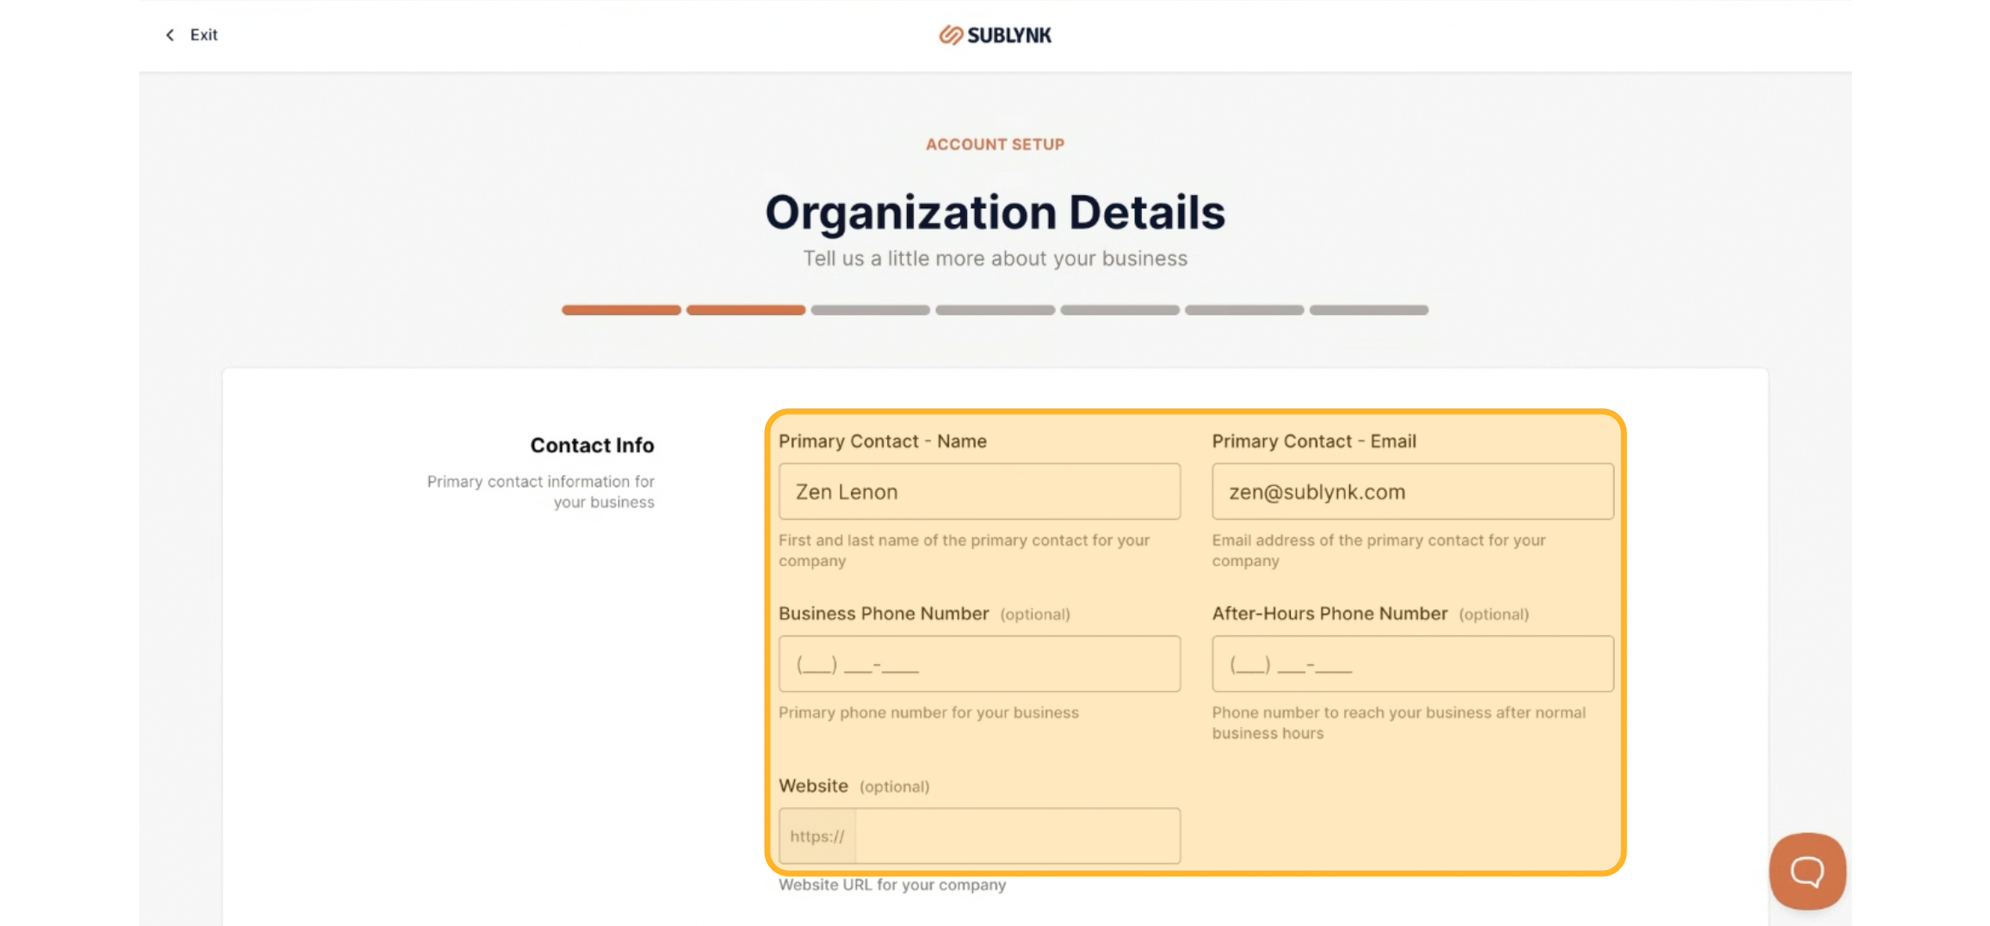
On the next section, add your organization details: primary contact, email, business phone number, after-hours phone number, and website.
Step 7
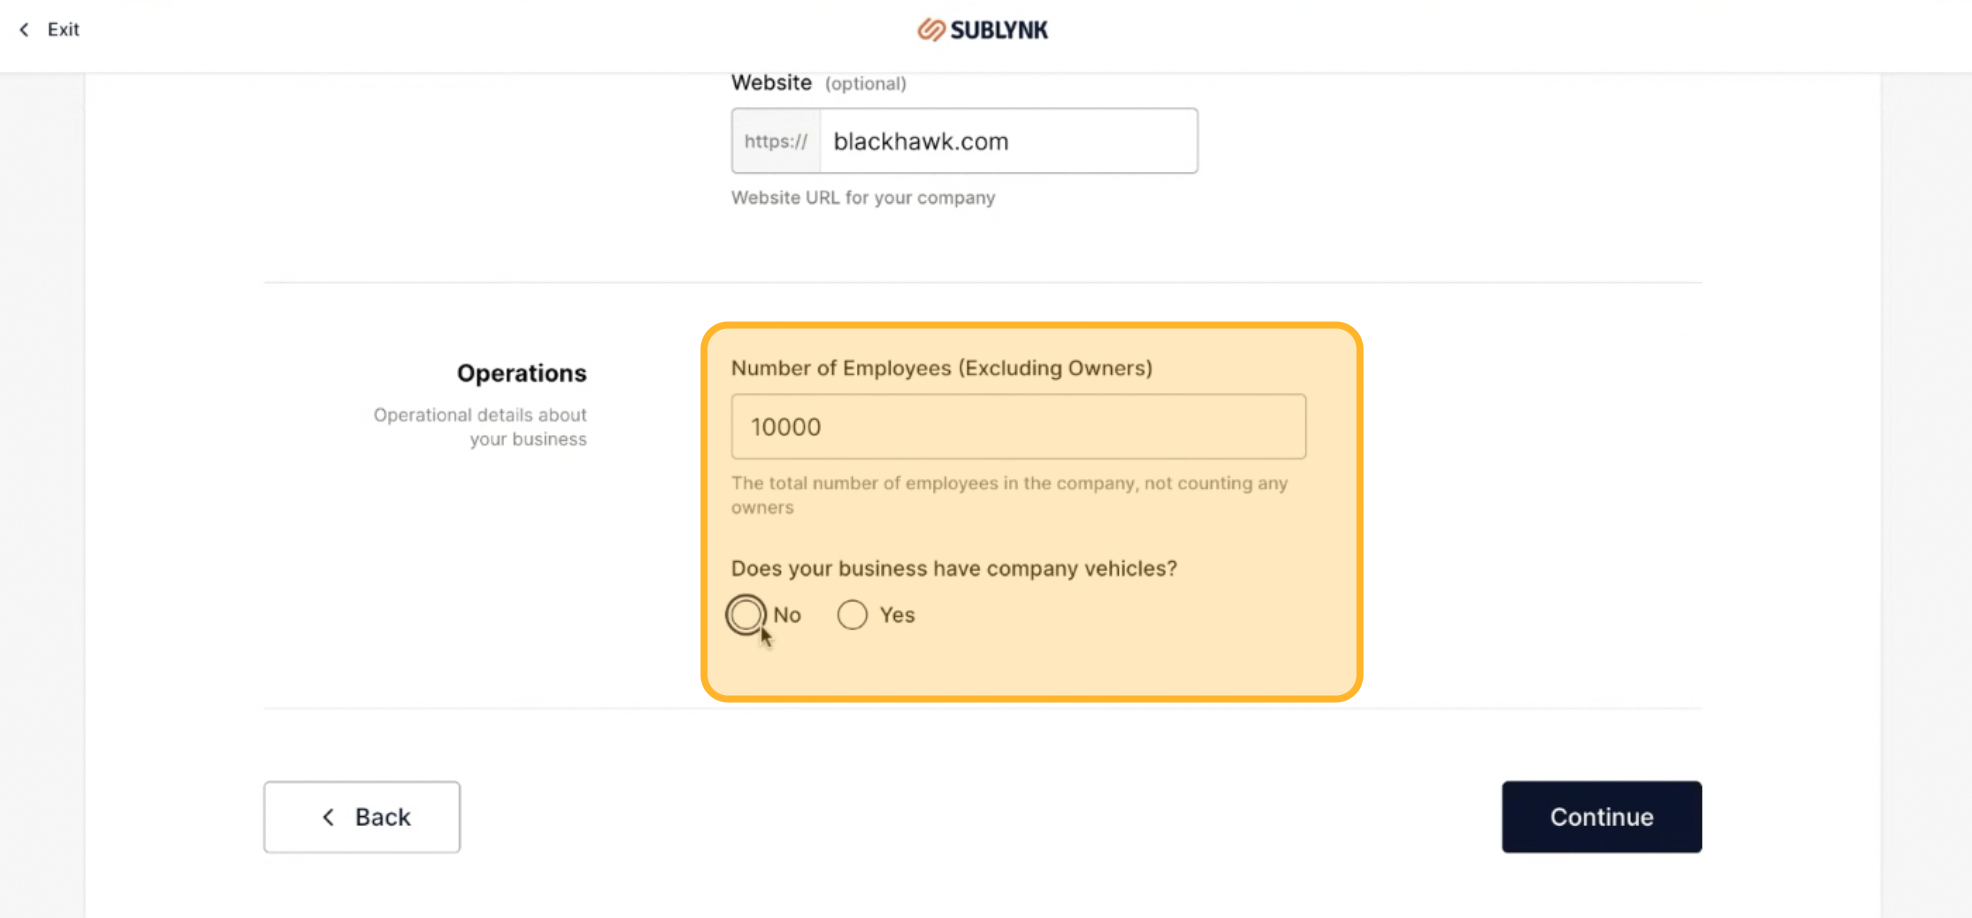
Add your operation details , number of employees and whether your business has company vehicles for insurance purposes. Then click Continue.
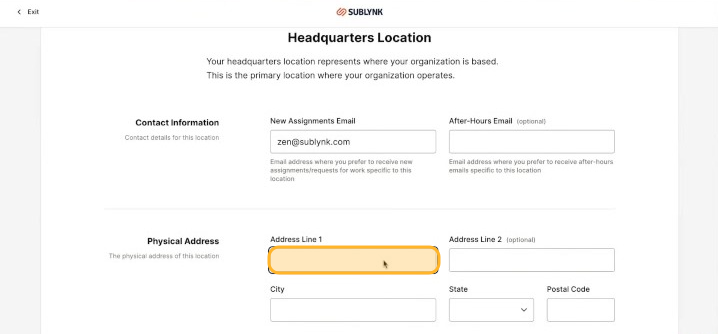
Step 8
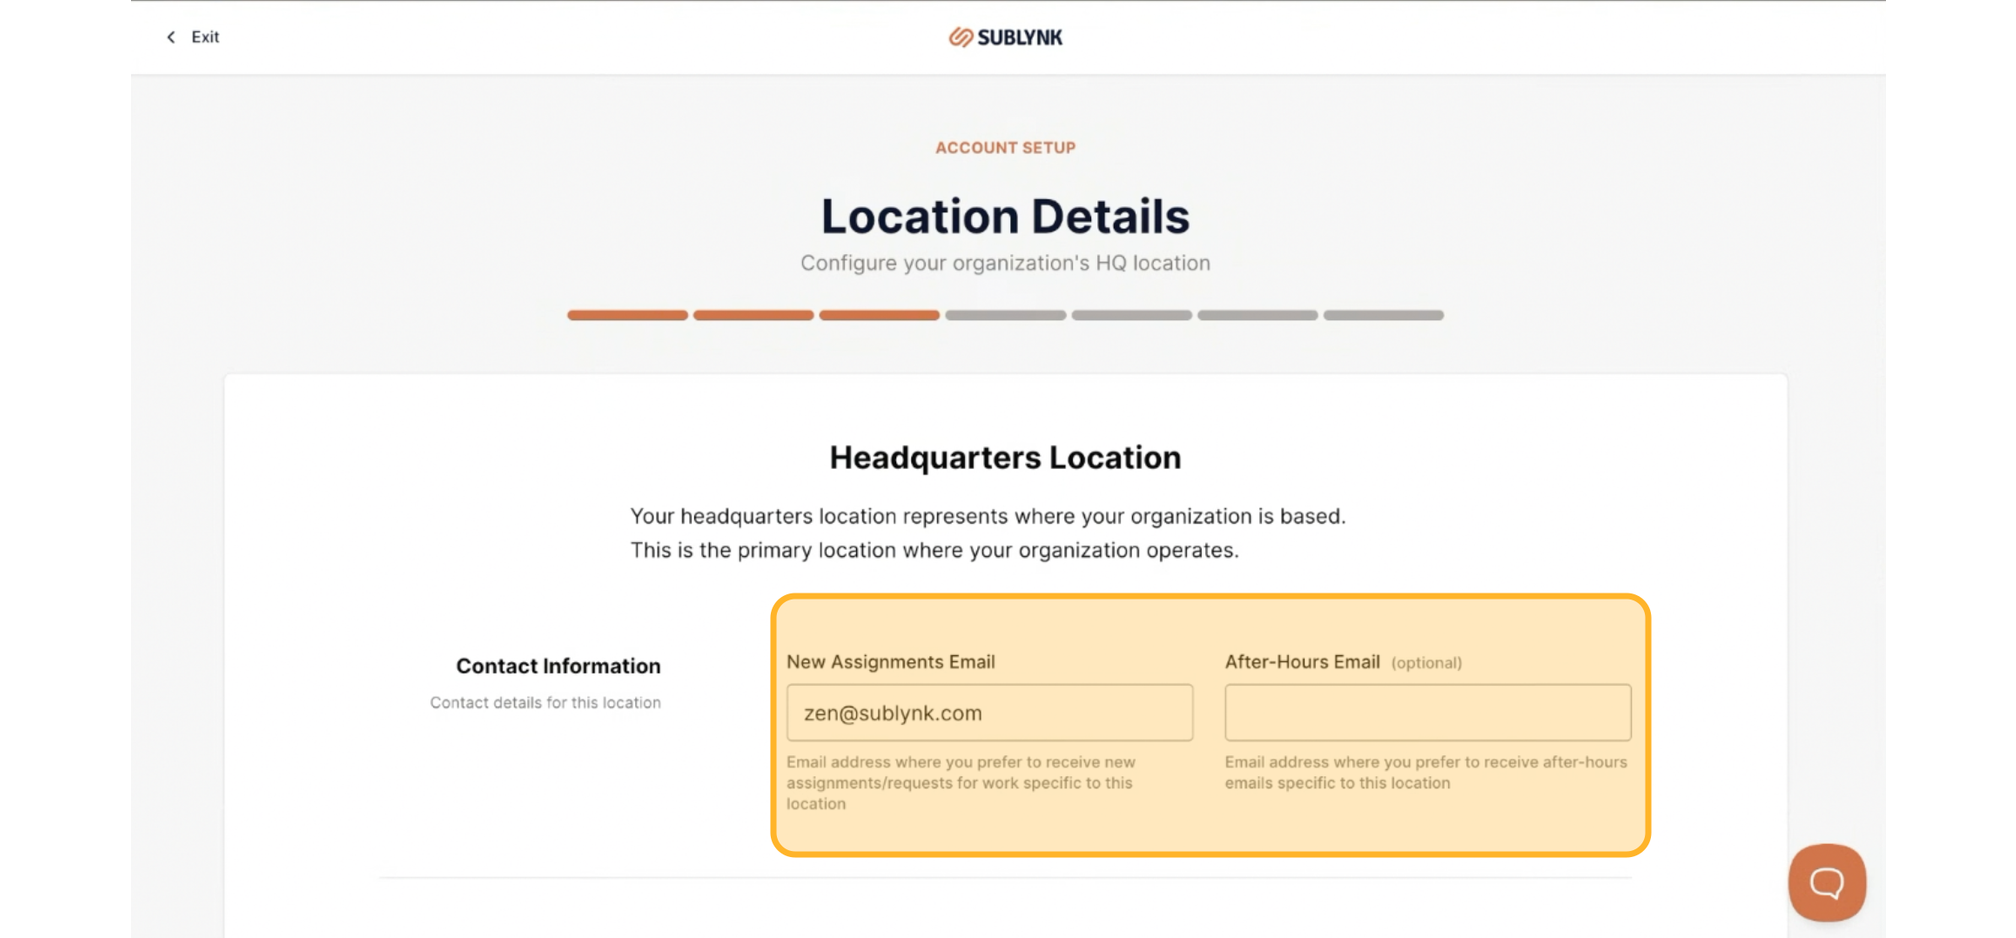
Location details allow you to configure your organization's HQ. Add an assignment email and an after-hours email.
Step 9
Fill out your company's demographic information , number of employees and whether your business deals with insurance.

Step 10
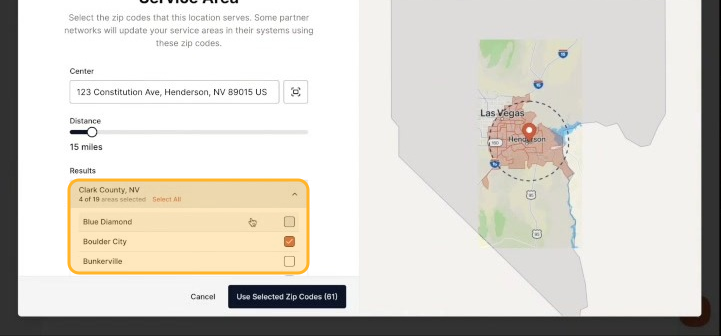
Select your mailing address and service areas. Indicate if this location is available 24/7. Add the states you service or paste zip codes directly.

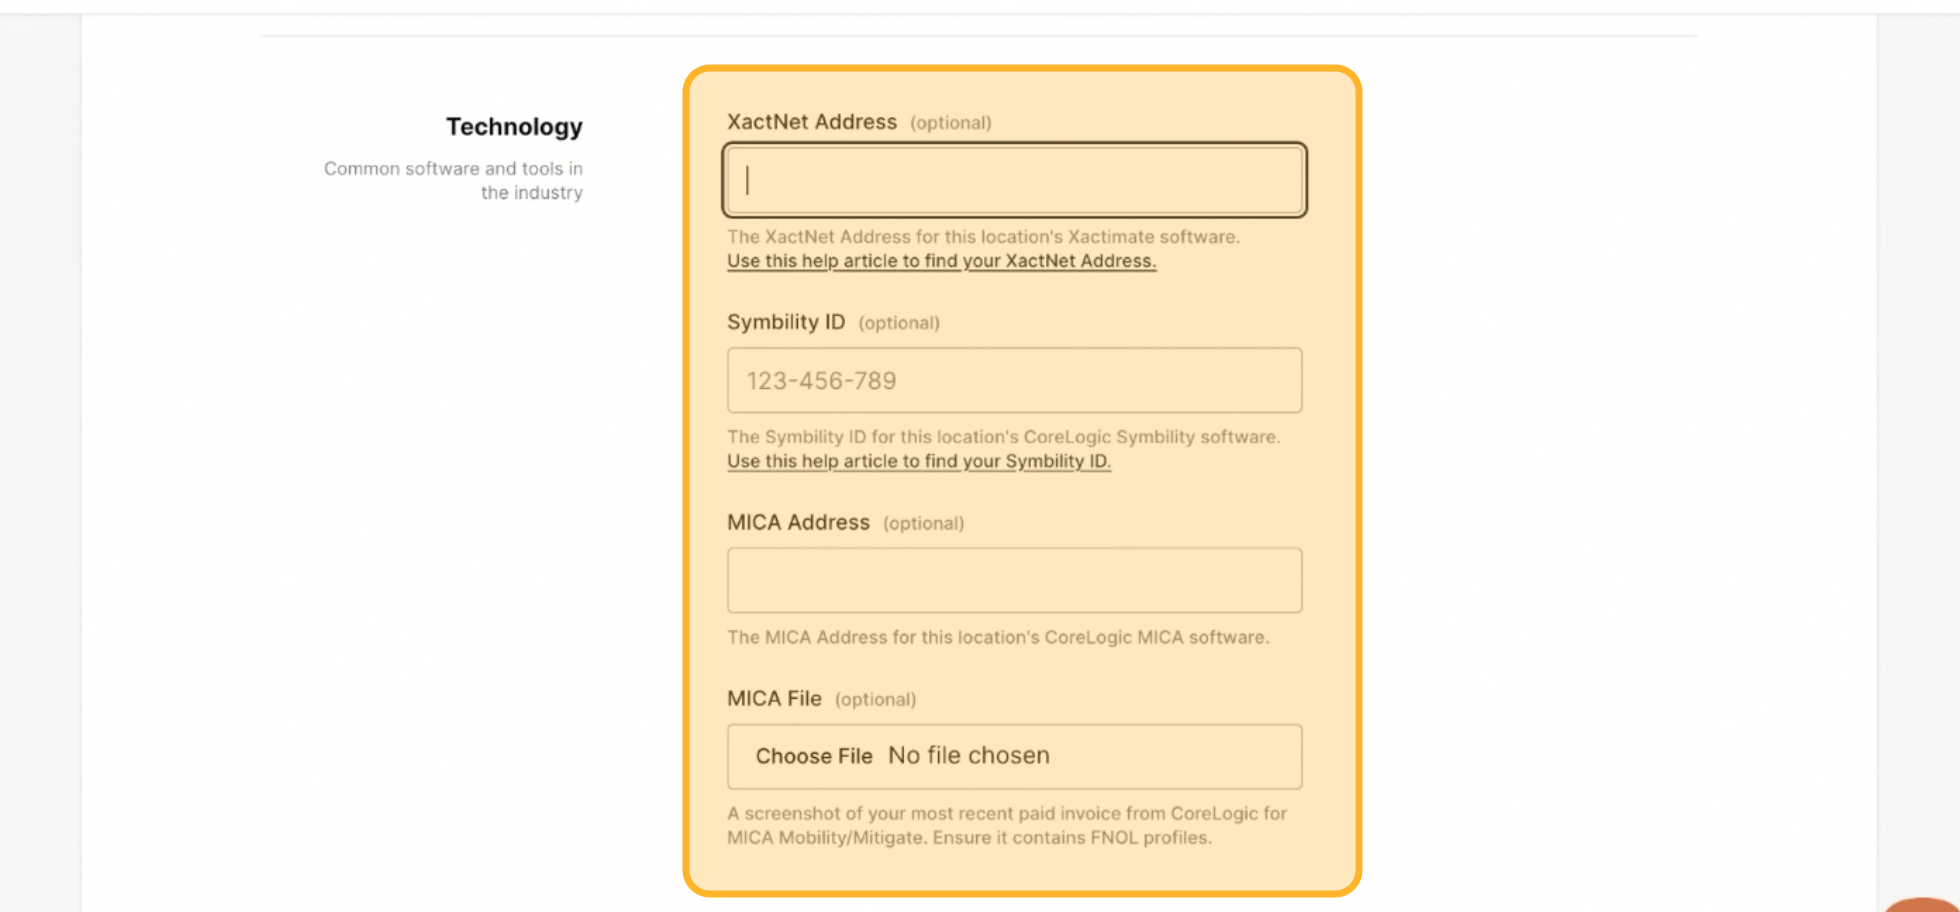
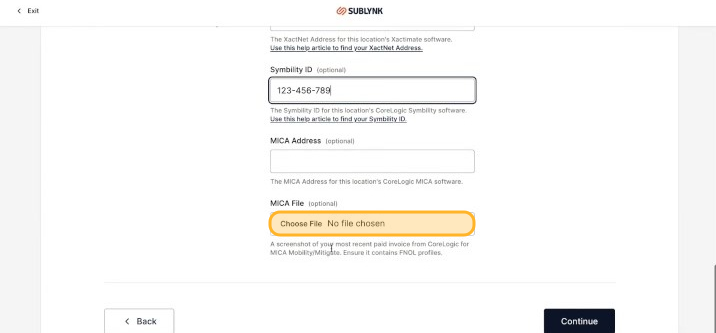
Step 11
Common software and tools in the industry can be integrated by completing the required details.
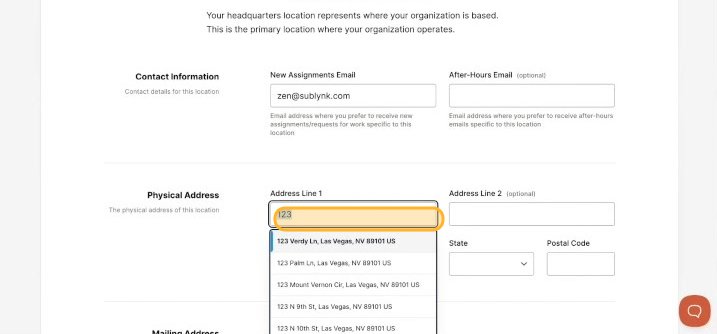
Step 12
Enter your headquarters address.
Step 13
Select the states you service. It's recommended to select states that require specific licenses, such as Tennessee or Nevada. Multi-location management is also available.
Step 14
Upload a license file for the states you selected in the previous step.
Step 15
Enter your service area zip codes. Use the convenient selector tool to pick specific cities, counties, or districts.
Uploading Certificates of Insurance (COI)
Step 1
Upload your Certificate of Insurance (COI) files into the system.
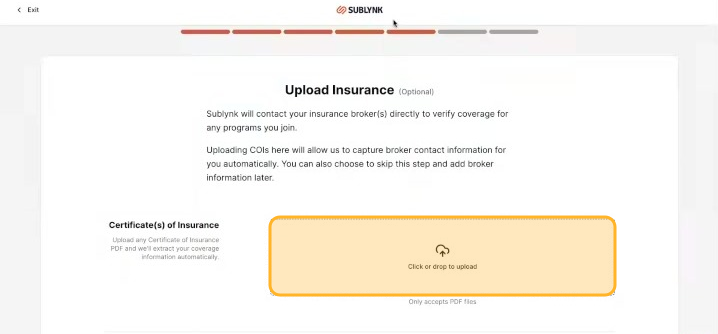
Sublynk uses AI to scan COIs in seconds. It automatically checks for auto, liability, pollution, umbrella, and workers' comp coverage, as well as reading endorsements. If any requirements are missing, the system immediately notifies the agent or broker , reducing review cycle time from an average of 13 days to 5 minutes.
Note: COIs uploaded directly by contractors are considered informational only, not authoritative, due to the risk of fraud. For a COI to be authoritative, it must be provided directly by the insurance agent or broker.
Managing Users and Company Profile
Step 1
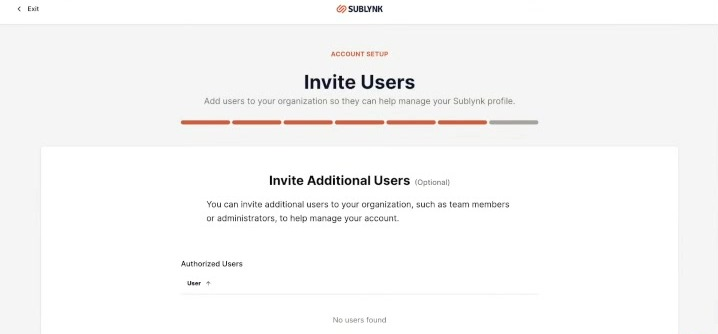
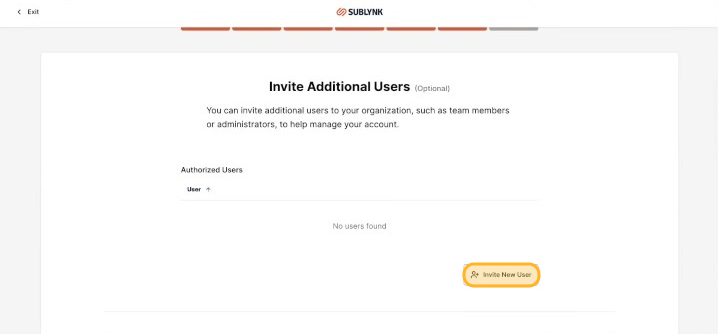
To add more team members, navigate to the Invite Additional Users section.
Step 2
Send out invitations to your team members.
If a Tax ID is rejected twice during validation, the user will be prompted to upload an official IRS form for manual review. No one is allowed to enter Sublynk unless they are a valid and verified business , to prevent fraud, reduce risk, and prevent bad actors.
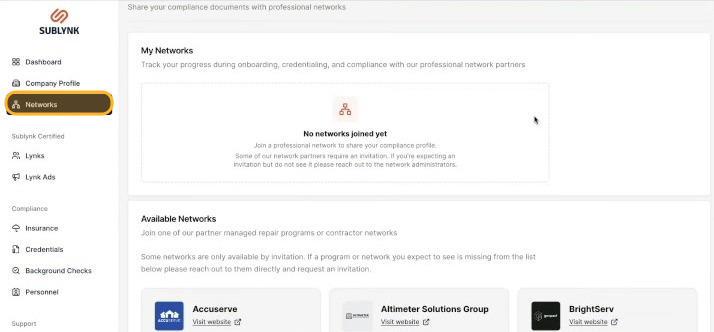
Joining a Network
Step 1
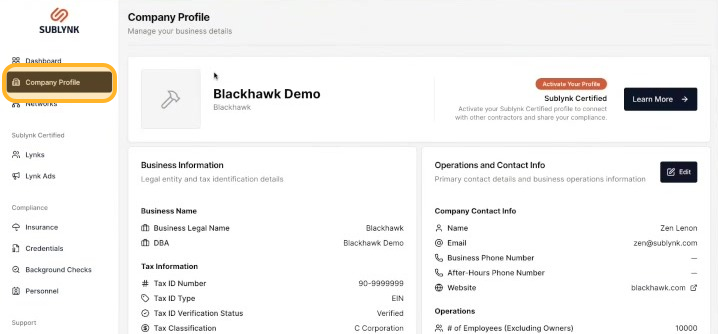
Navigate to the Company Profile page , your organization's public-facing profile where you can edit company info, add locations, and update services.

Step 2
Click on the Networks tab. Here you'll see a list of available networks you can request to join.
Step 3
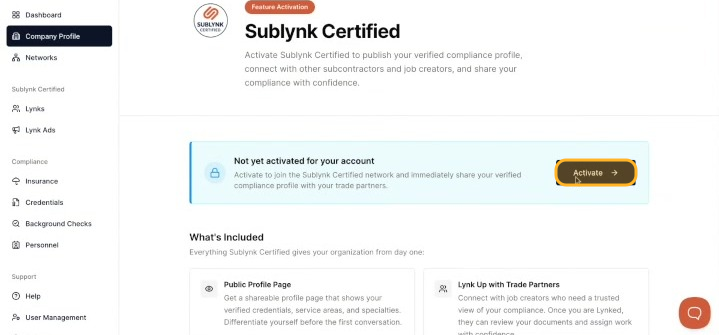
To join the Sublynk Certified Network, return to your Company Profile.
Step 4
Click Activate.
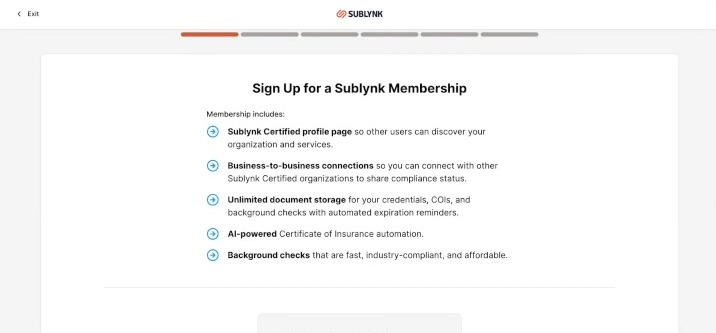
Step 5
Follow the prompts to sign up for the network.
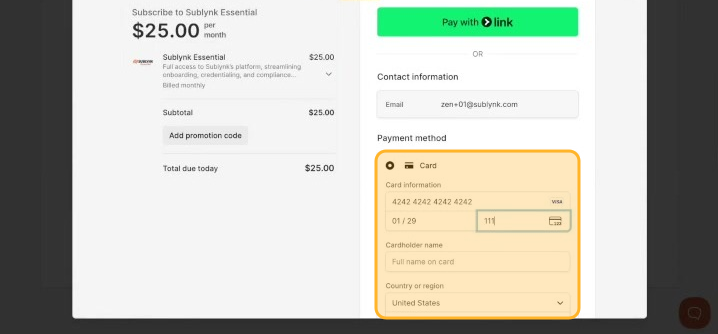
Step 6
Enter your payment information to complete the process.
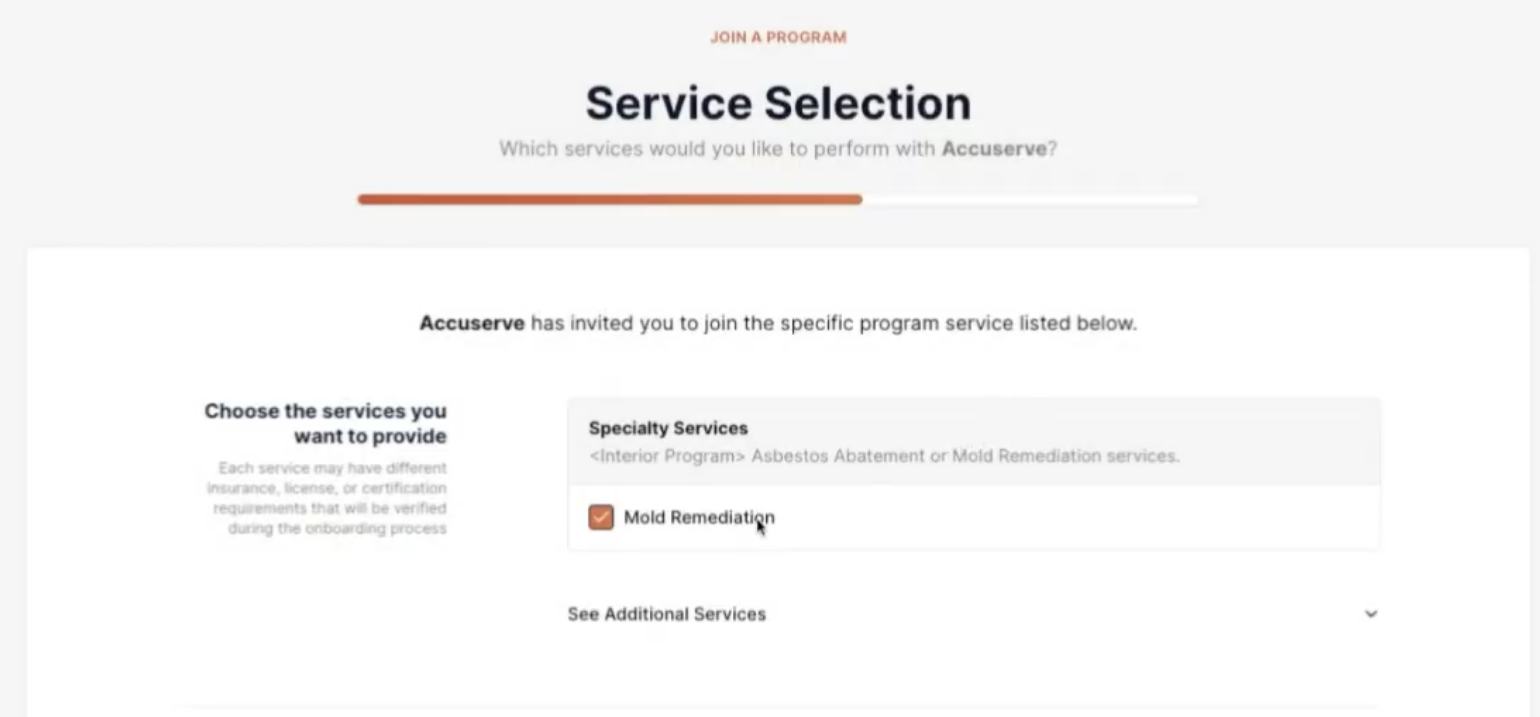
Step 7
Select the services you perform. You can opt into additional services.
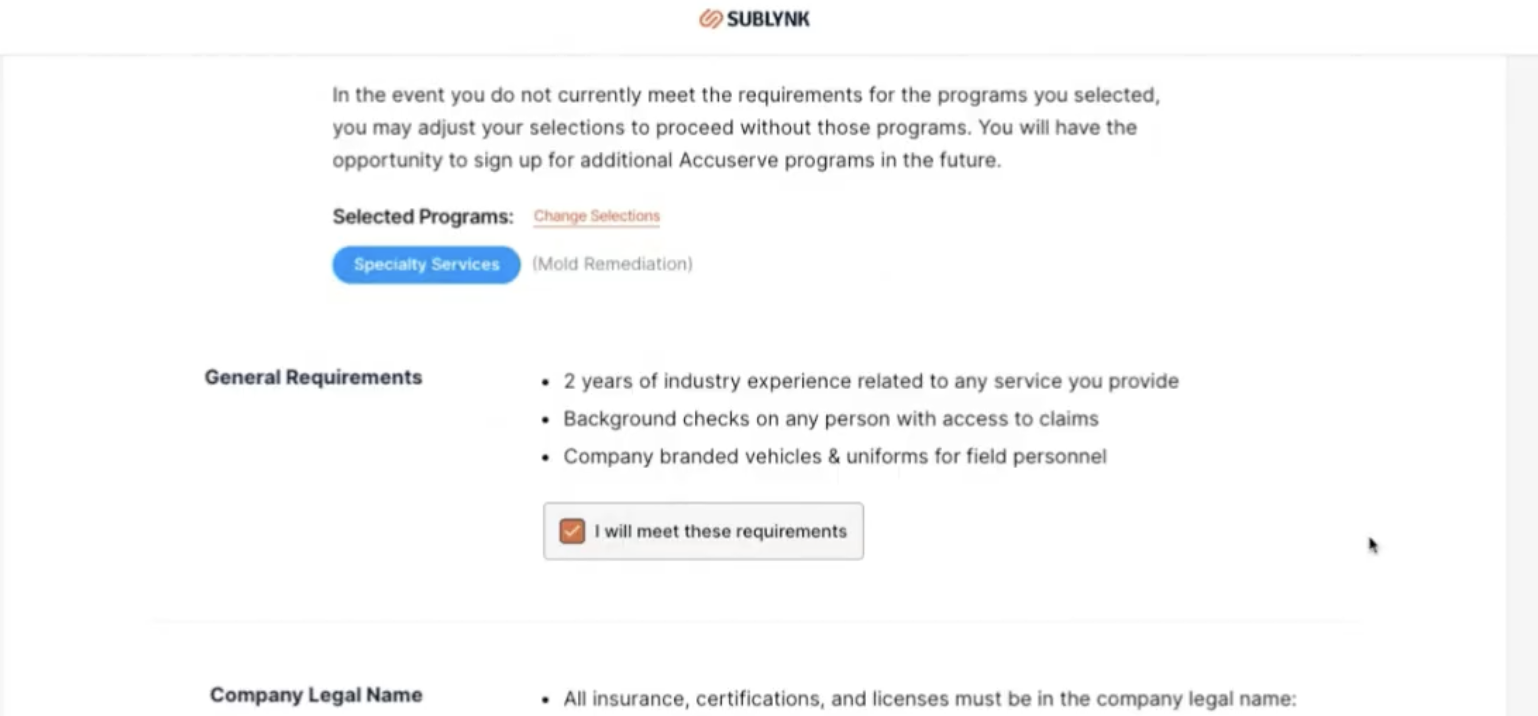
Step 8
Based on selected services, you will see the general requirements and minimum insurance requirements such as CGL, Worker's Comp, Automobile, and Pollution Liability.
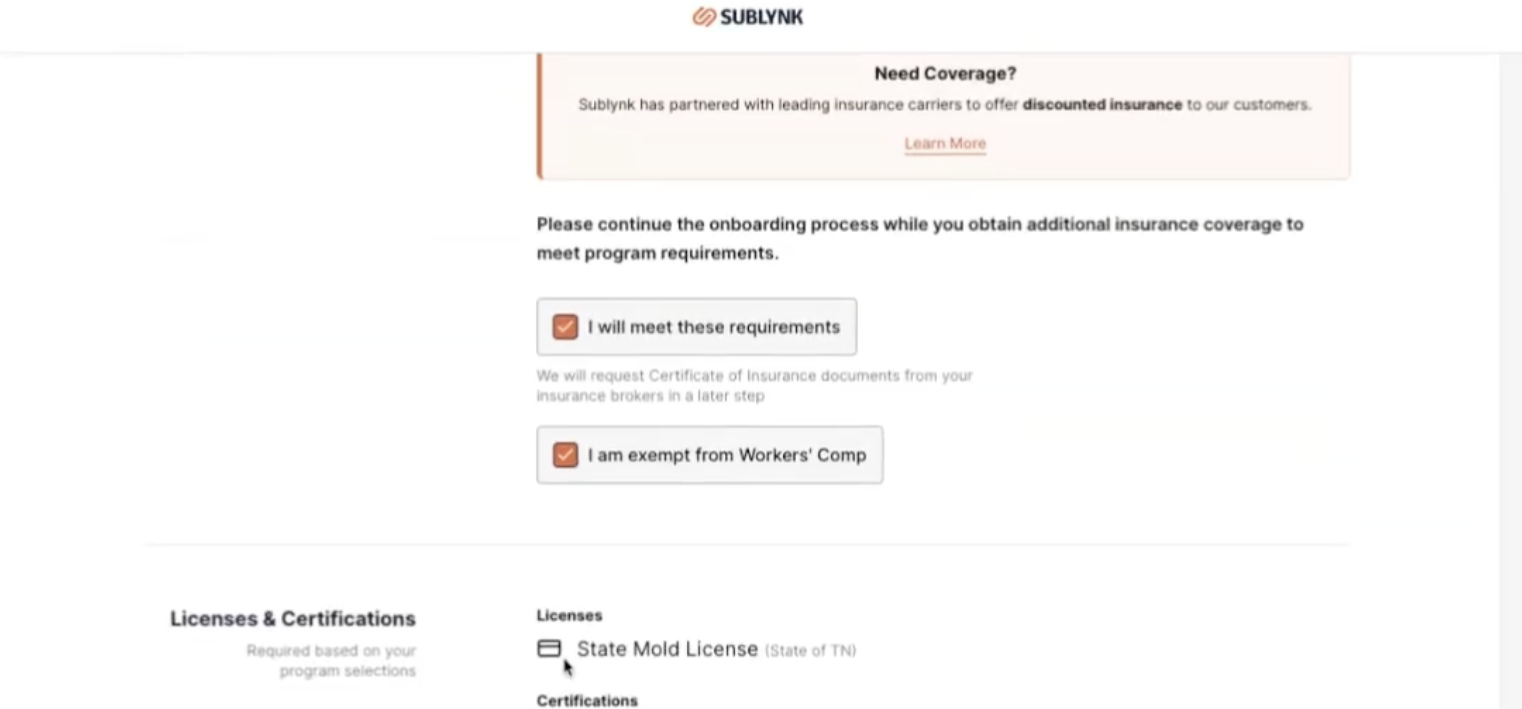
Step 9
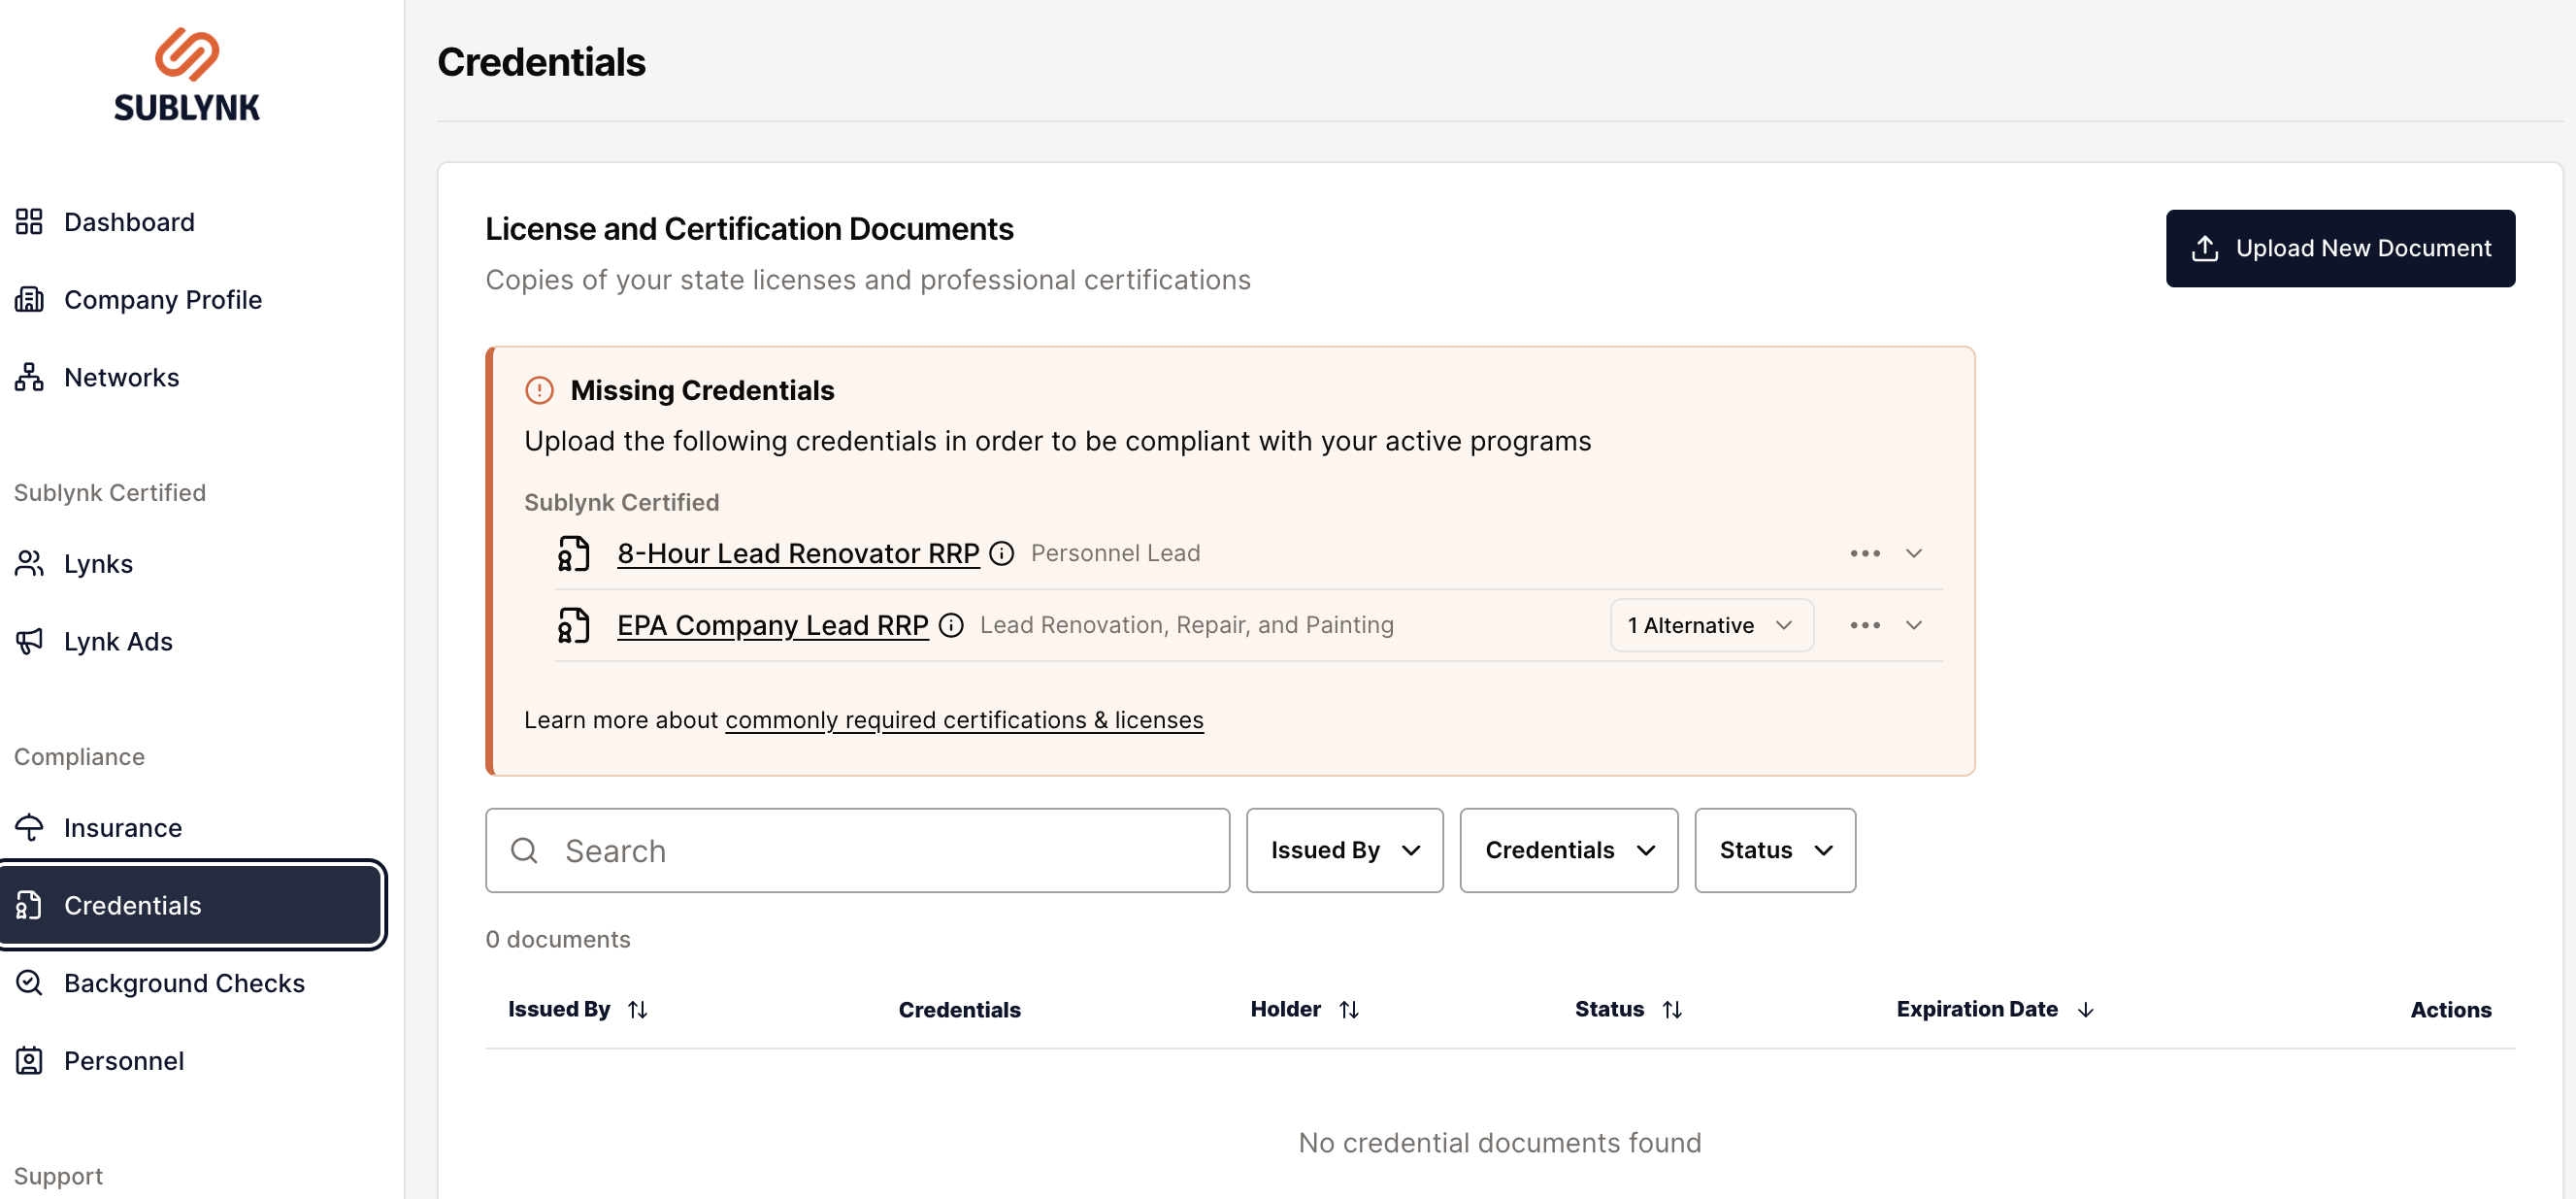
Below insurance, you'll find licenses and certifications required by the network (e.g., state mold license, IICRC, RRP, EPA/Lead RRP).
Step 10
Bi-lateral contracts between the network and contractor include a W9, agreements, indemnifications, background check attestations, and workers' comp attestations. Requirements depend on the network's compliance criteria.
Credentialing
Step 1
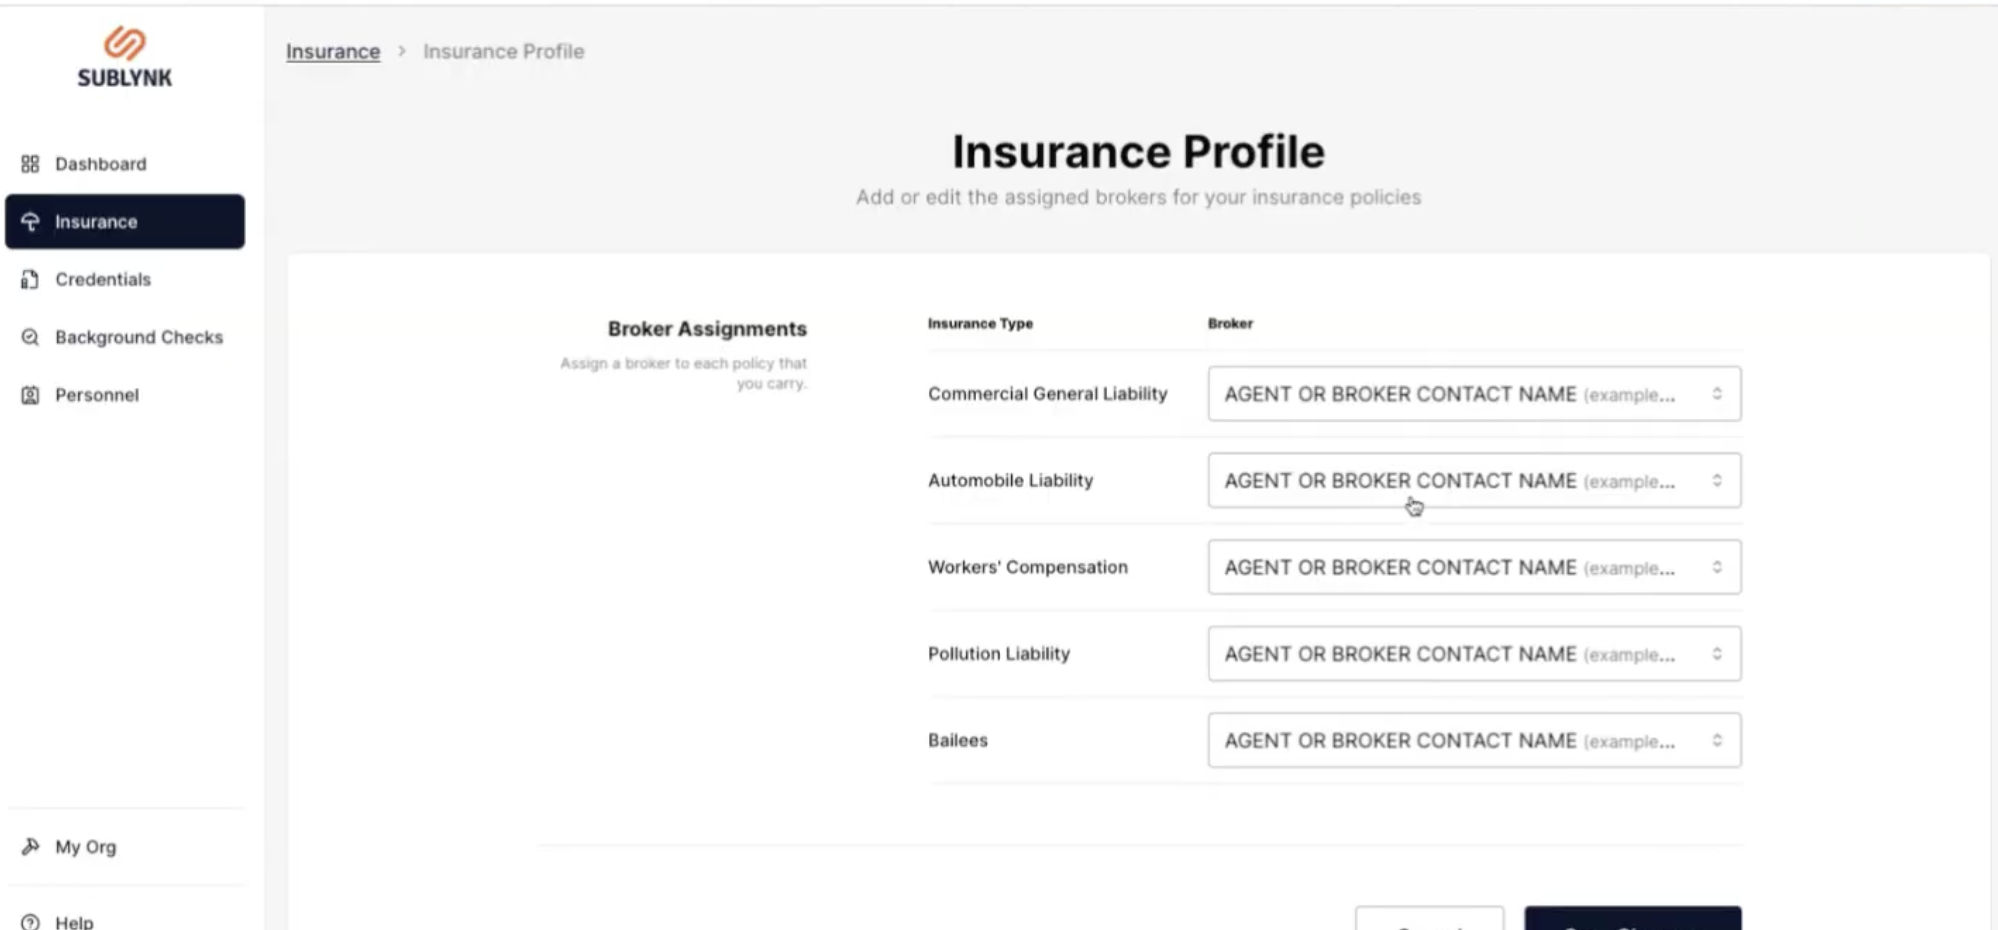
All COIs must be sent to Sublynk directly from insurance brokers , uploaded COIs are not accepted. Sublynk automatically requests COIs from your assigned brokers and tracks renewals before expiration to keep your team always compliant and ready to dispatch.
Step 2
Licenses and certs dynamically update based on where you work and your specialties. Contractors can quickly upload new documents per credential.
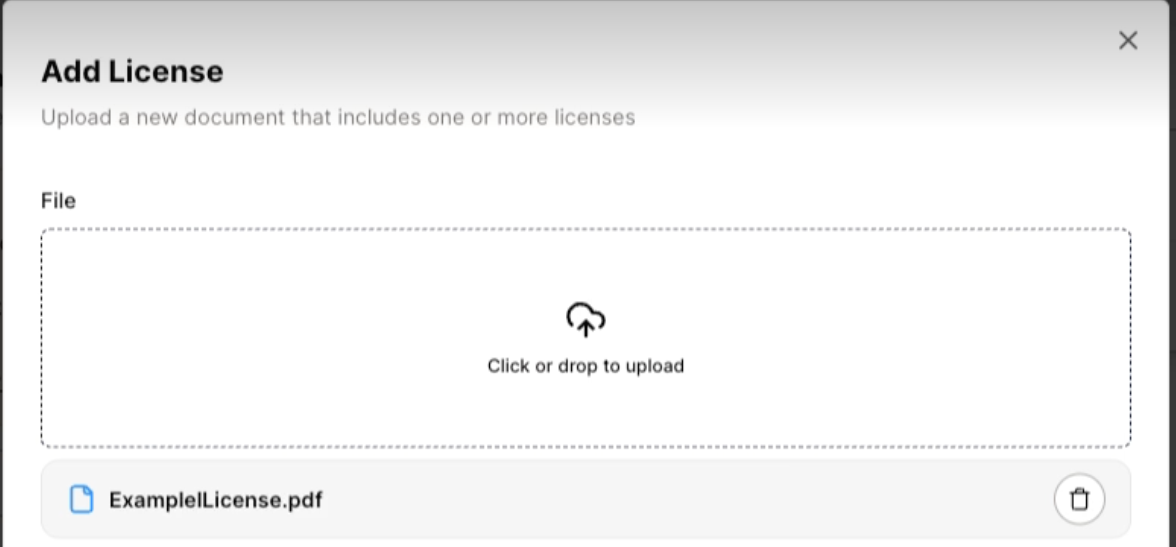
Step 3
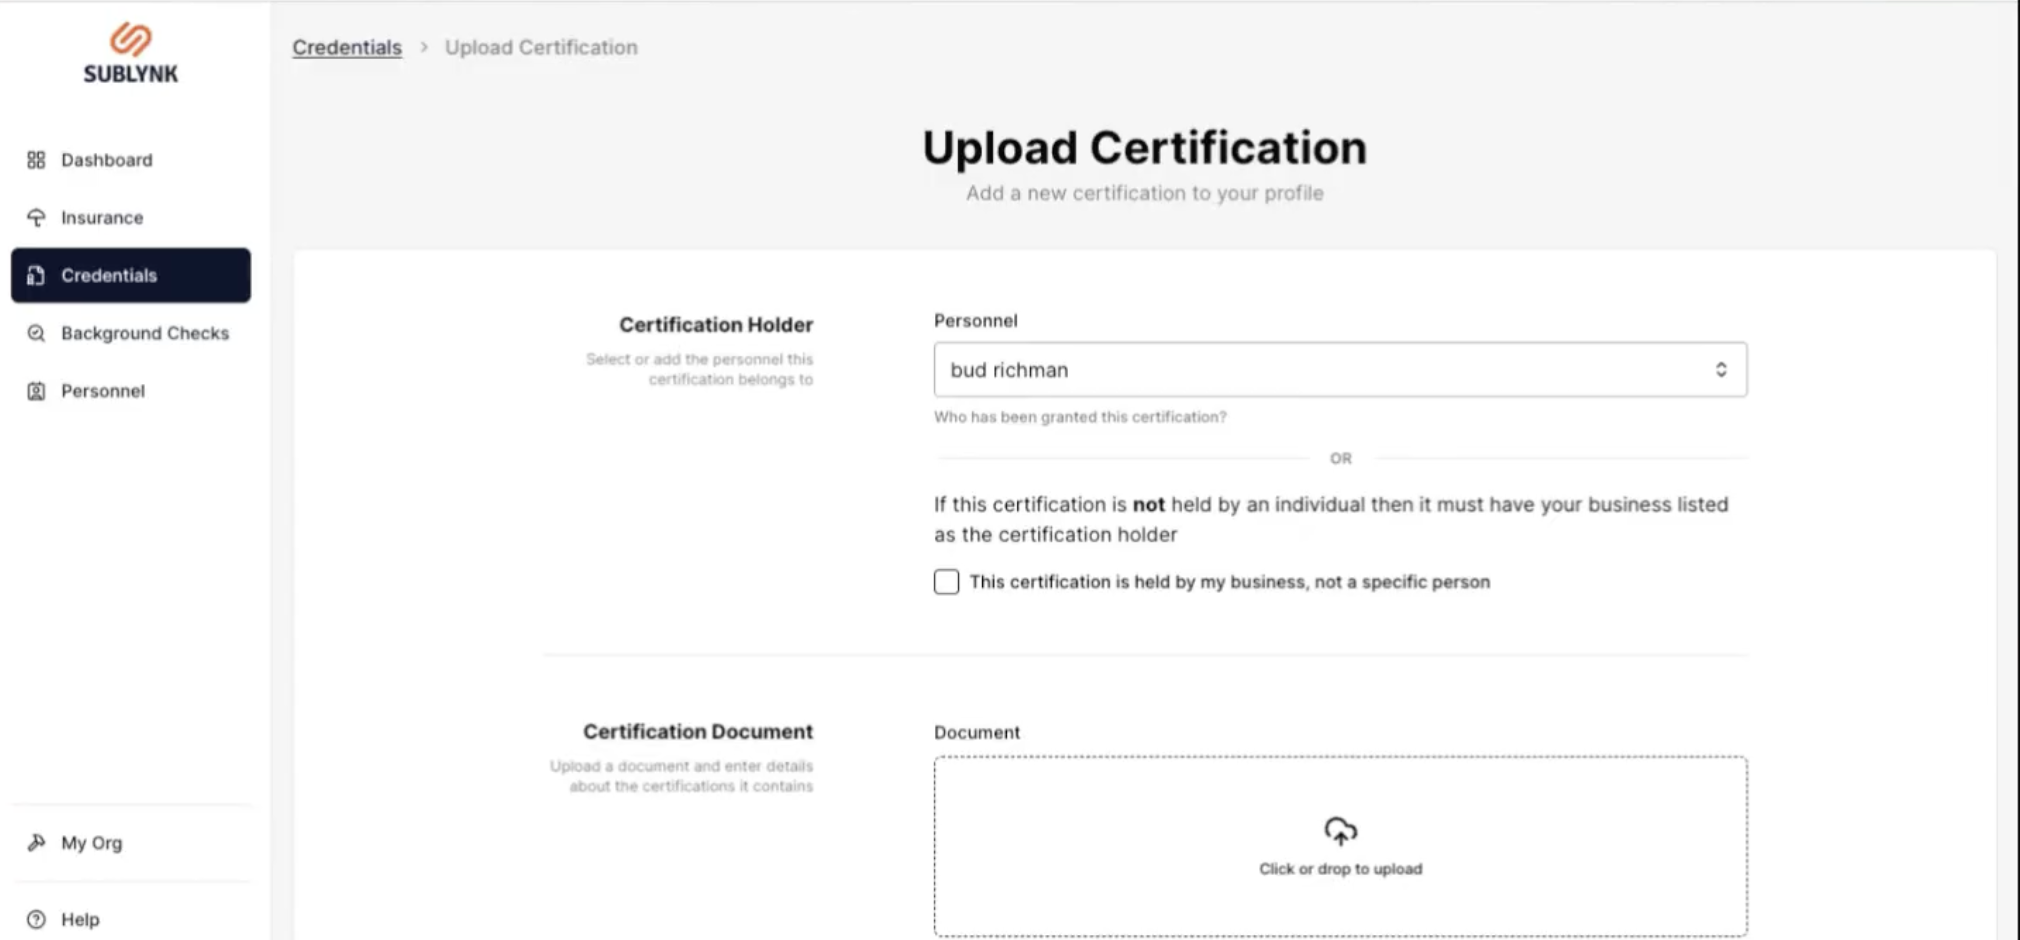
Two options: upload a state-issued or federally-issued license held by your business, or upload a certification held by an expert individual in your company (e.g., IICRC certifications).
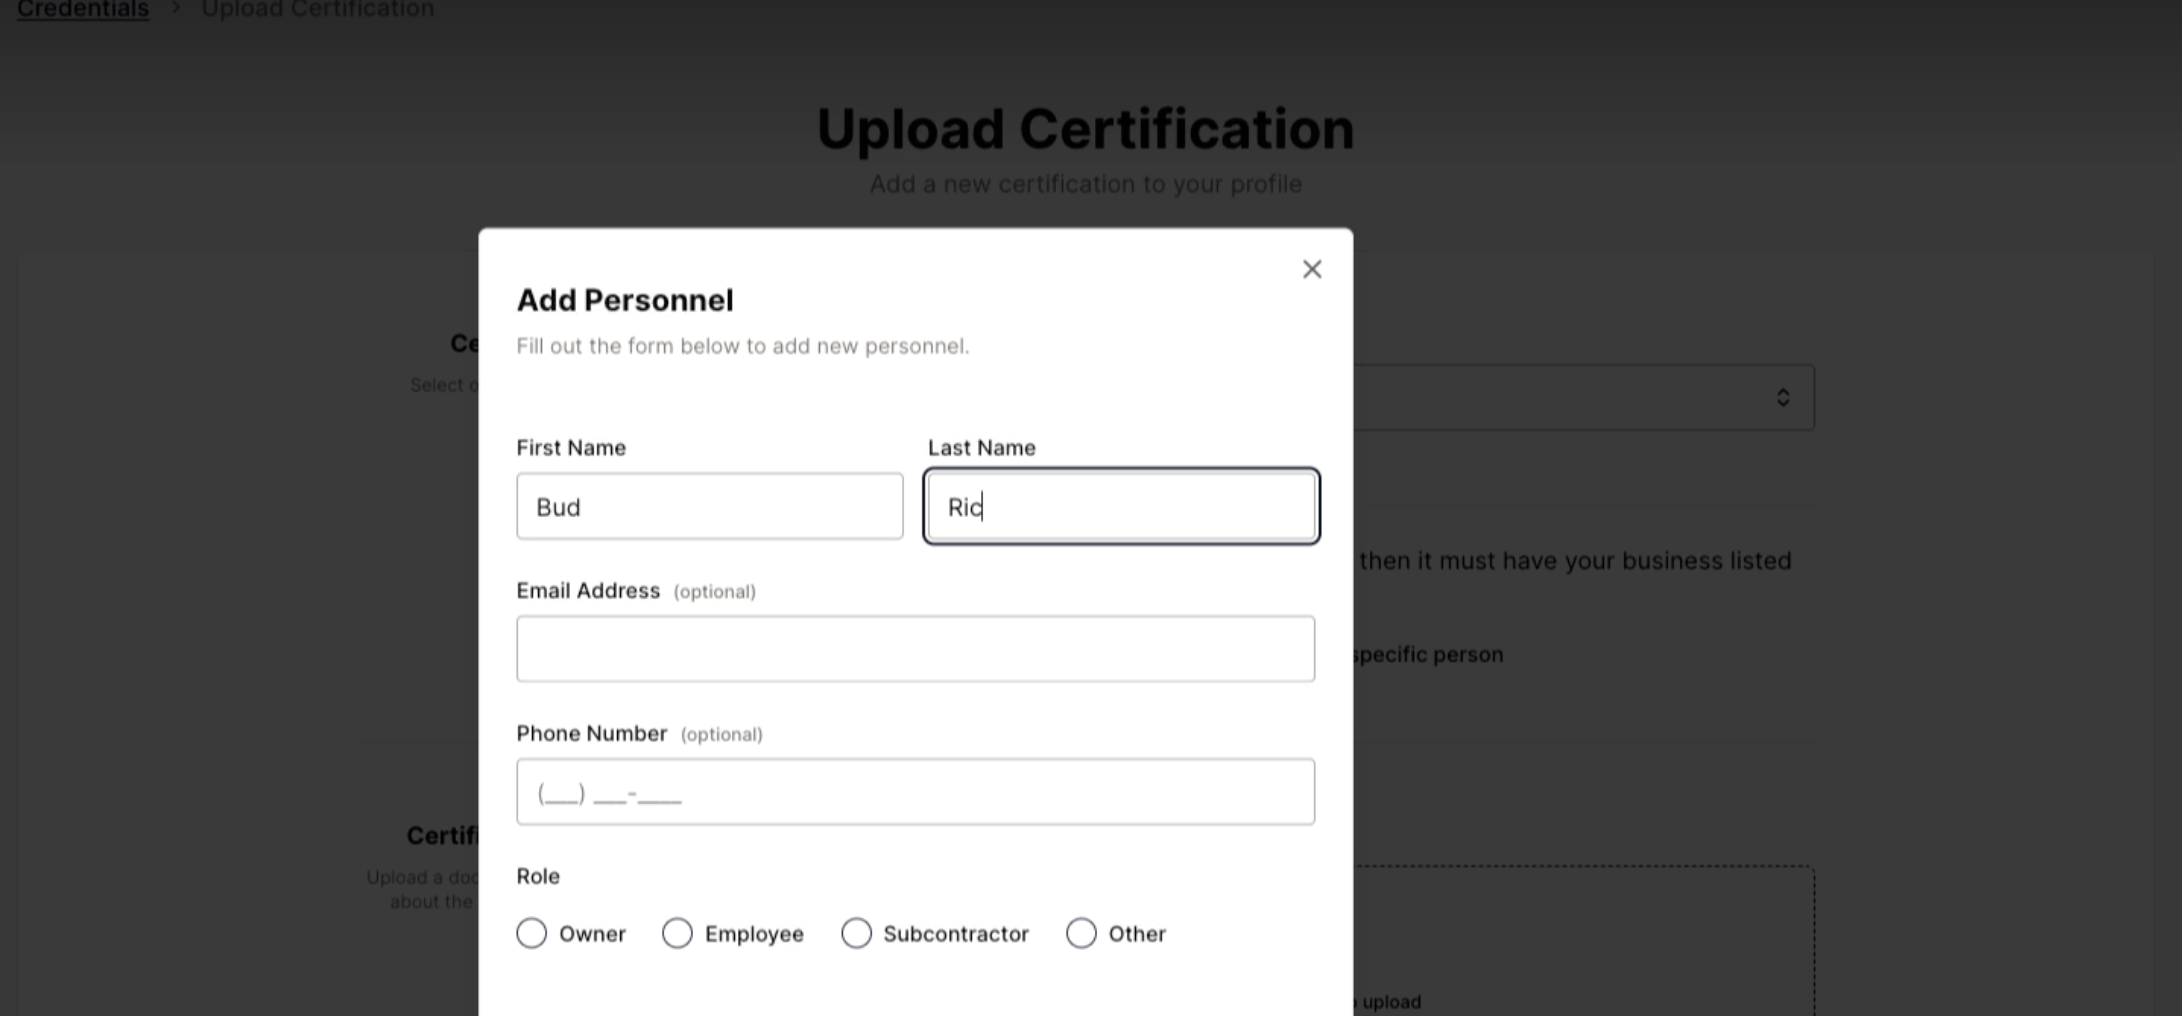
Step 4
Certifications must always be tied to personnel. Required: first name, last name, and role. Optional: email and phone number. Sublynk is connected to certification databases to help expedite verification.
Step 5
When uploading a license, provide the license type, issuing state, license number, license holder name, and expiration date. The license will be placed under review and you'll receive notifications on acceptance or rejection with remediation guidance.
Background Checks
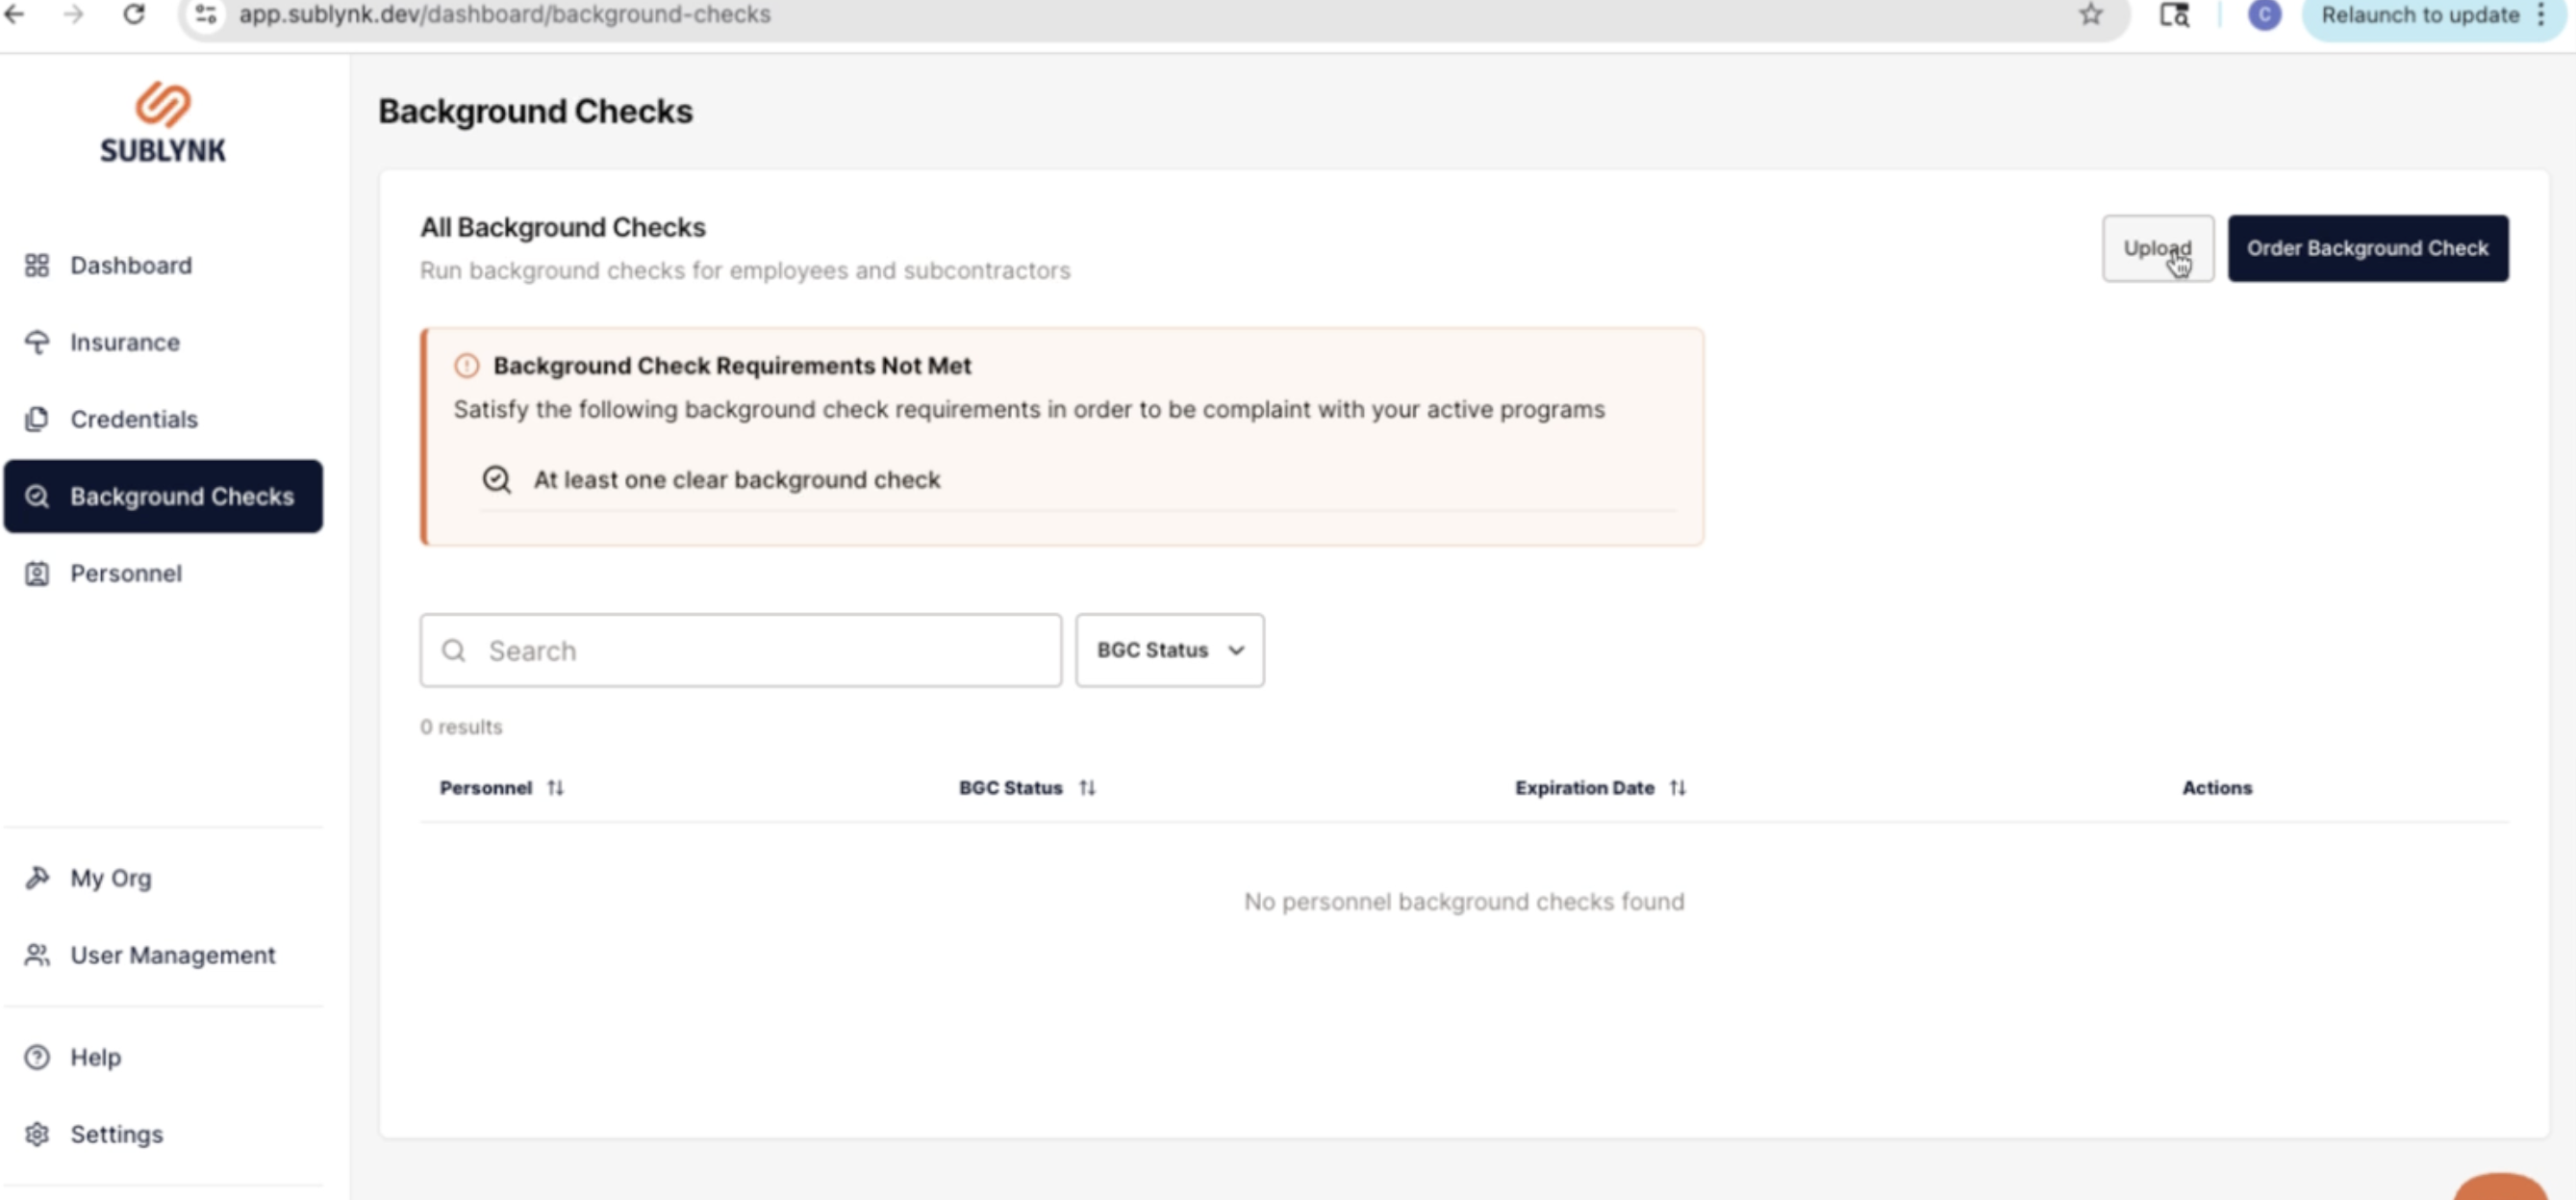
Step 1
There are two ways to add a background check: upload an existing one, or order a background check directly through Sublynk.
Want to see the Sublynk Certified Network in action?
Book a Demo