How to Join the Sublynk Certified Network
This guide covers everything you need to activate your Sublynk Certified membership, complete your compliance checklist, upload your credentials, and set up your public profile.
In this guide
- A payment method, if you’re new to Sublynk ($25/month)
- Your insurance broker’s name and email
- Your licenses and certifications to upload
- Your company logo for your public profile
Part 1: Join the Certified Network
Activate your membership, select your work types, and review the requirements for your profile.
Activating Your Membership
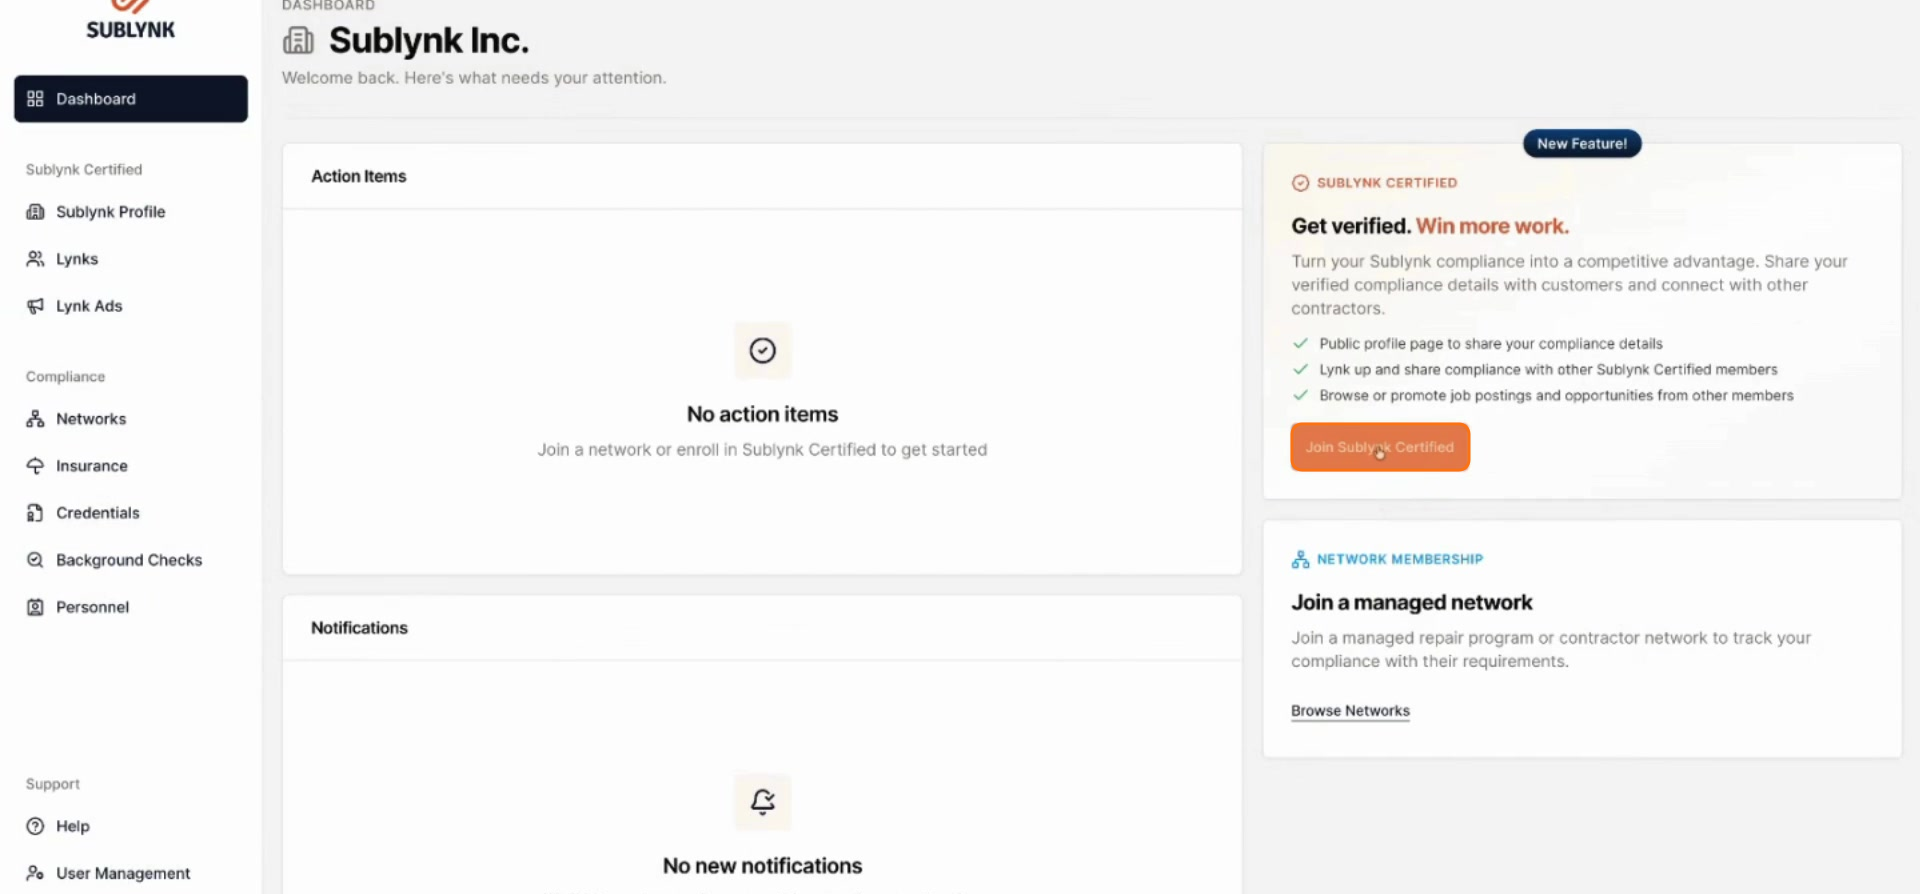
Step 1
From your dashboard, select Join Sublynk Certified to begin the activation process.
Review the information about the network’s benefits. Once you have reviewed the details, click Activate to proceed.
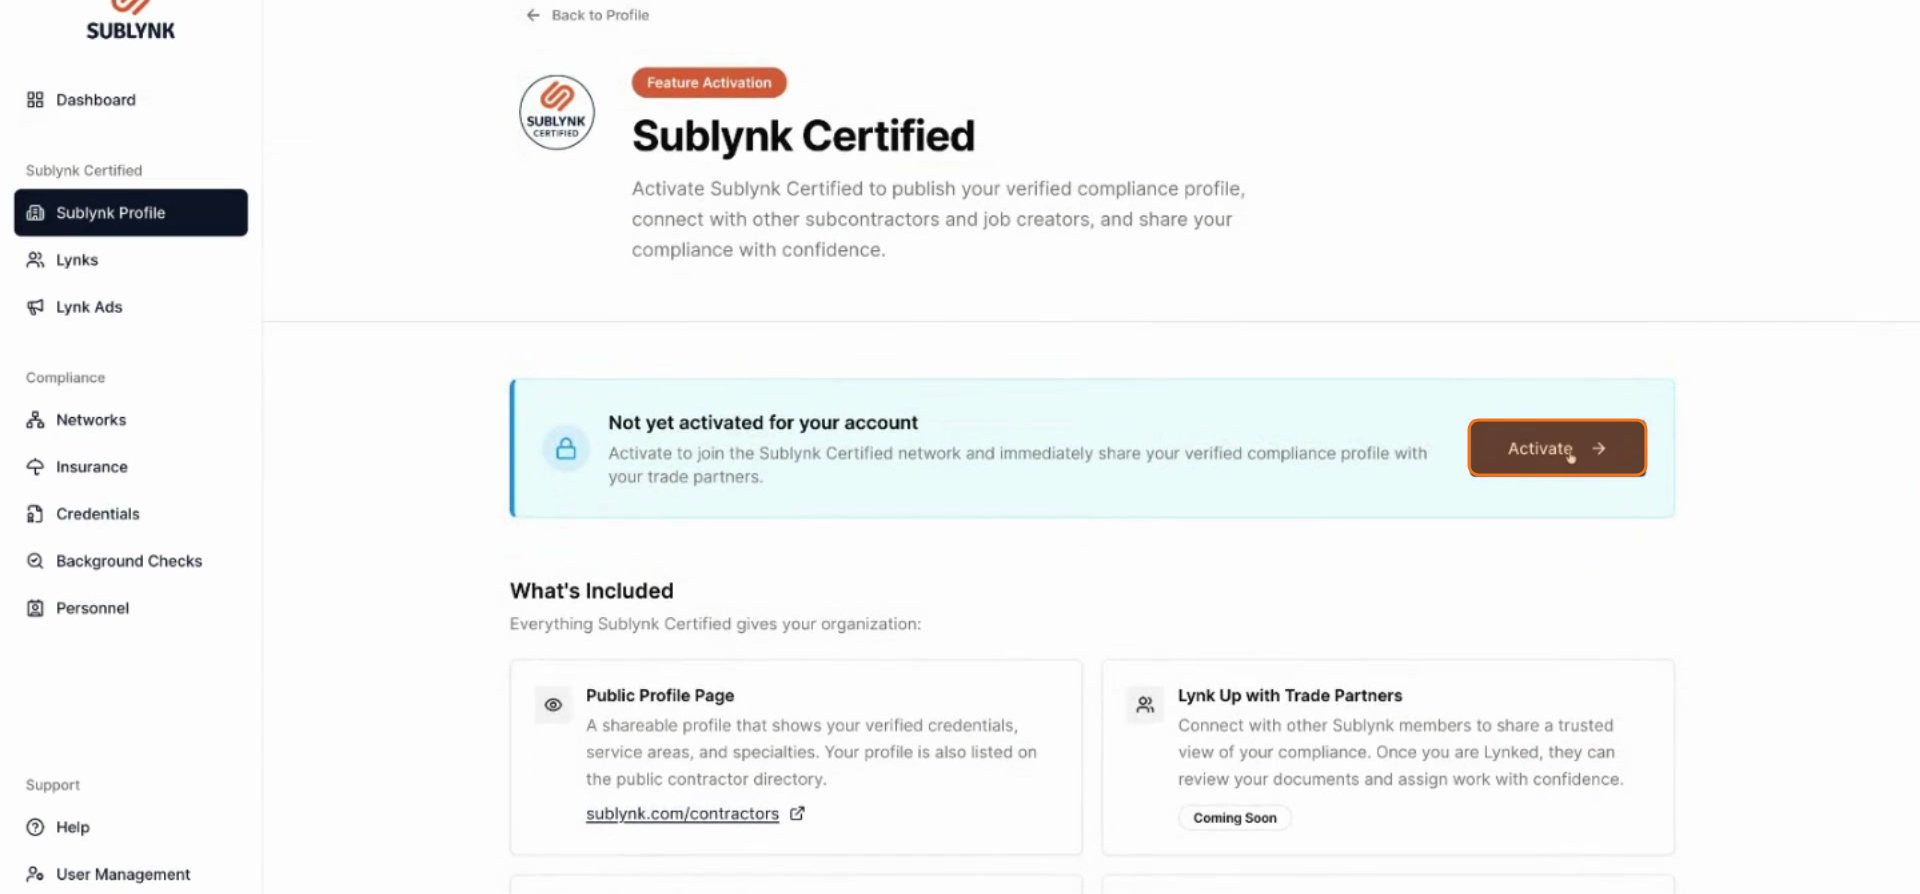
Step 2
If you already have a membership, the Sublynk Certified Network is included at no additional cost.
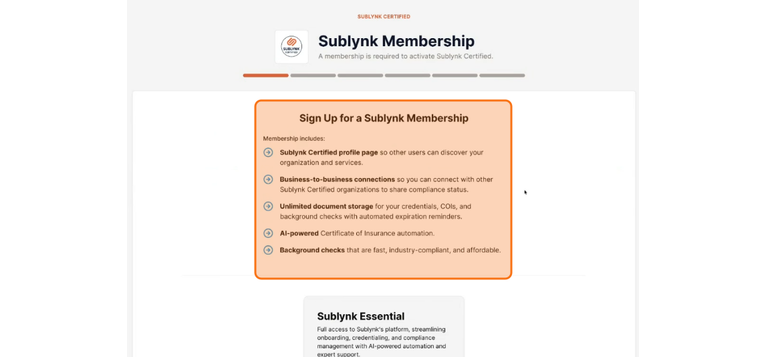
If you are new to Sublynk, you will need to sign up for an essential membership at $25 per month. Click Select.
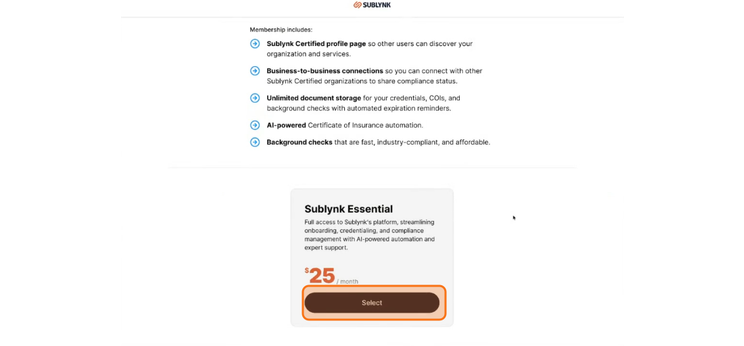
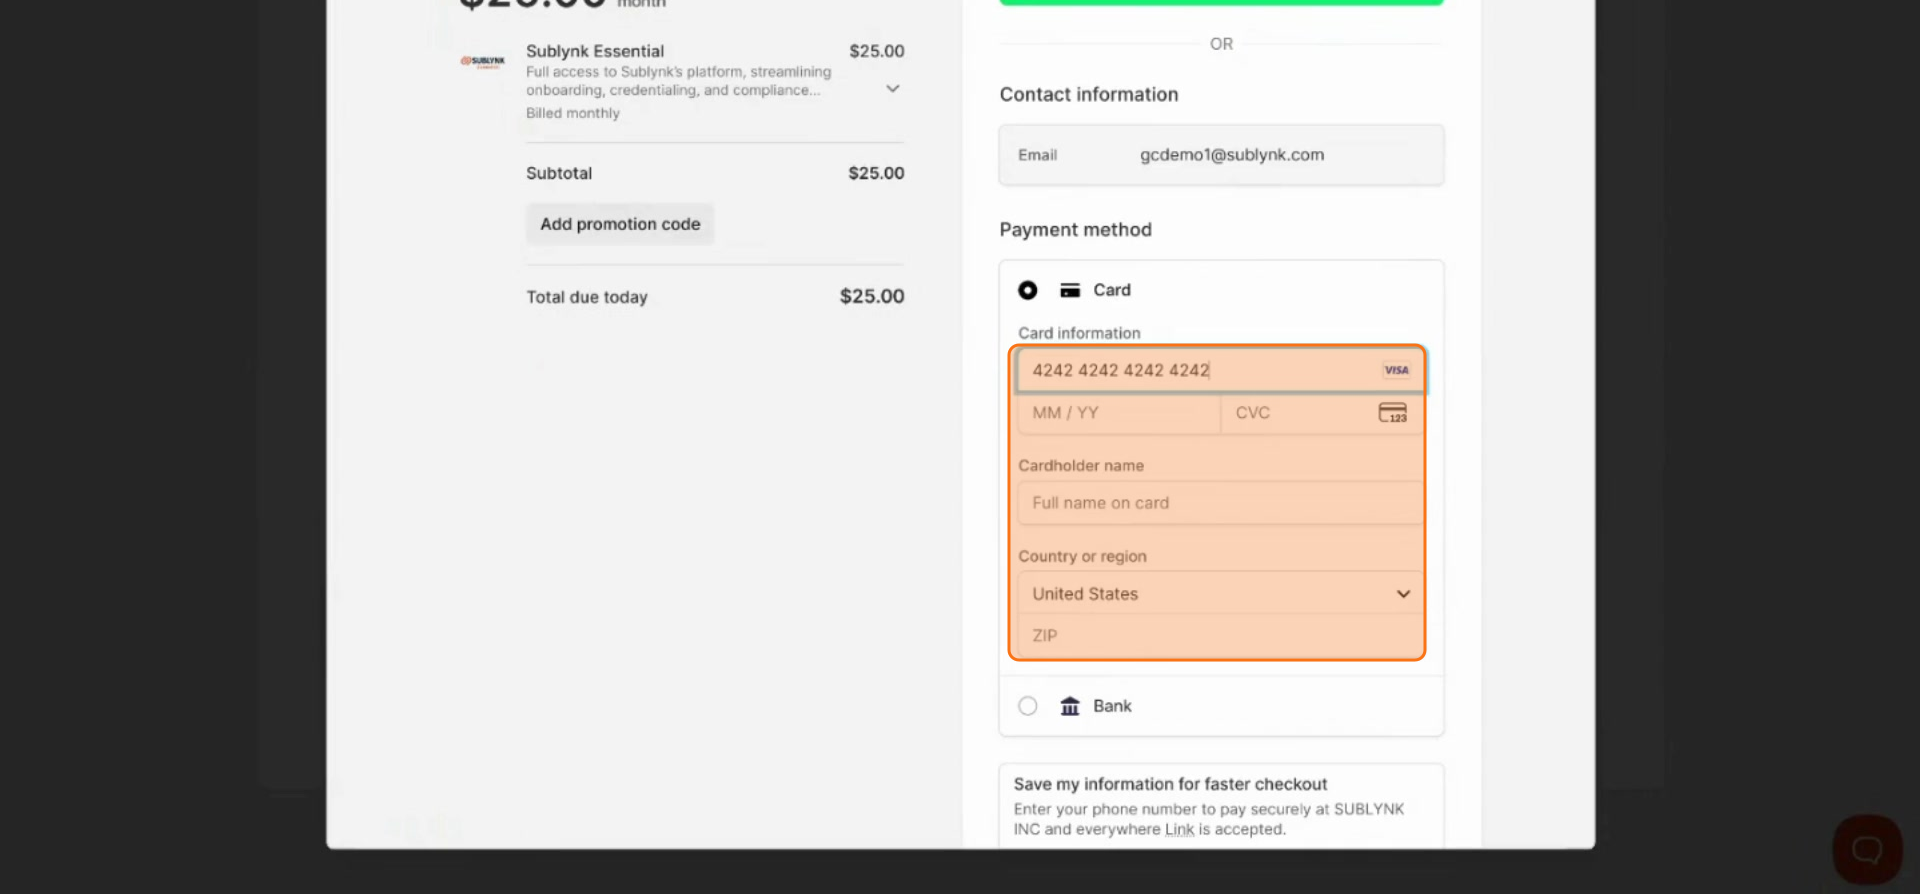
Enter your credit card information and click Subscribe to finalize your membership.
Selecting Work Types and Reviewing Requirements
Step 3
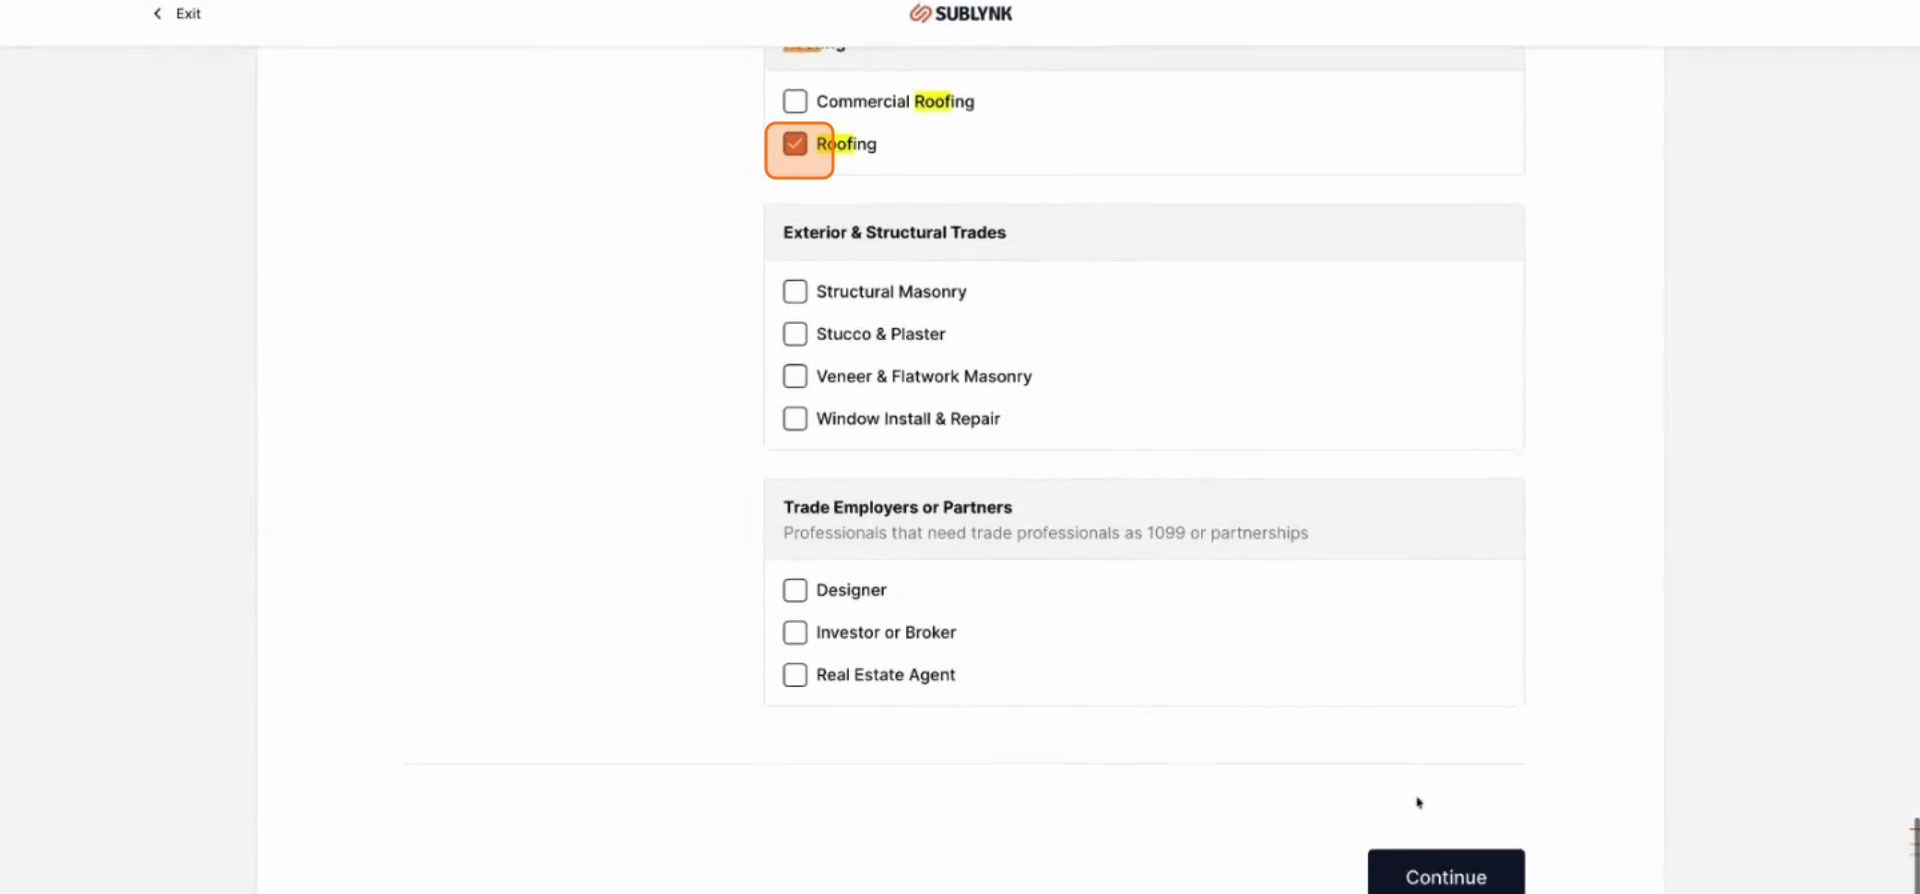
The service selection menu defines the types of work your company provides. Each category selected will require state and federal compliance requirements to be met for the service to be displayed on your public profile. City and county requirements are not enforced.

Select your trades and click Continue to proceed.
Step 4
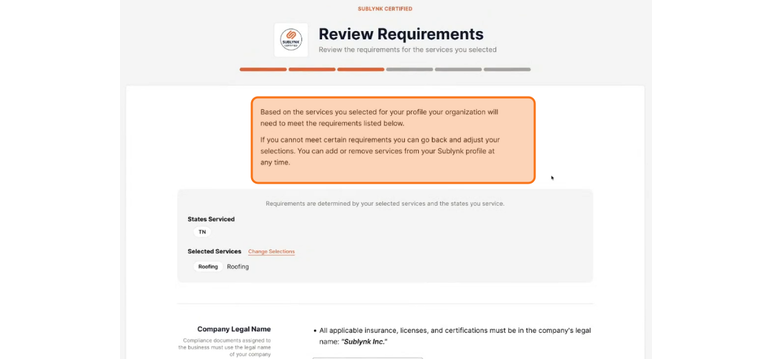
The review requirements page provides details on the requirements for the trades you have selected. Review the requirements and ensure you can meet these requirements for each section. Go back if you need to remove trades. When complete, click Continue to move forward.
Part 2: Complete Your Profile & Compliance
Fill out your service profile surveys, sign the network agreement, and complete your compliance checklist.
Service Profile Surveys
Step 5
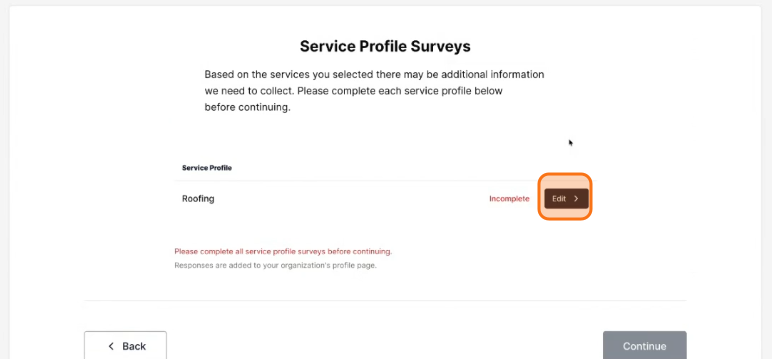
Based on the services you selected, there may be additional information to collect. Complete each service profile before continuing. Click Edit.
Step 6
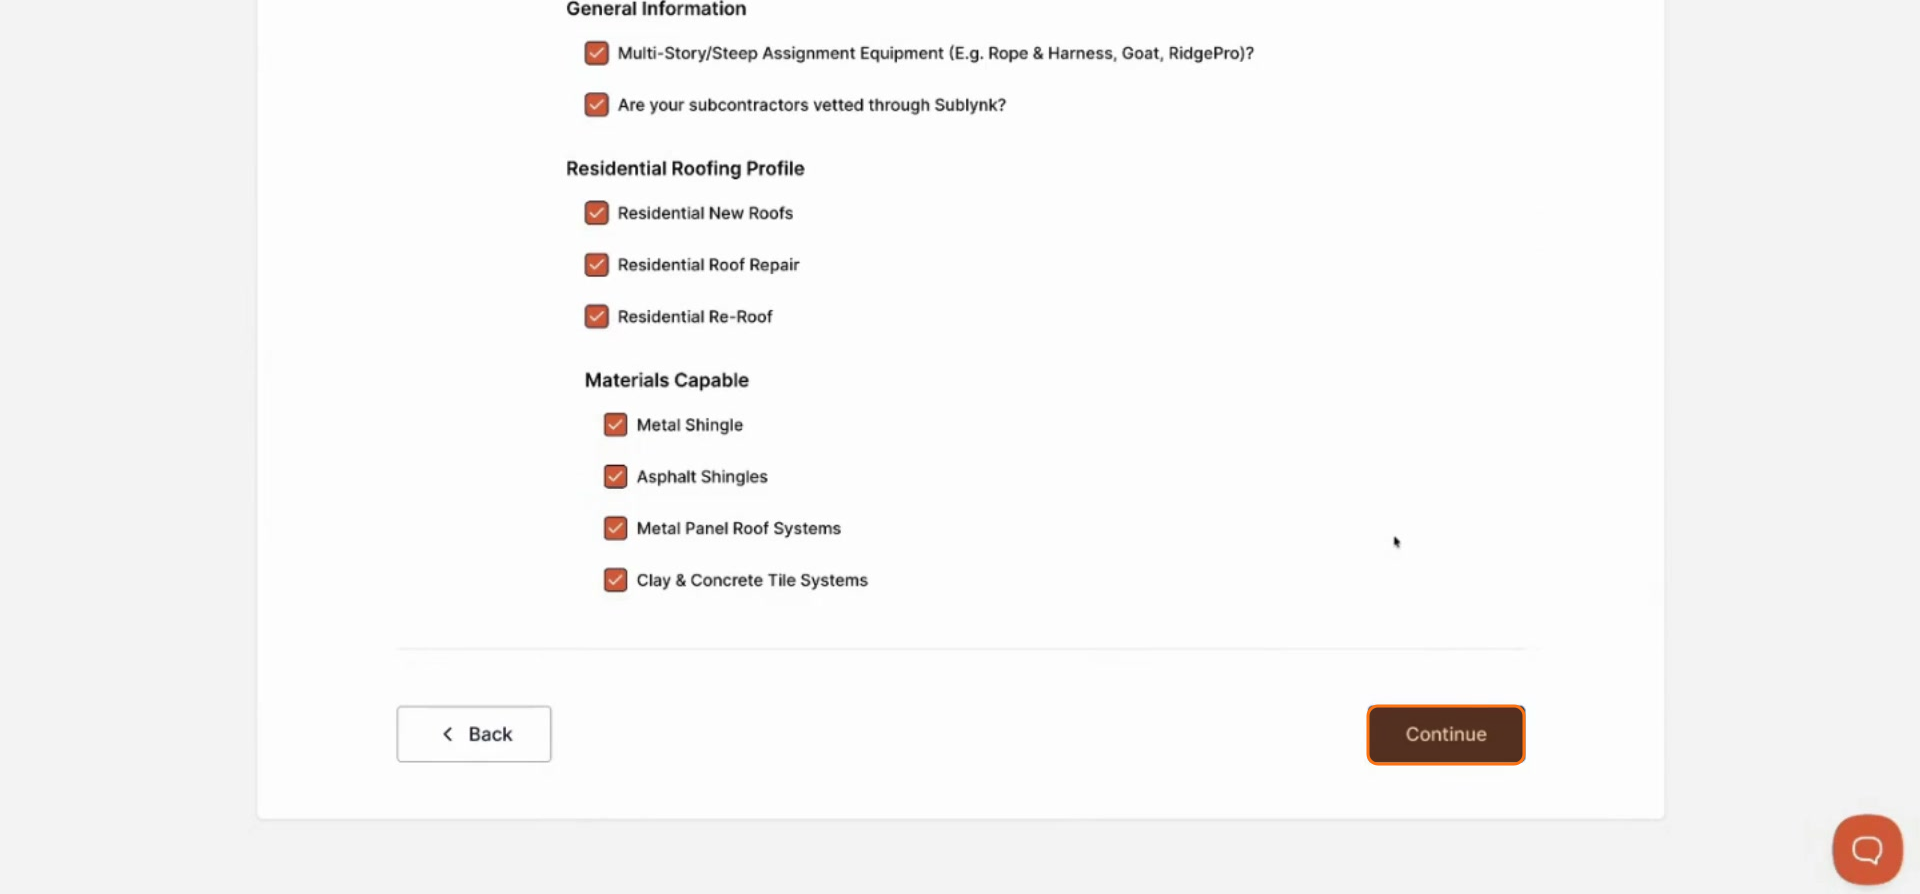
Complete the Service Profile Surveys by answering questions about your organization’s work types and specialties. If you selected roofing, you will be prompted with roofing-specific questions.
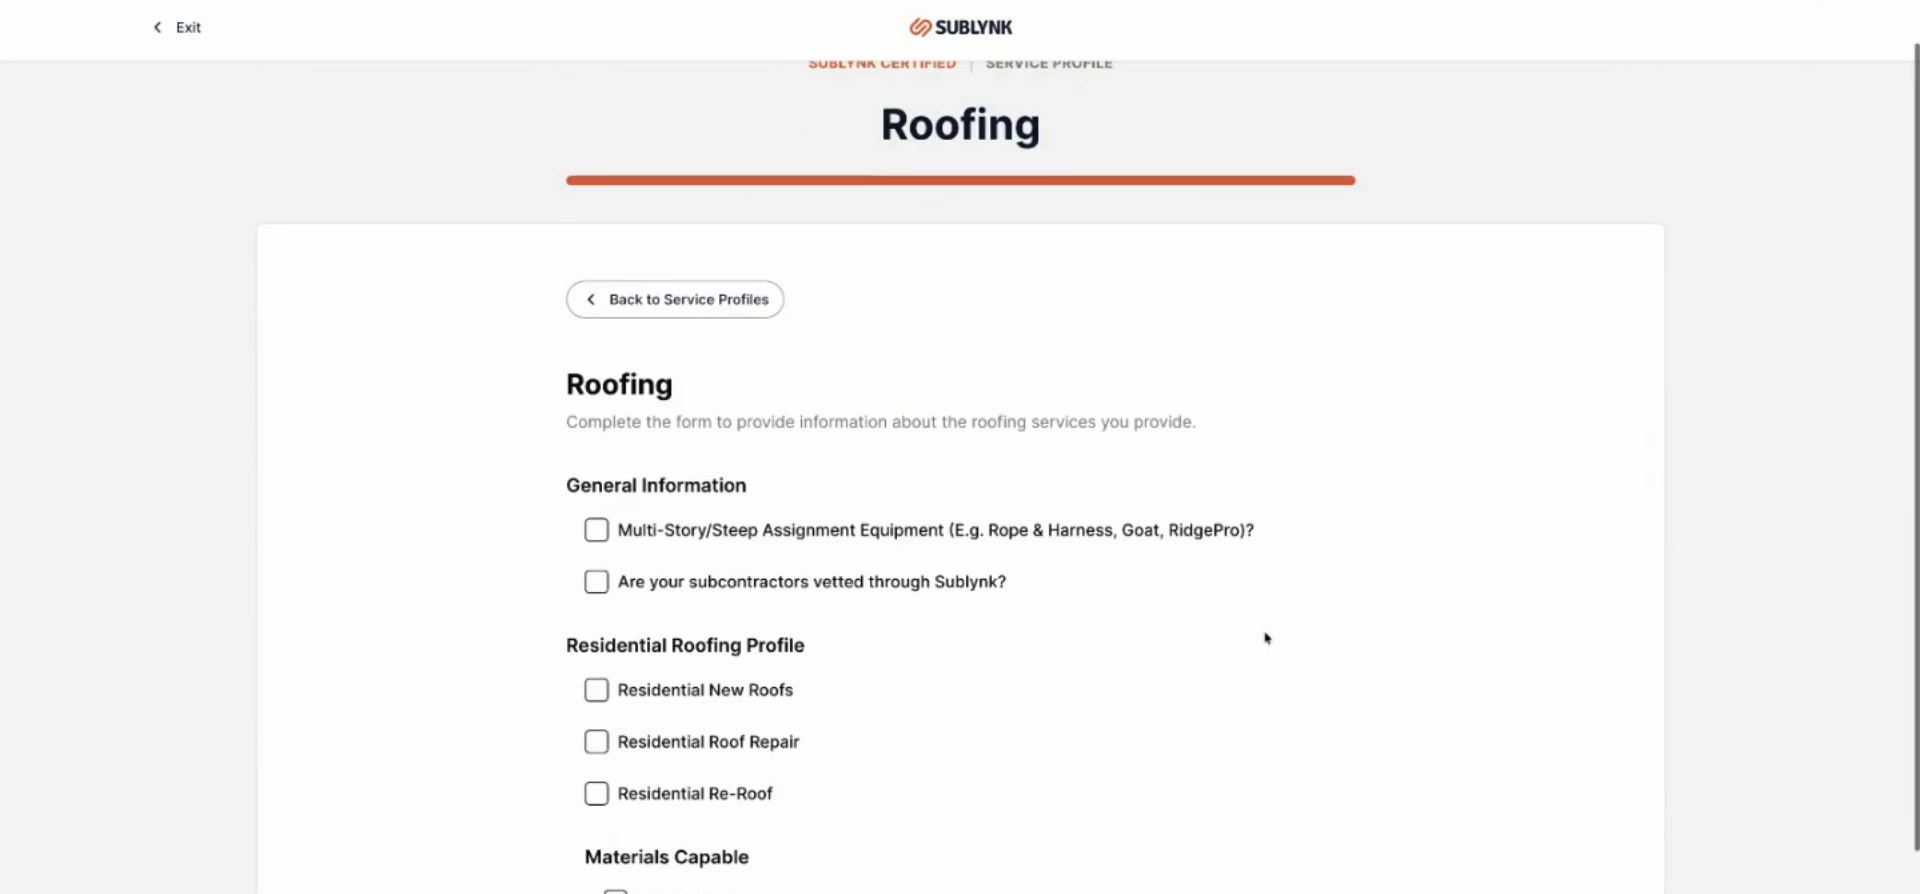
Once you have filled out all required information, click Continue.
Contract Signing
Step 7
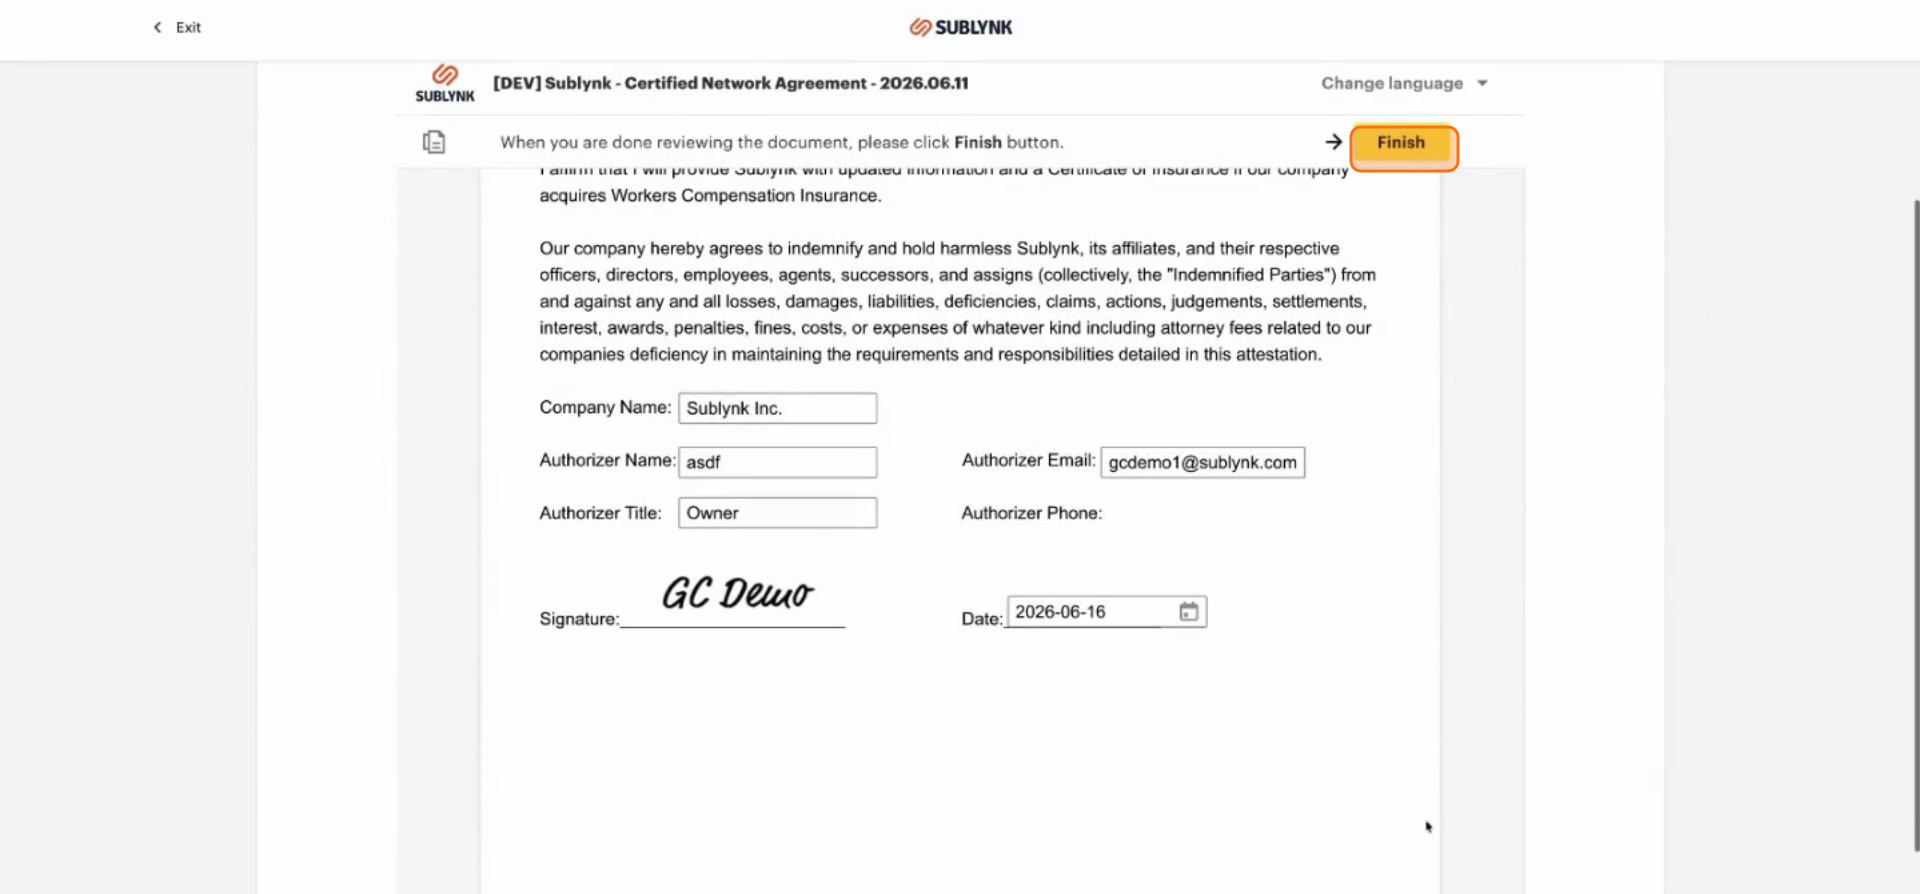
The network agreement provides details about the Sublynk Certified terms of service and legal obligations your company will enter into.
Once you have completed the contract signing, click Finish. You can download the document package for your records. You will also receive a copy via email, and all forms remain accessible within the platform.
Compliance Checklist
Step 8
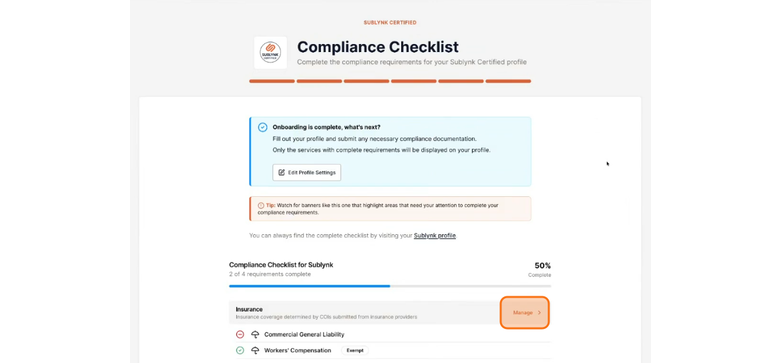
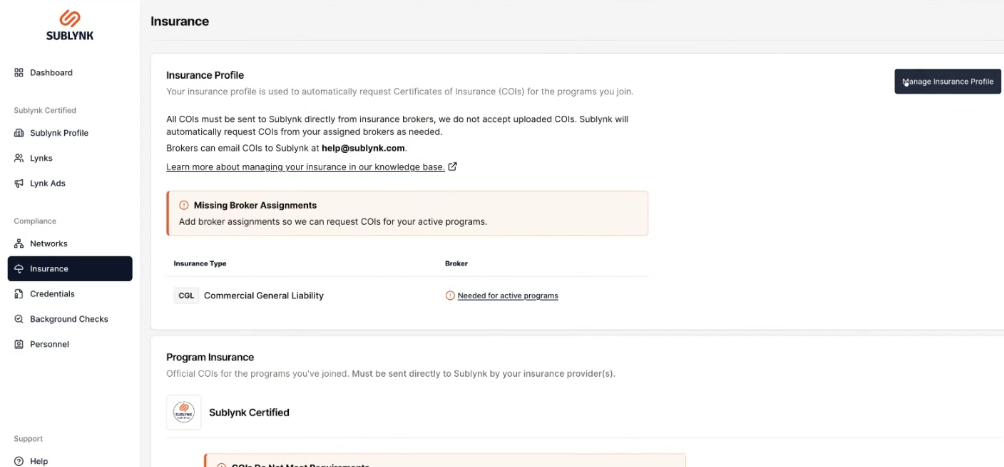
To be listed as a certified contractor, you need to provide information across three categories: insurance, credentials, and background checks. If insurance is required for your work type, it must be verified directly with your agent or broker. Click Manage.
Step 9
In the top right corner, click Manage Insurance Profile.
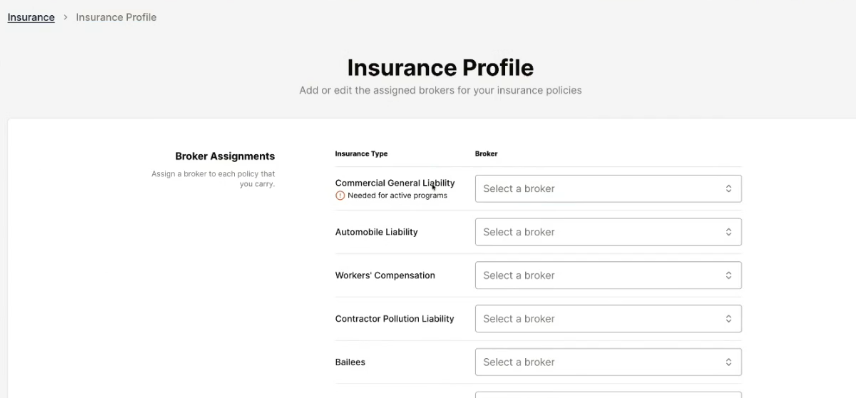
Step 10
Click Select a broker.
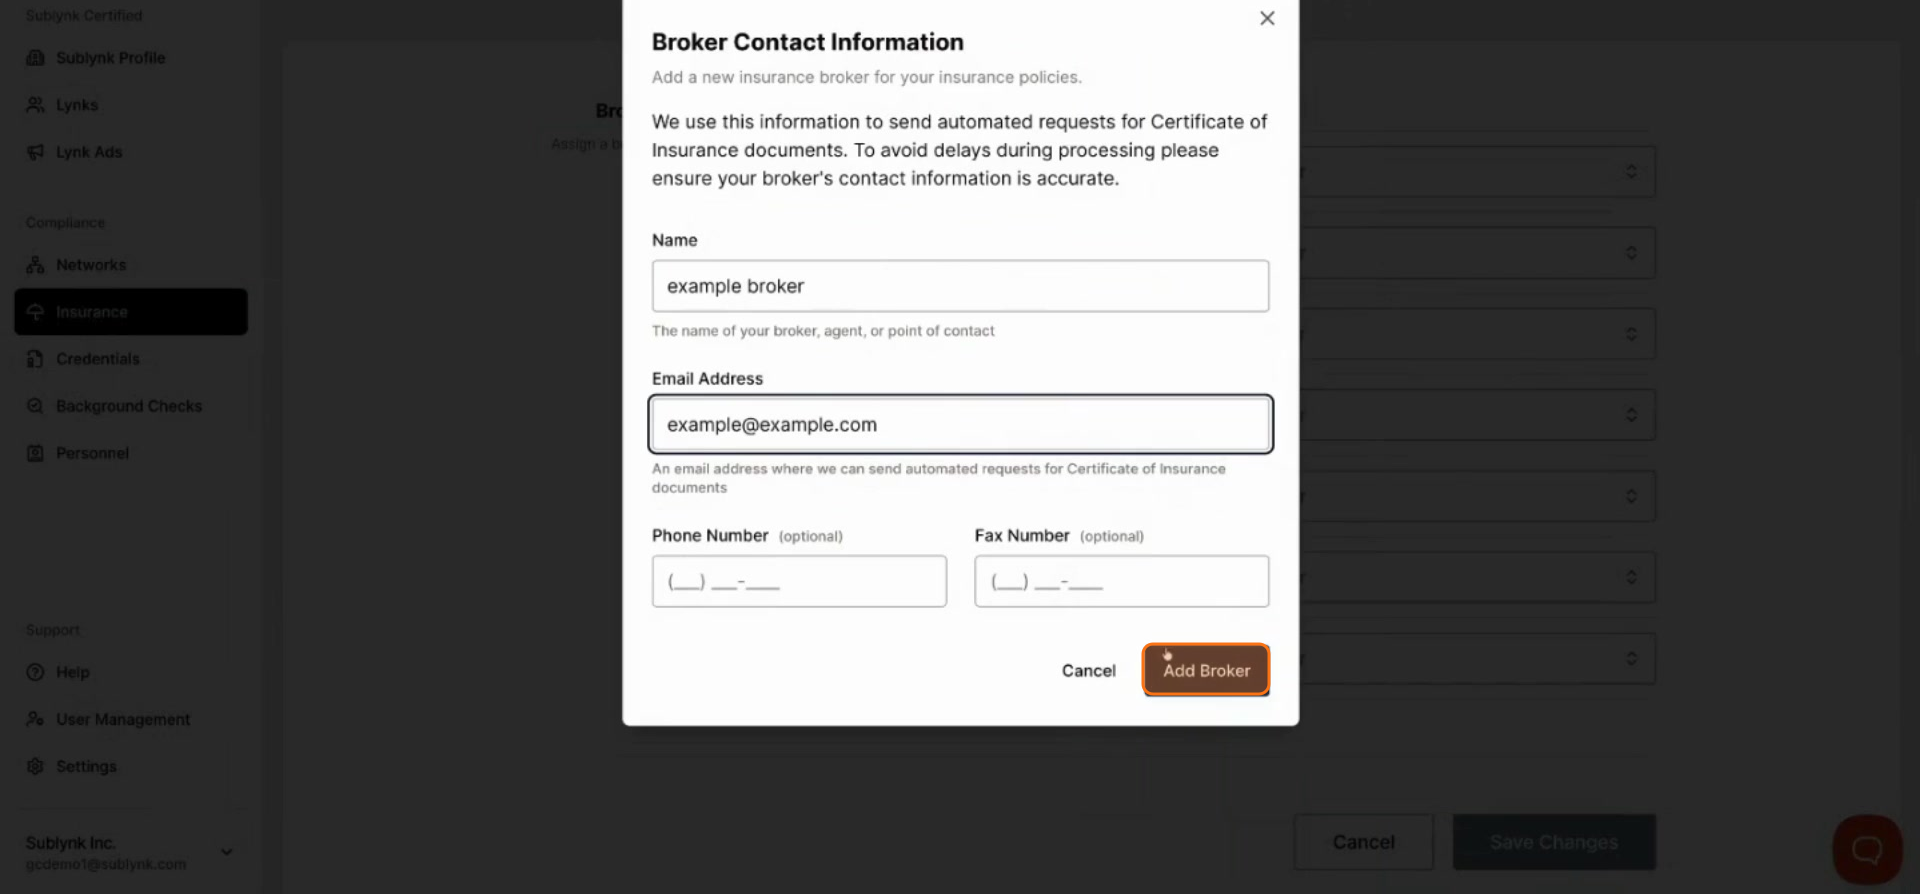
Step 11
Enter your broker’s name and email address. This allows Sublynk to contact them for every line of insurance you hold. If you have different brokers for different lines of insurance, you can add additional brokers or assign the same broker to multiple lines.
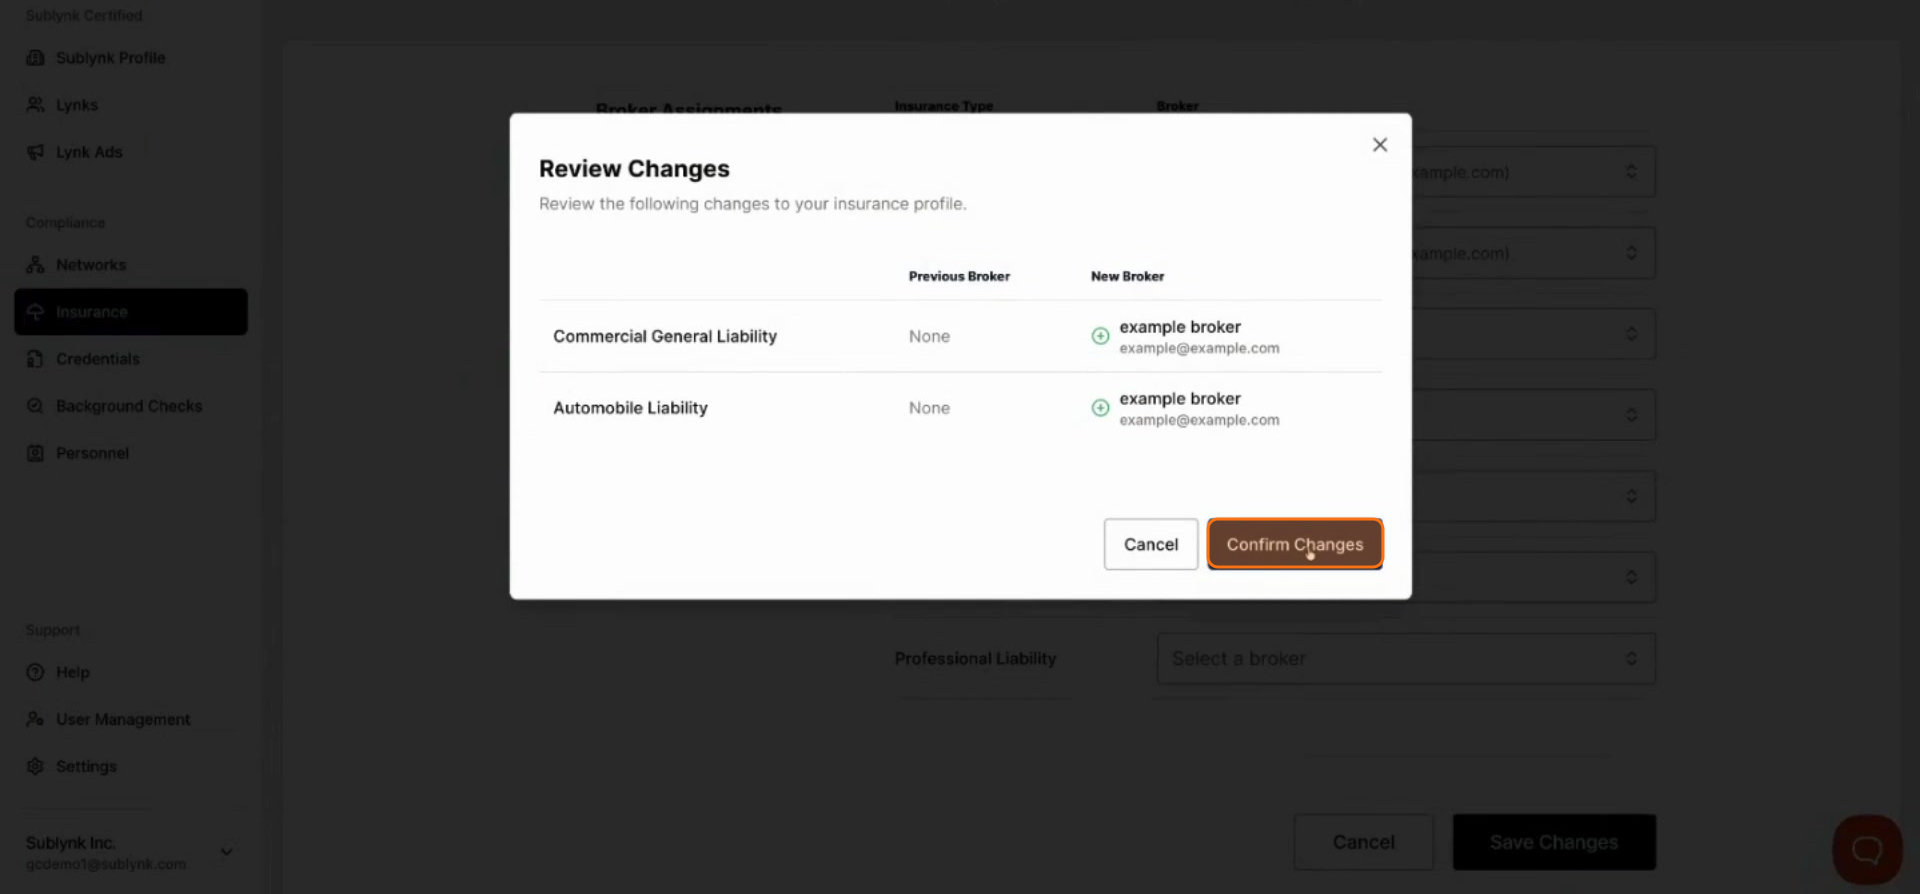
Step 12
Review your broker information before clicking Save Changes.
Part 3: Build Your Certified Profile
Manage your credentials, order background checks, and configure your public profile.
Managing Credentials
Step 13
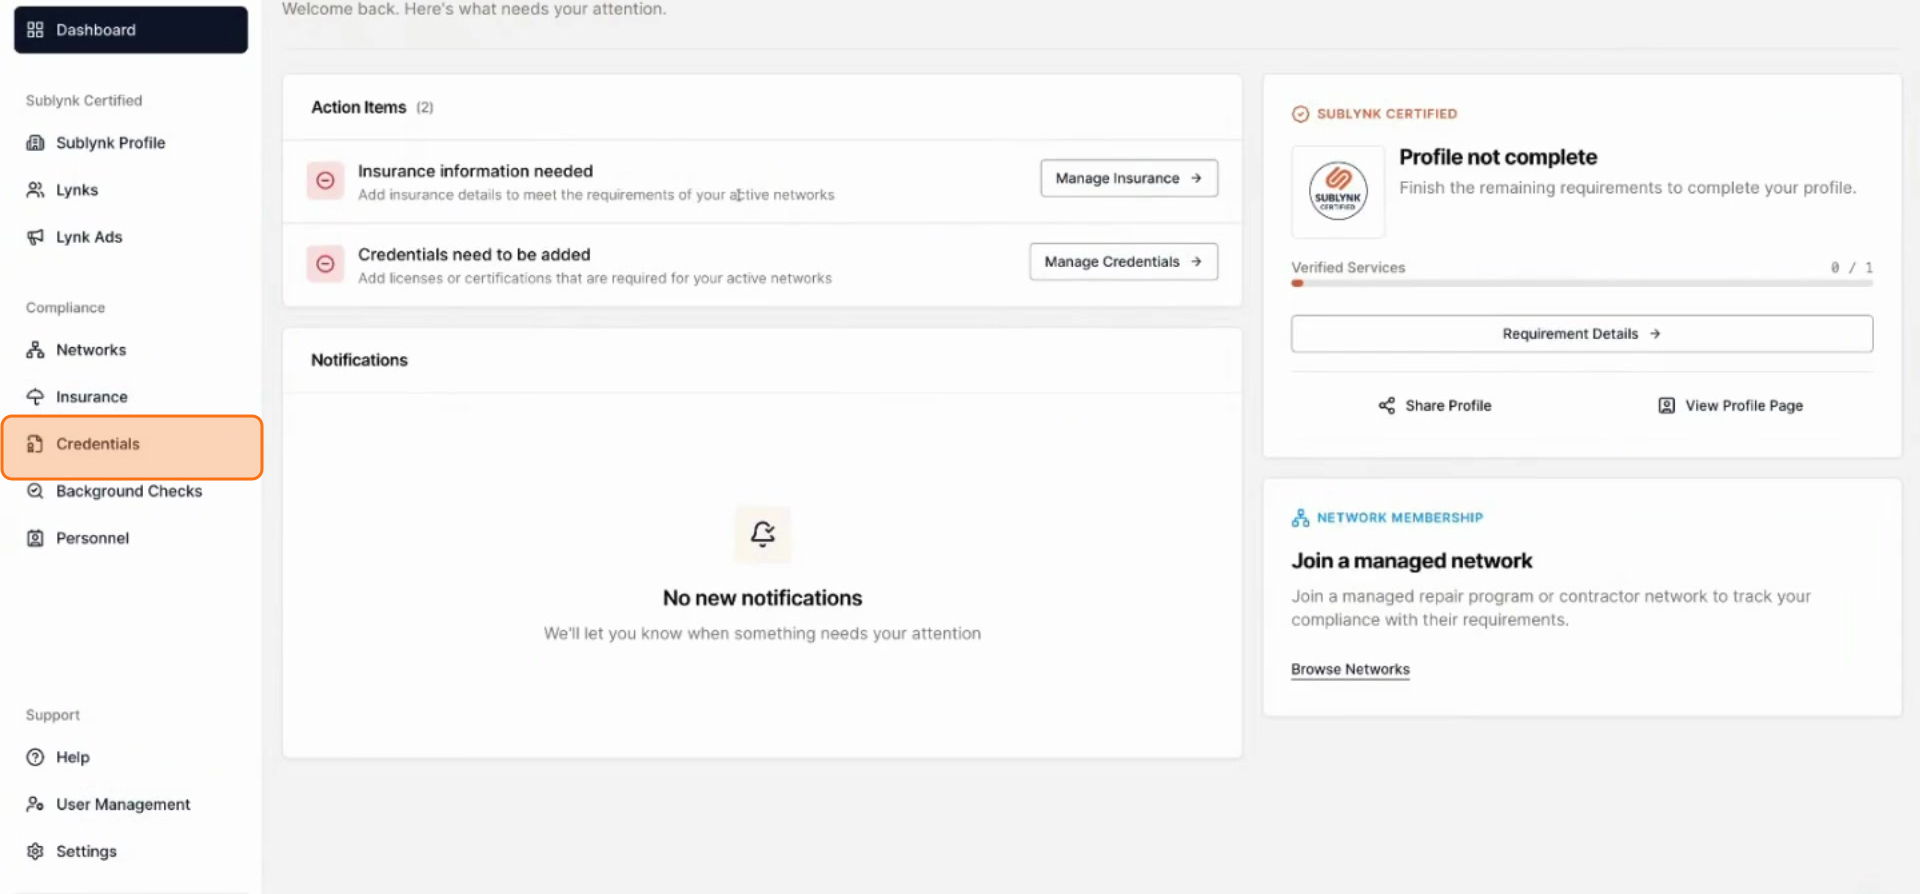
From your dashboard, click Credentials in the left navigation, or click Manage Credentials to view any missing credentials.
Step 14
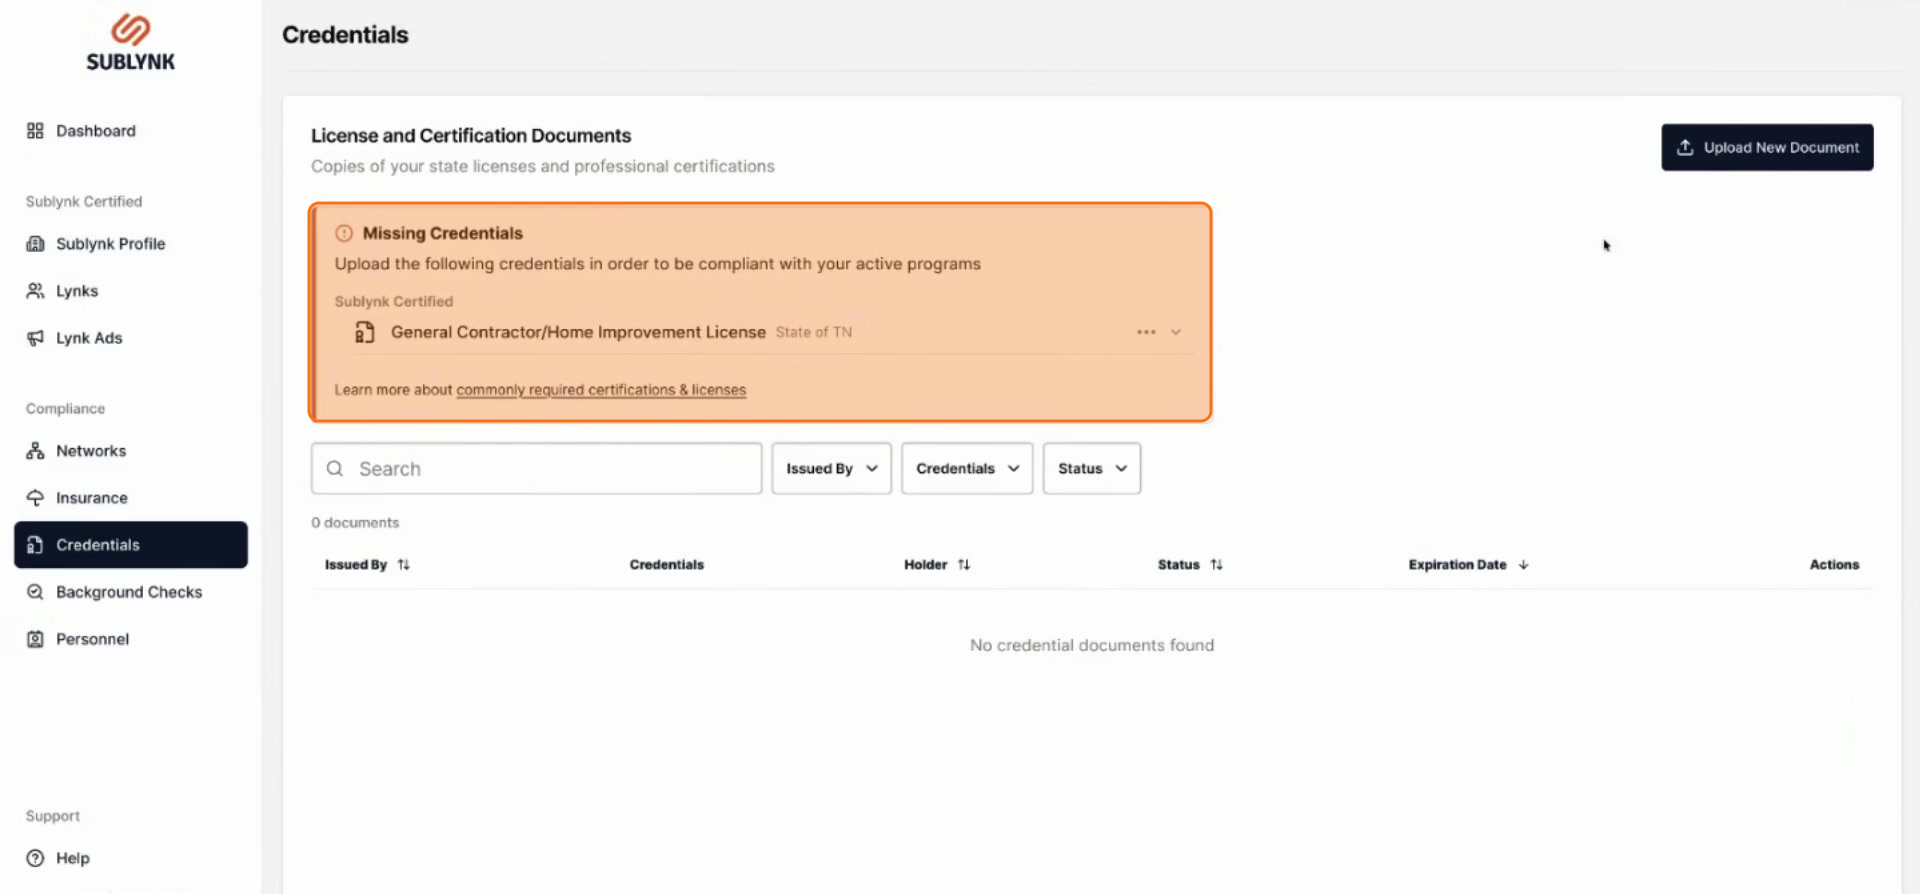
Any missing credentials will be clearly listed at the top of the page.
Step 15
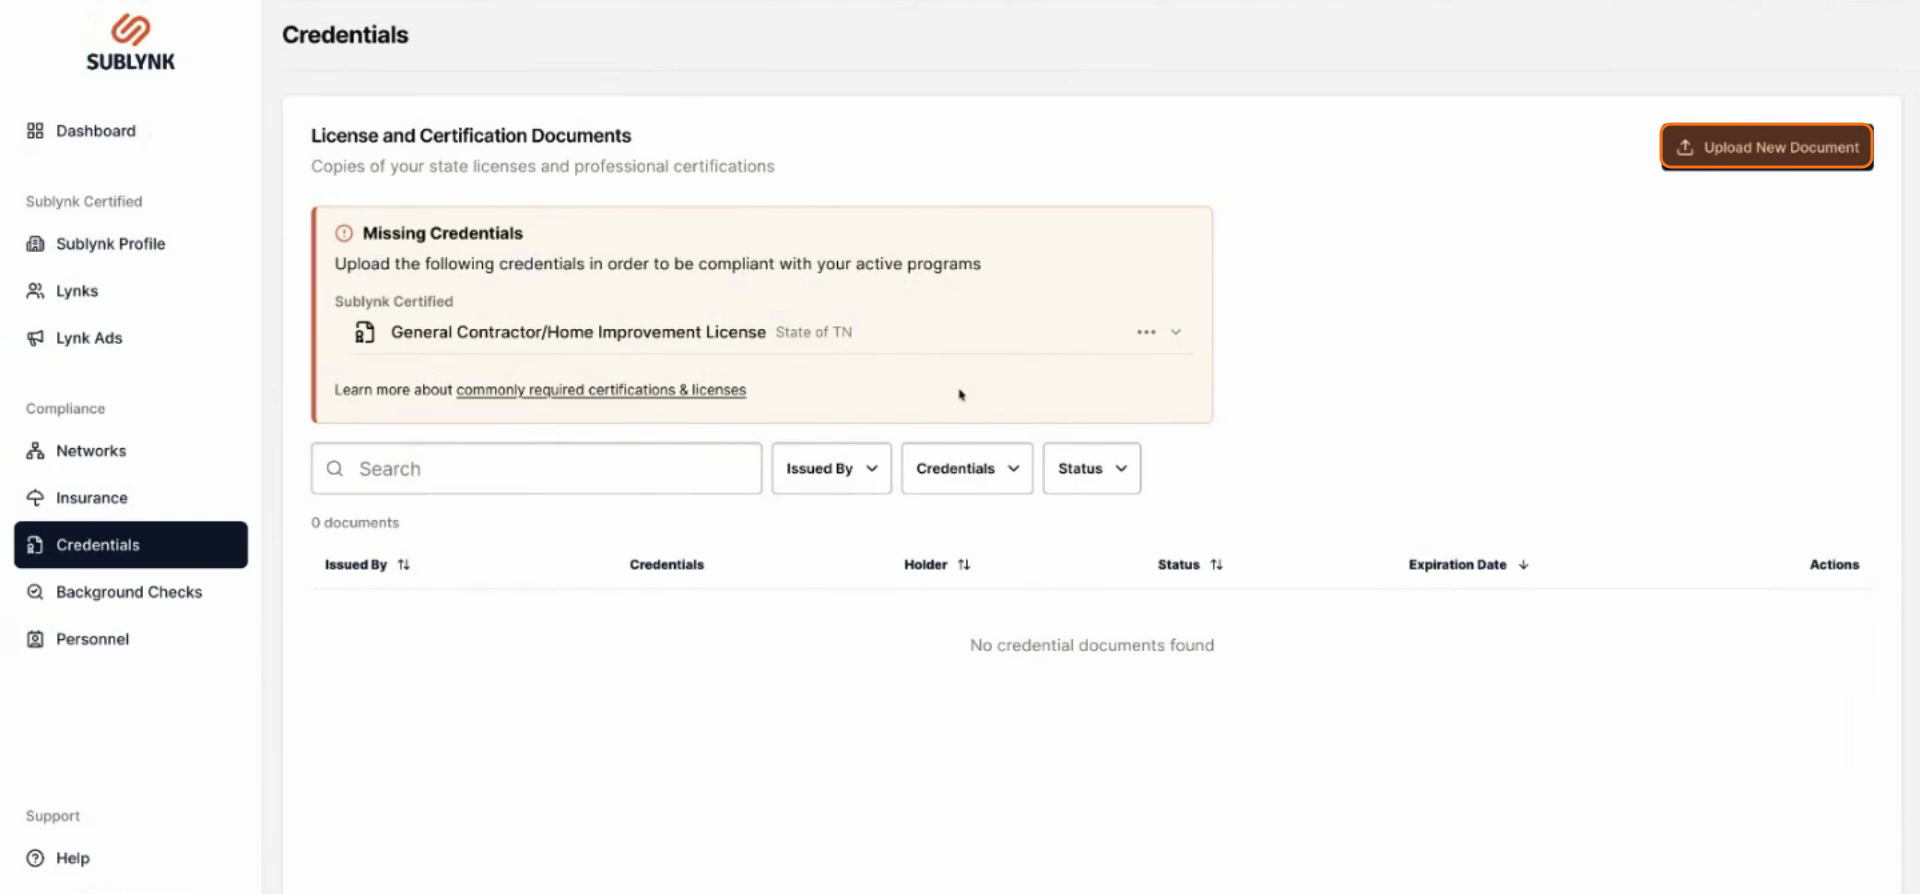
To add a new credential, click Upload new document.
Step 16
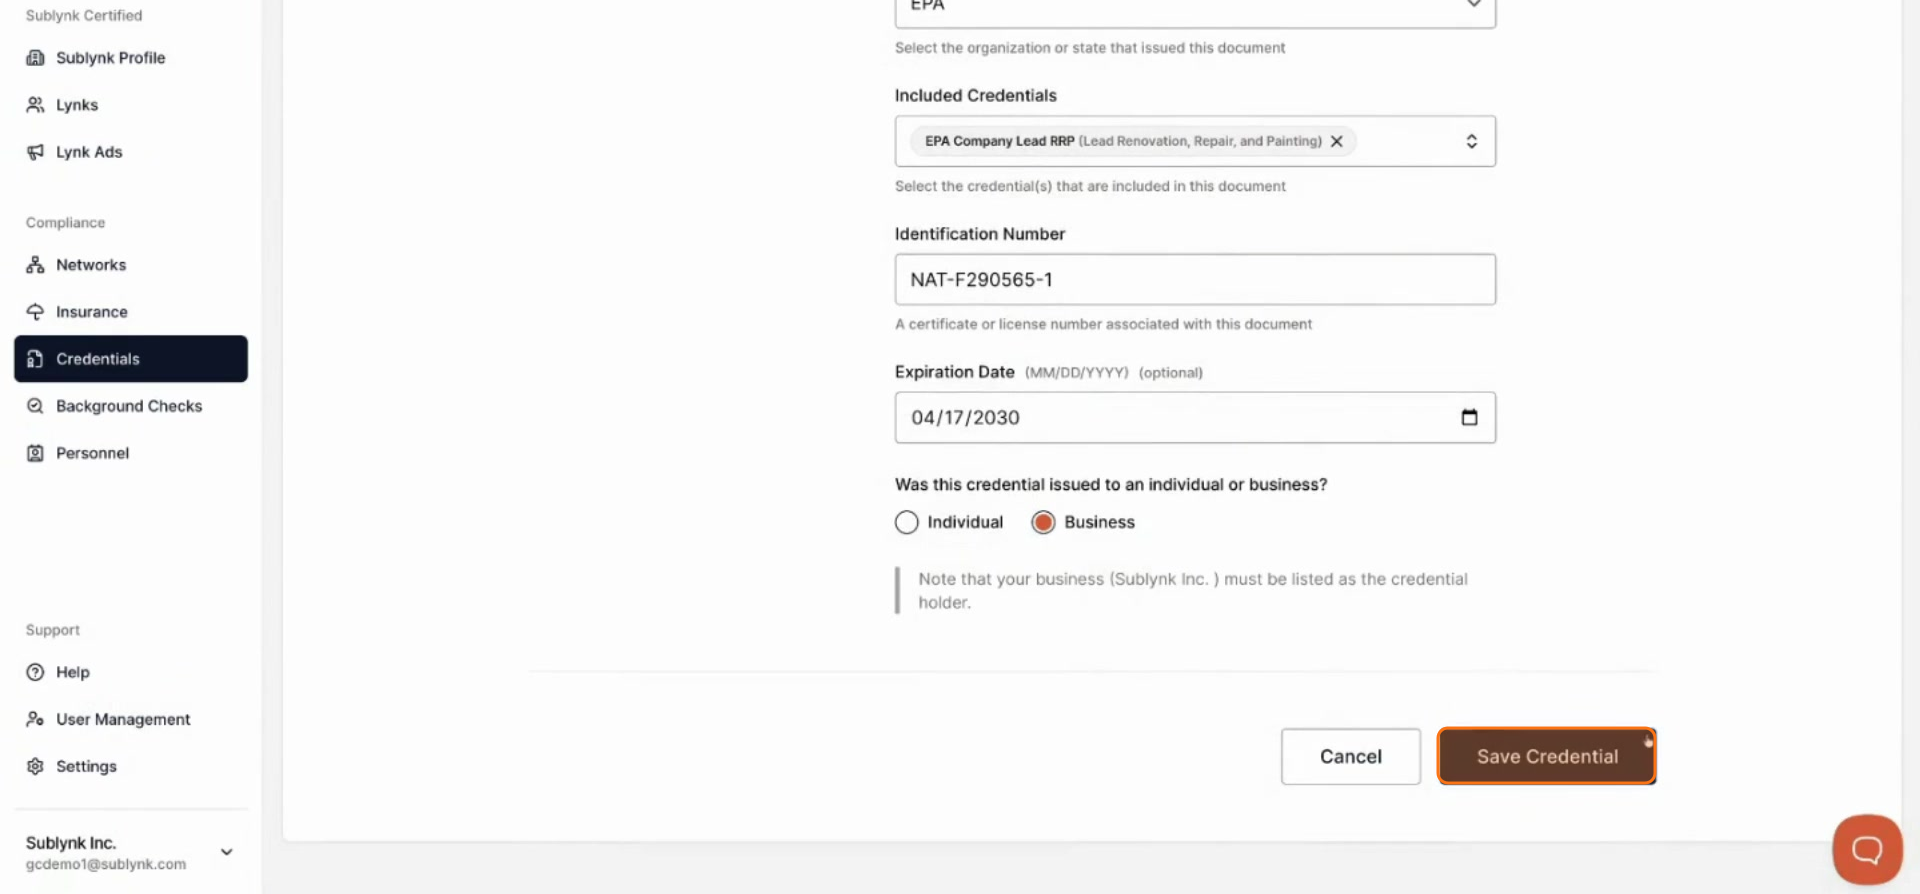
Upload the credential file from your computer.
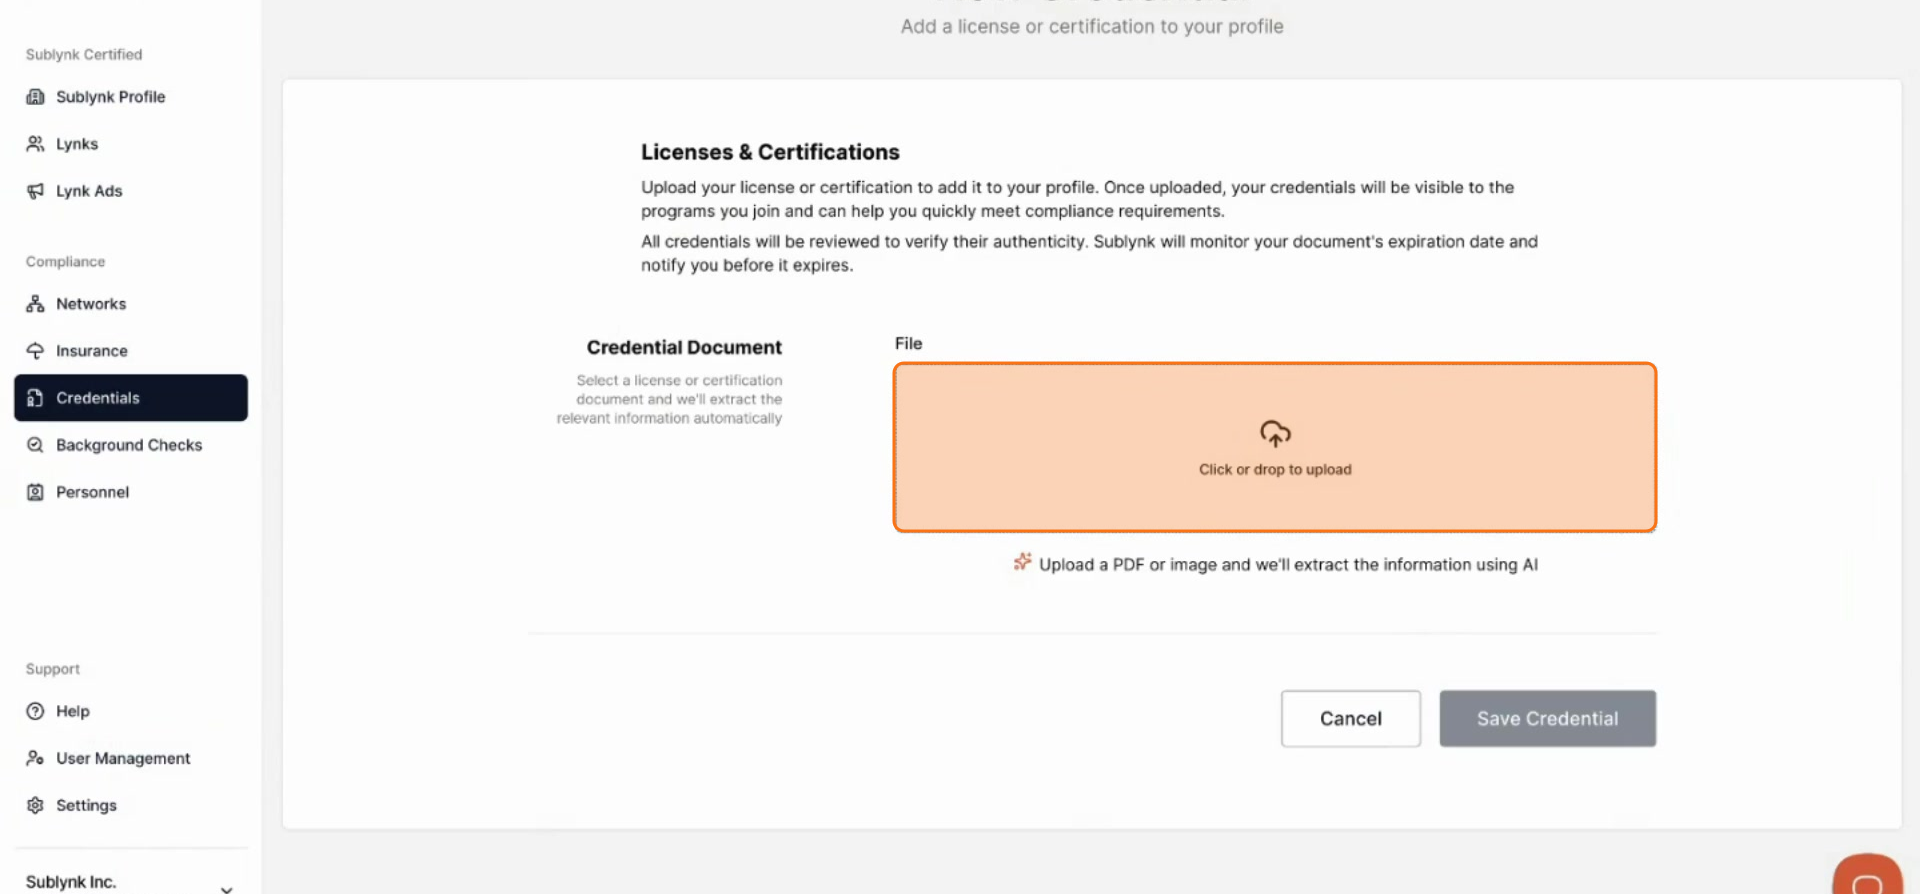
The system will automatically scan the document and pre-populate the relevant information for you.
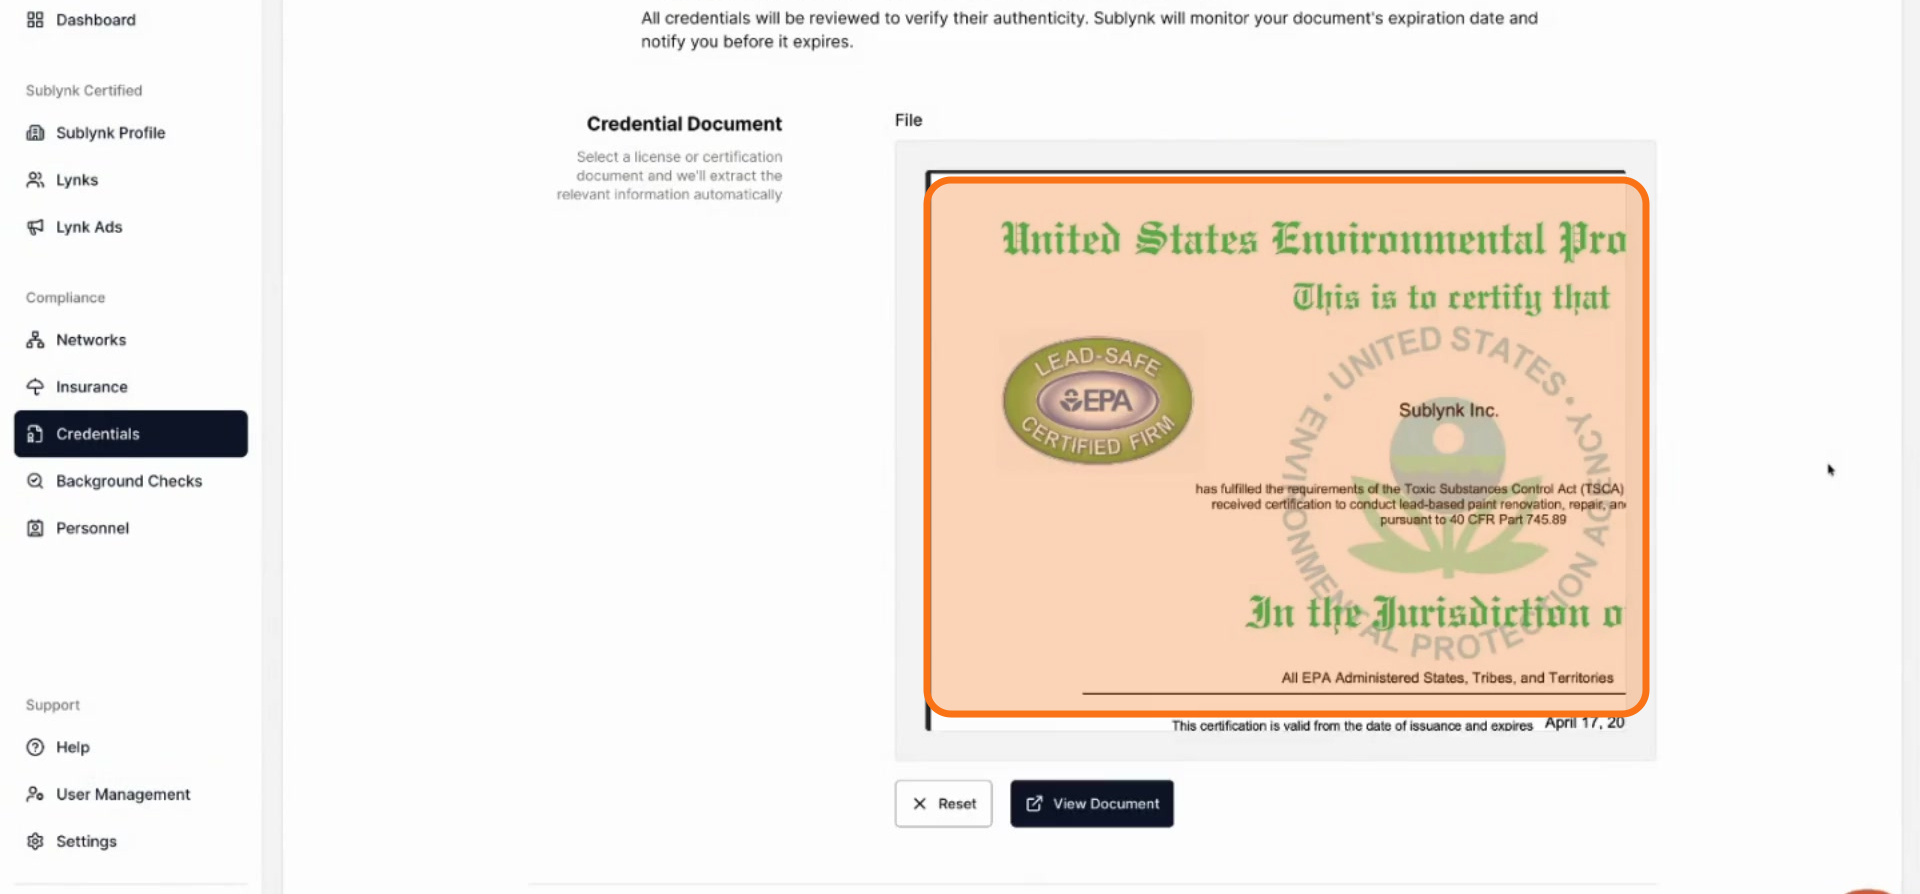
Review the details carefully. If everything looks correct, click Save credential to finalize.
Sublynk automatically verifies all licenses and certifications directly with their governing bodies. You will be notified when it is time to renew, and Sublynk will attempt to re-verify your renewed credentials on your behalf.
Ordering Background Checks
Step 17
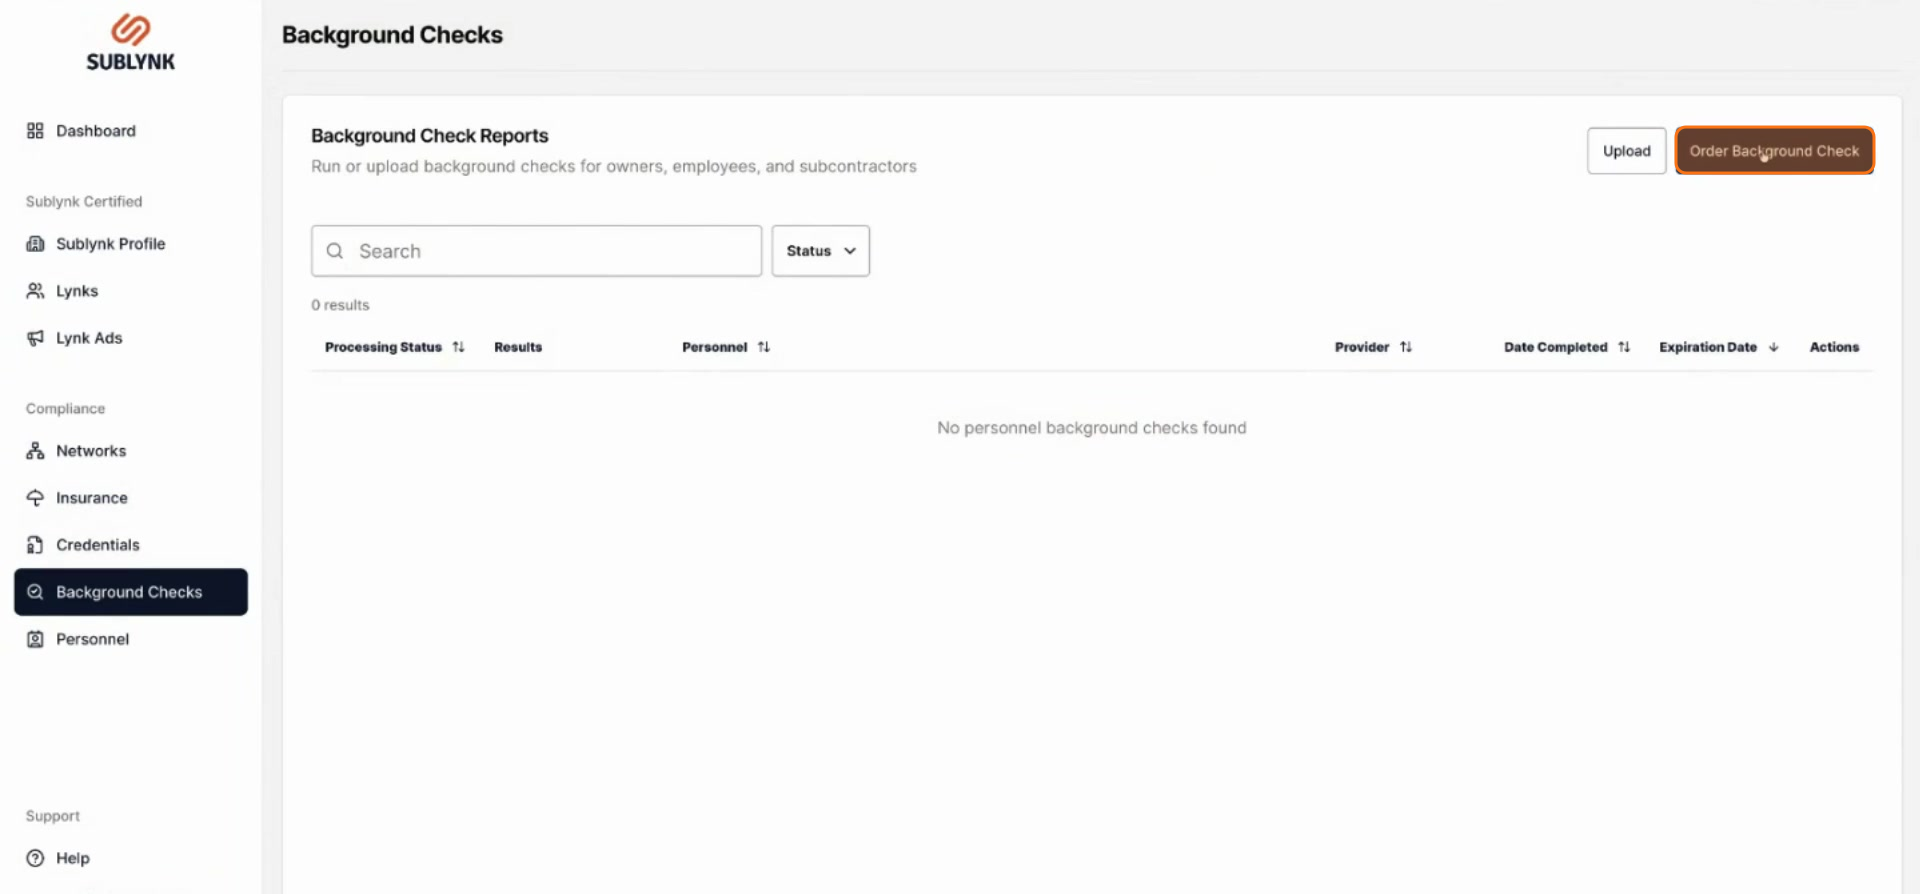
Click on Background Checks.
Click Order background check.
Step 18
Enter the person’s first name, last name, and email address.
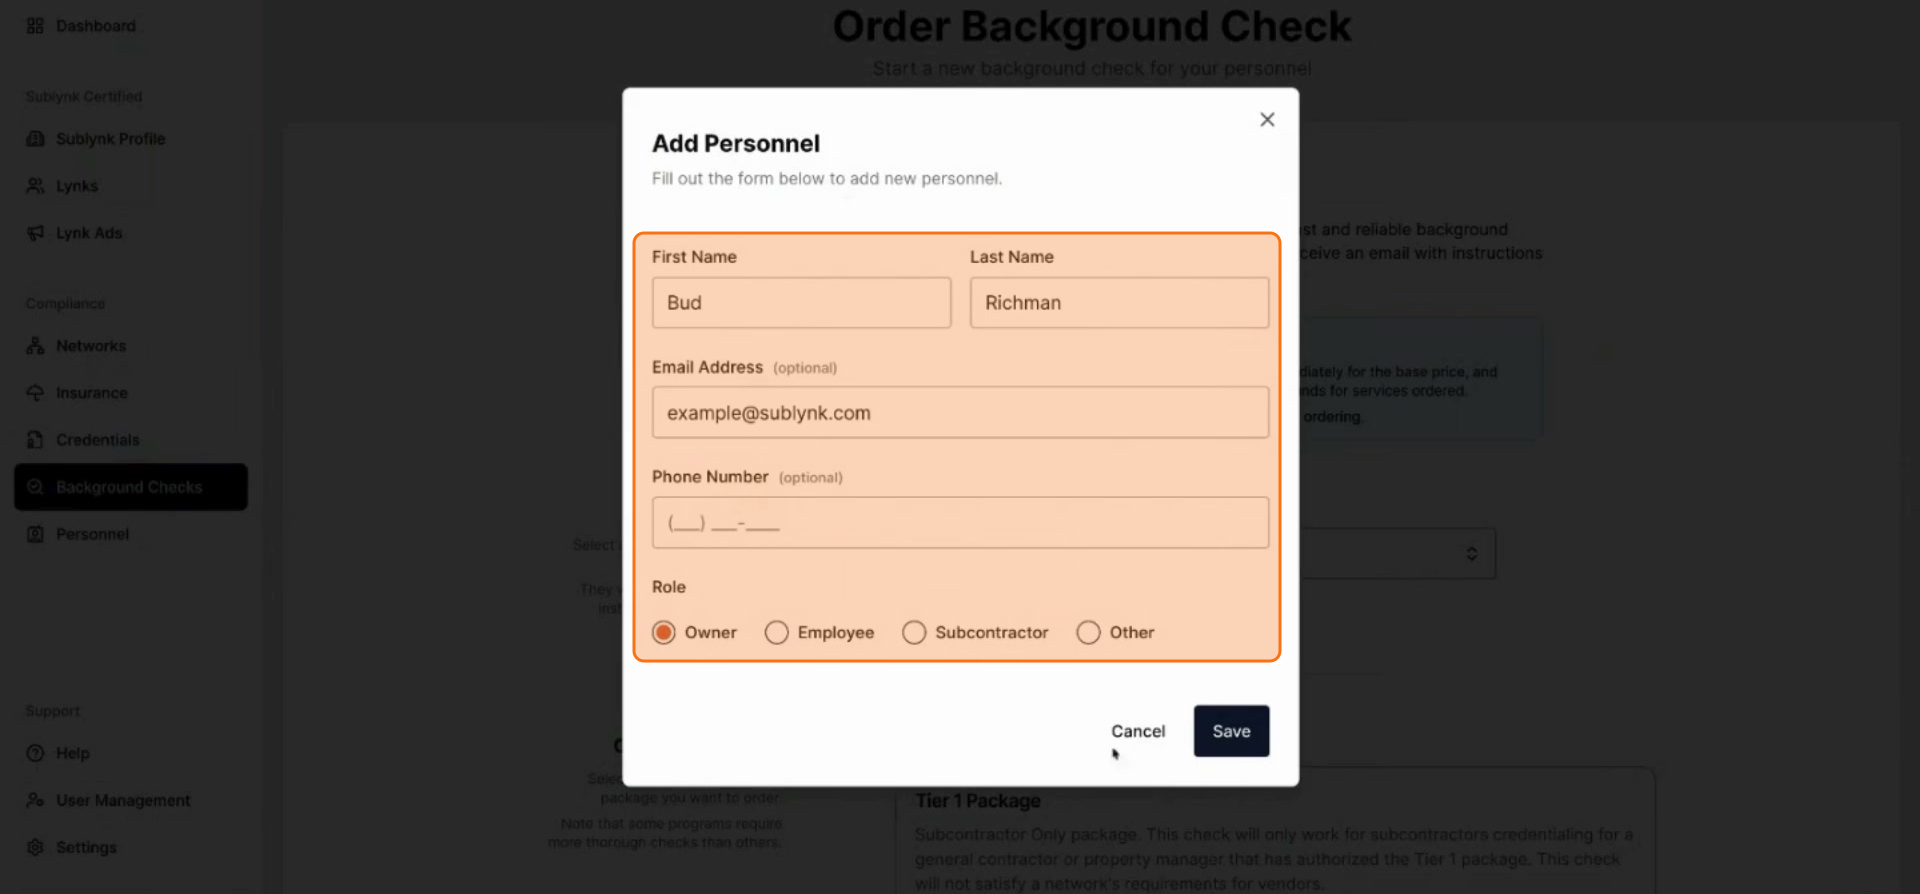
Select the appropriate role for the individual.
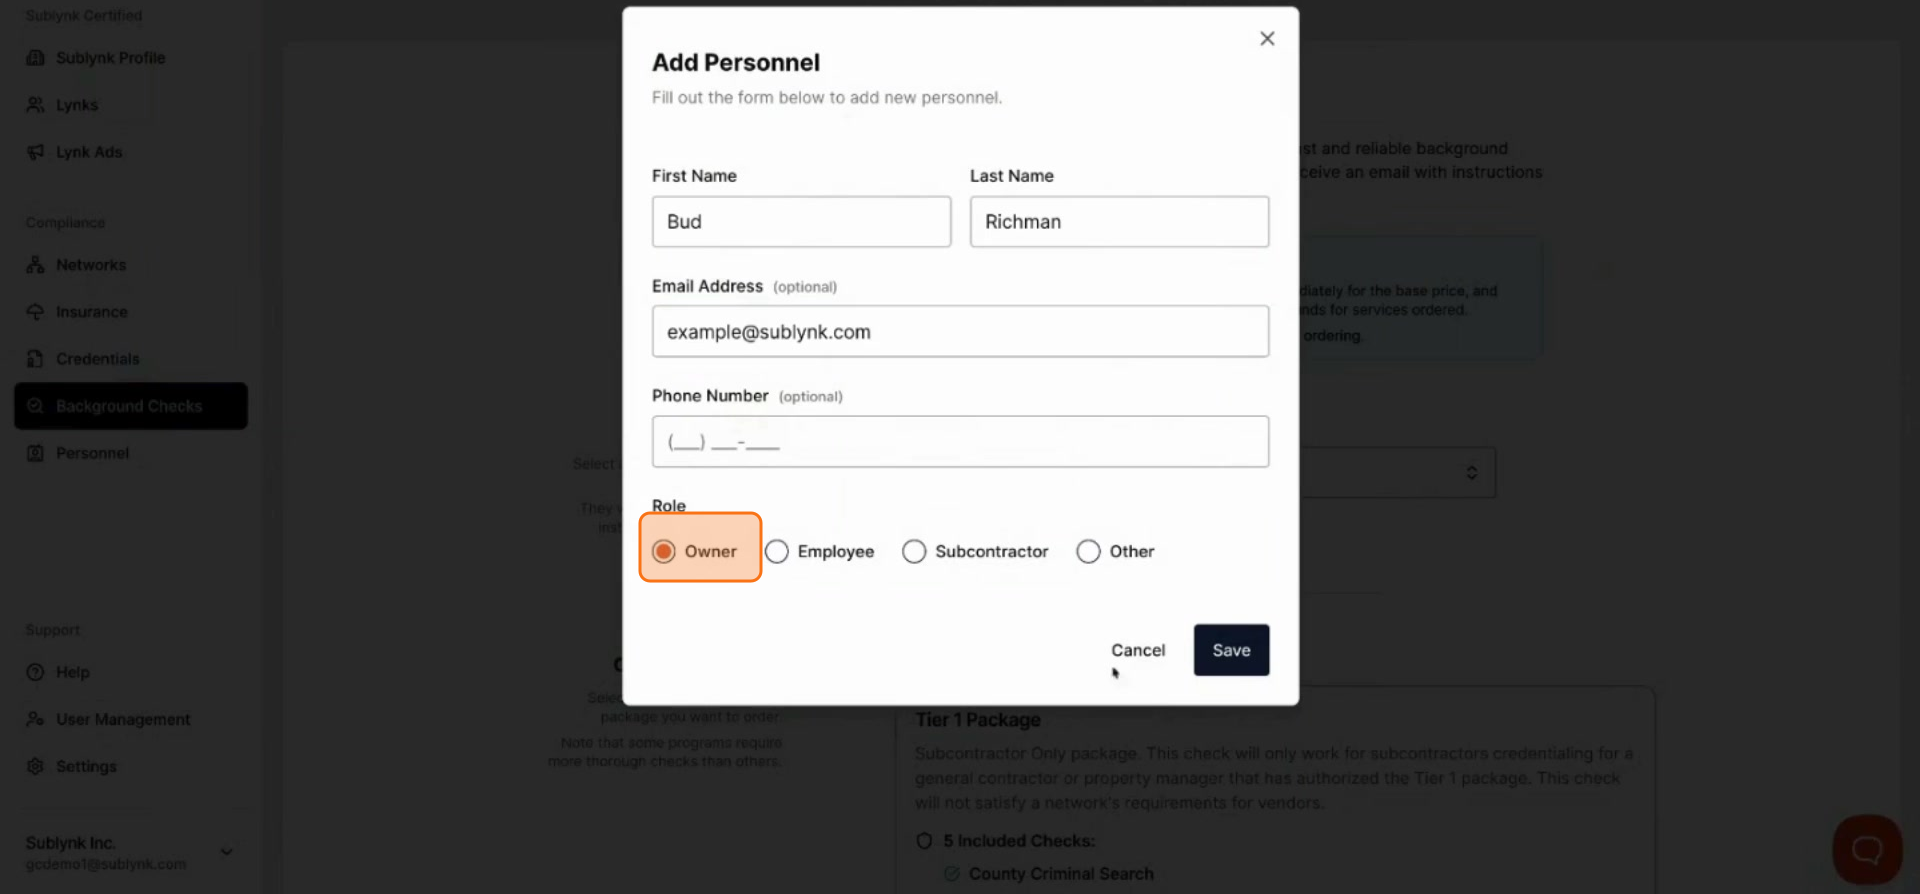
Click Save to proceed.

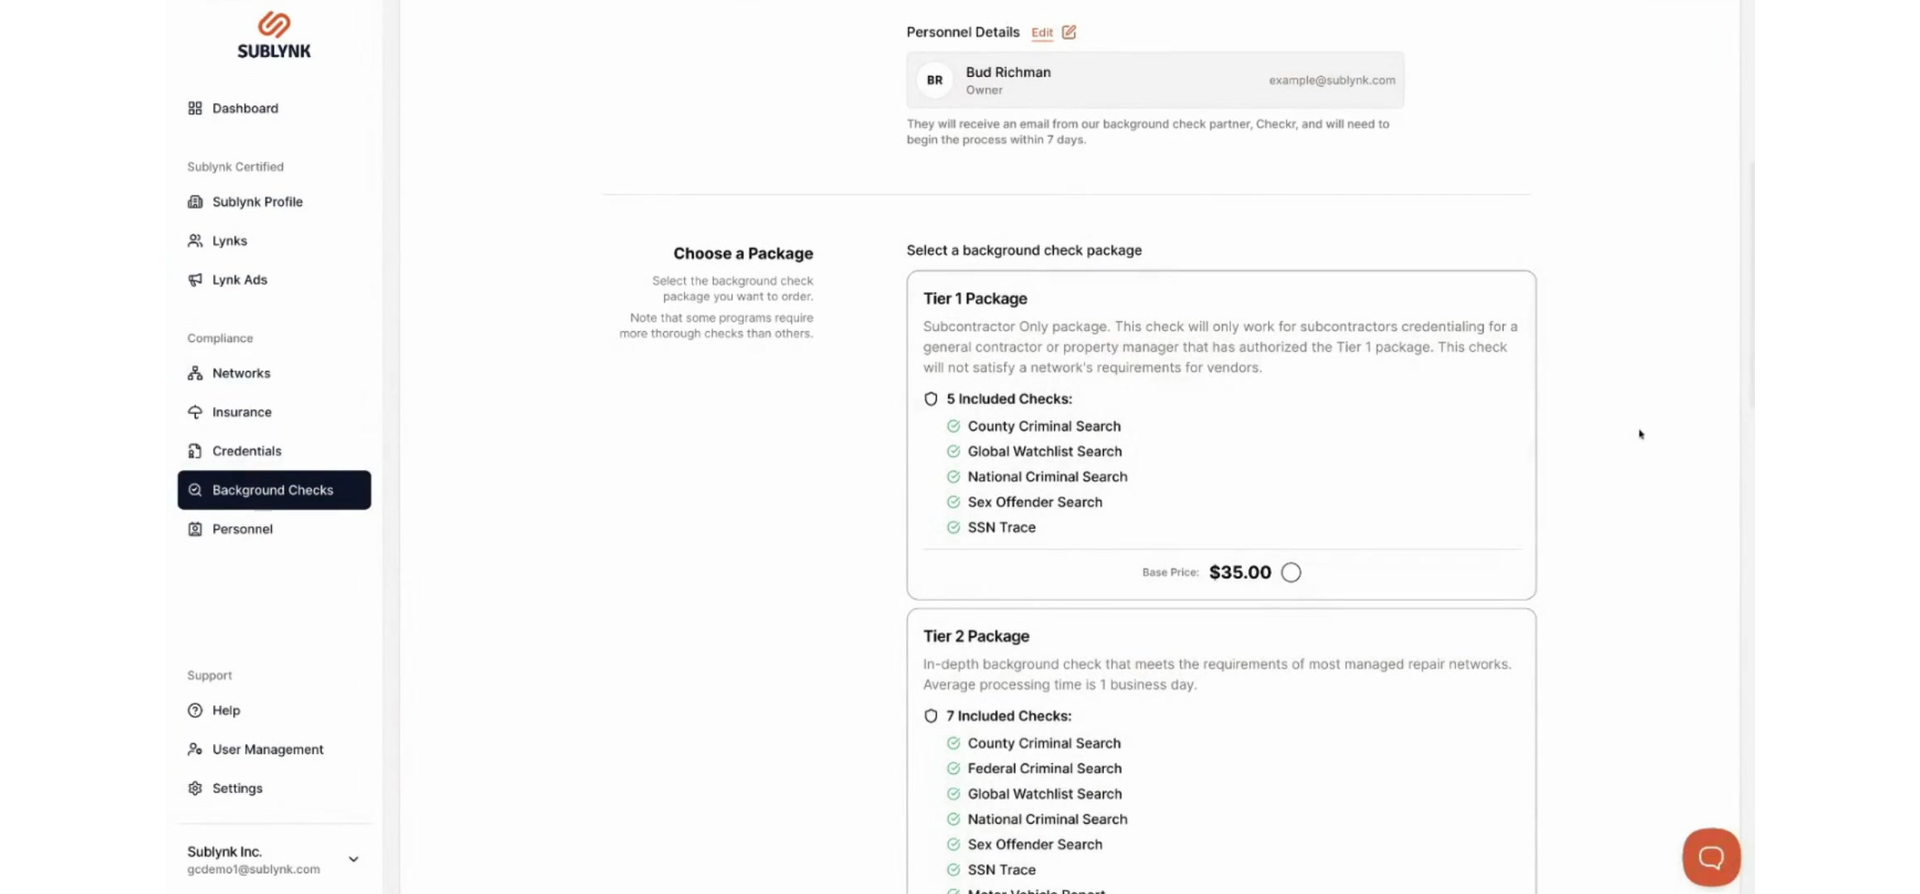
Step 19
Tier 1 is the minimum background check required. Order the tier appropriate for your specific needs.
Setting Up Your Public Profile
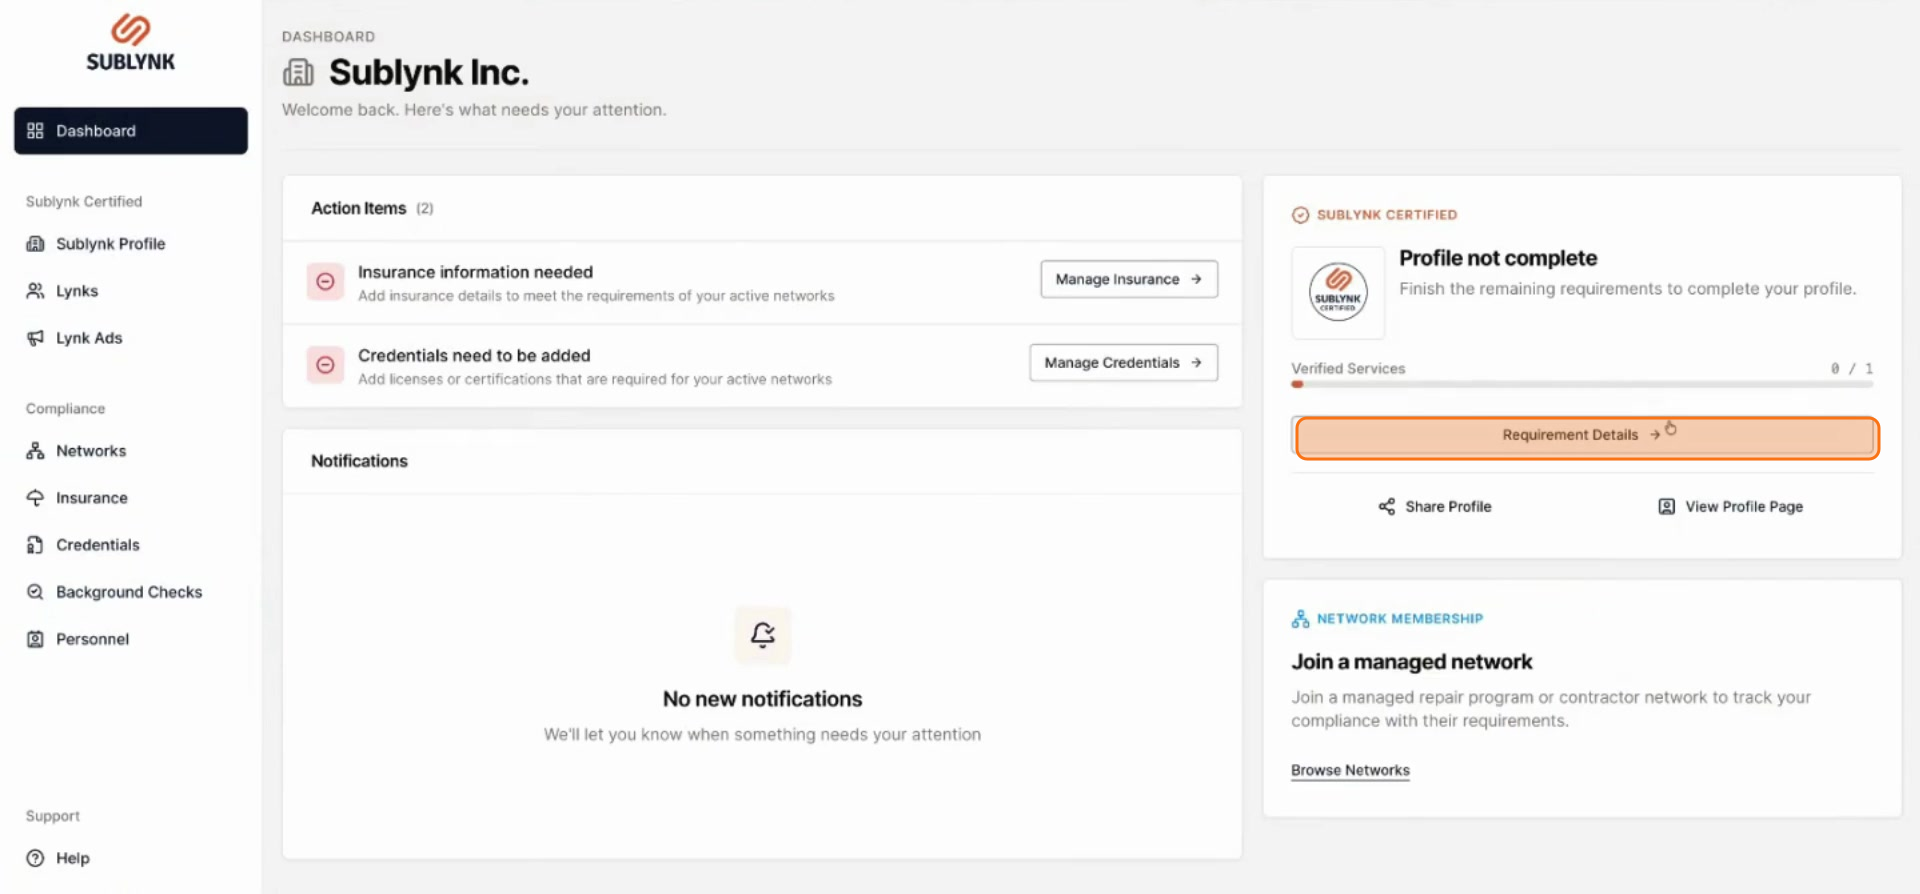
Step 20
Navigate back to your dashboard and click Requirement details.
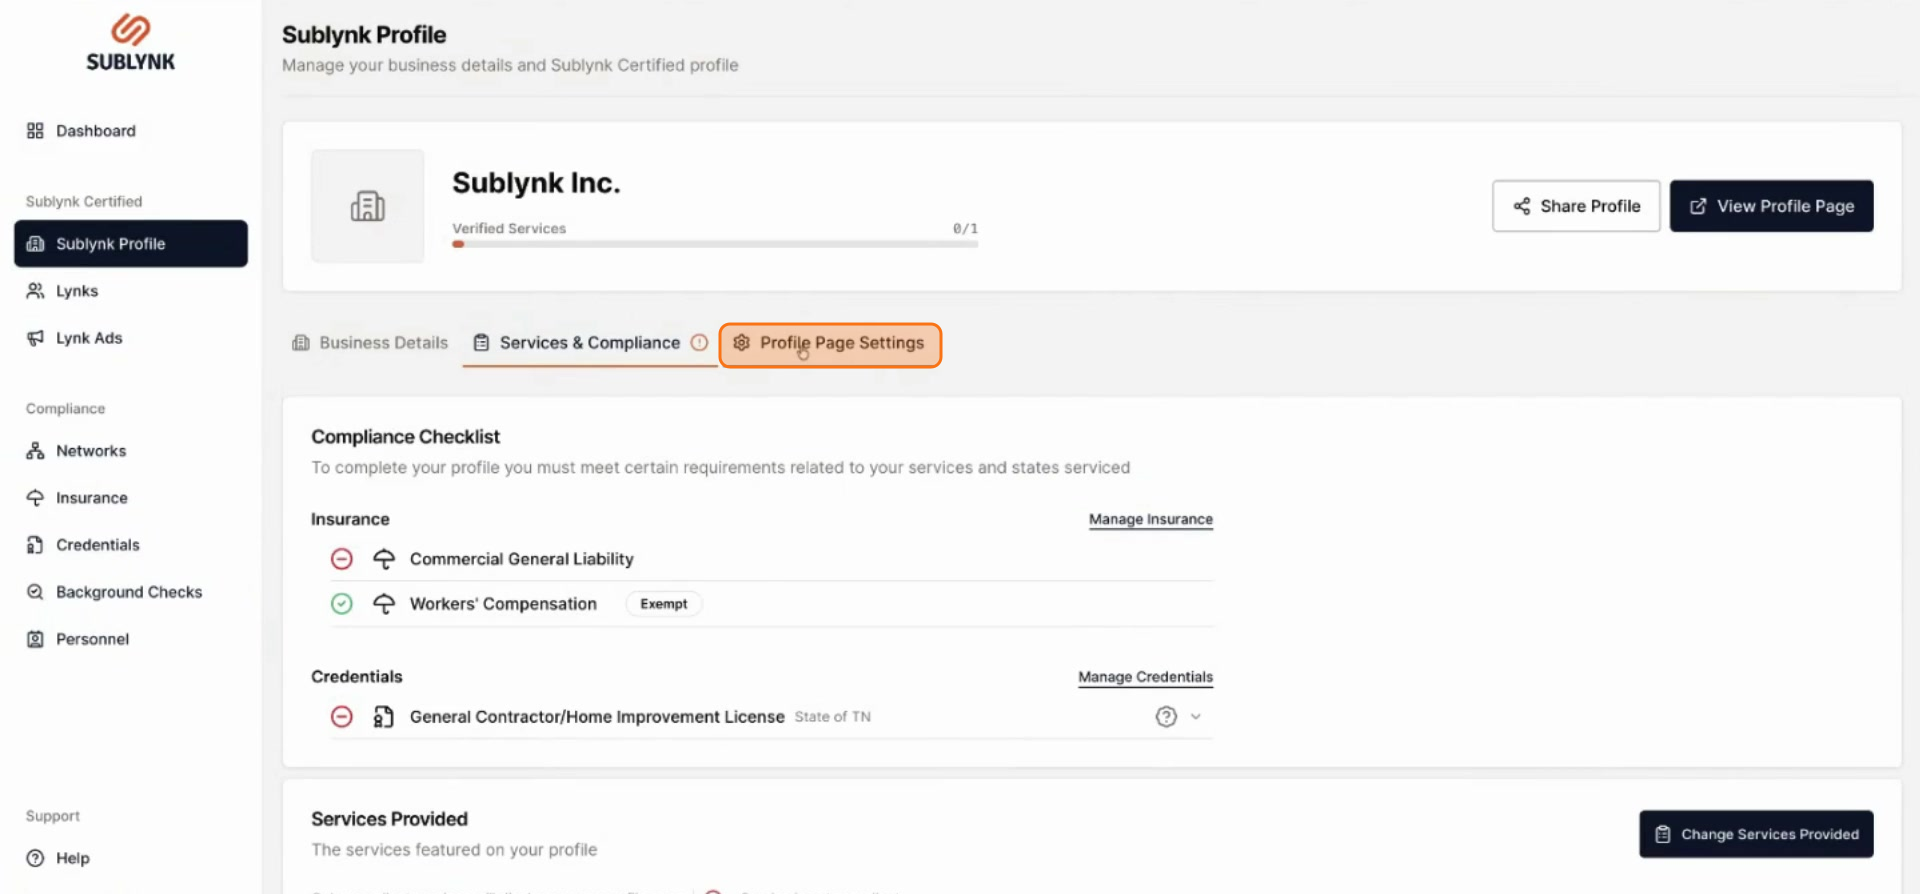
Step 21
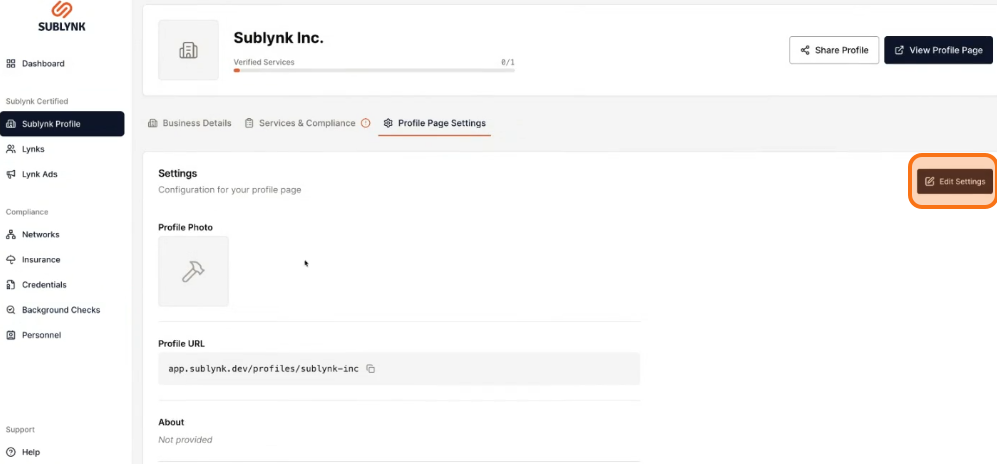
Click on Profile page settings.
Step 22
Click Edit Settings.
Step 23
Click Upload to add a logo file for your public profile.
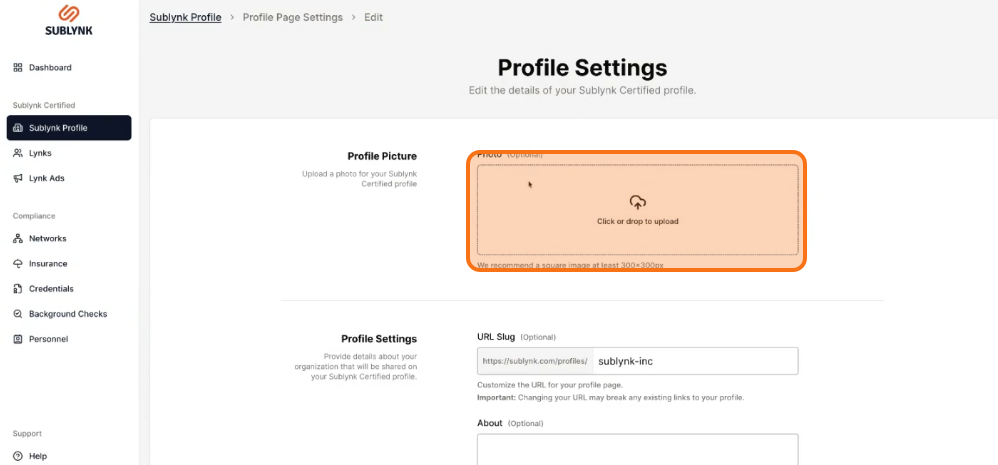
Upload your company logo. It will be displayed prominently on your public profile.
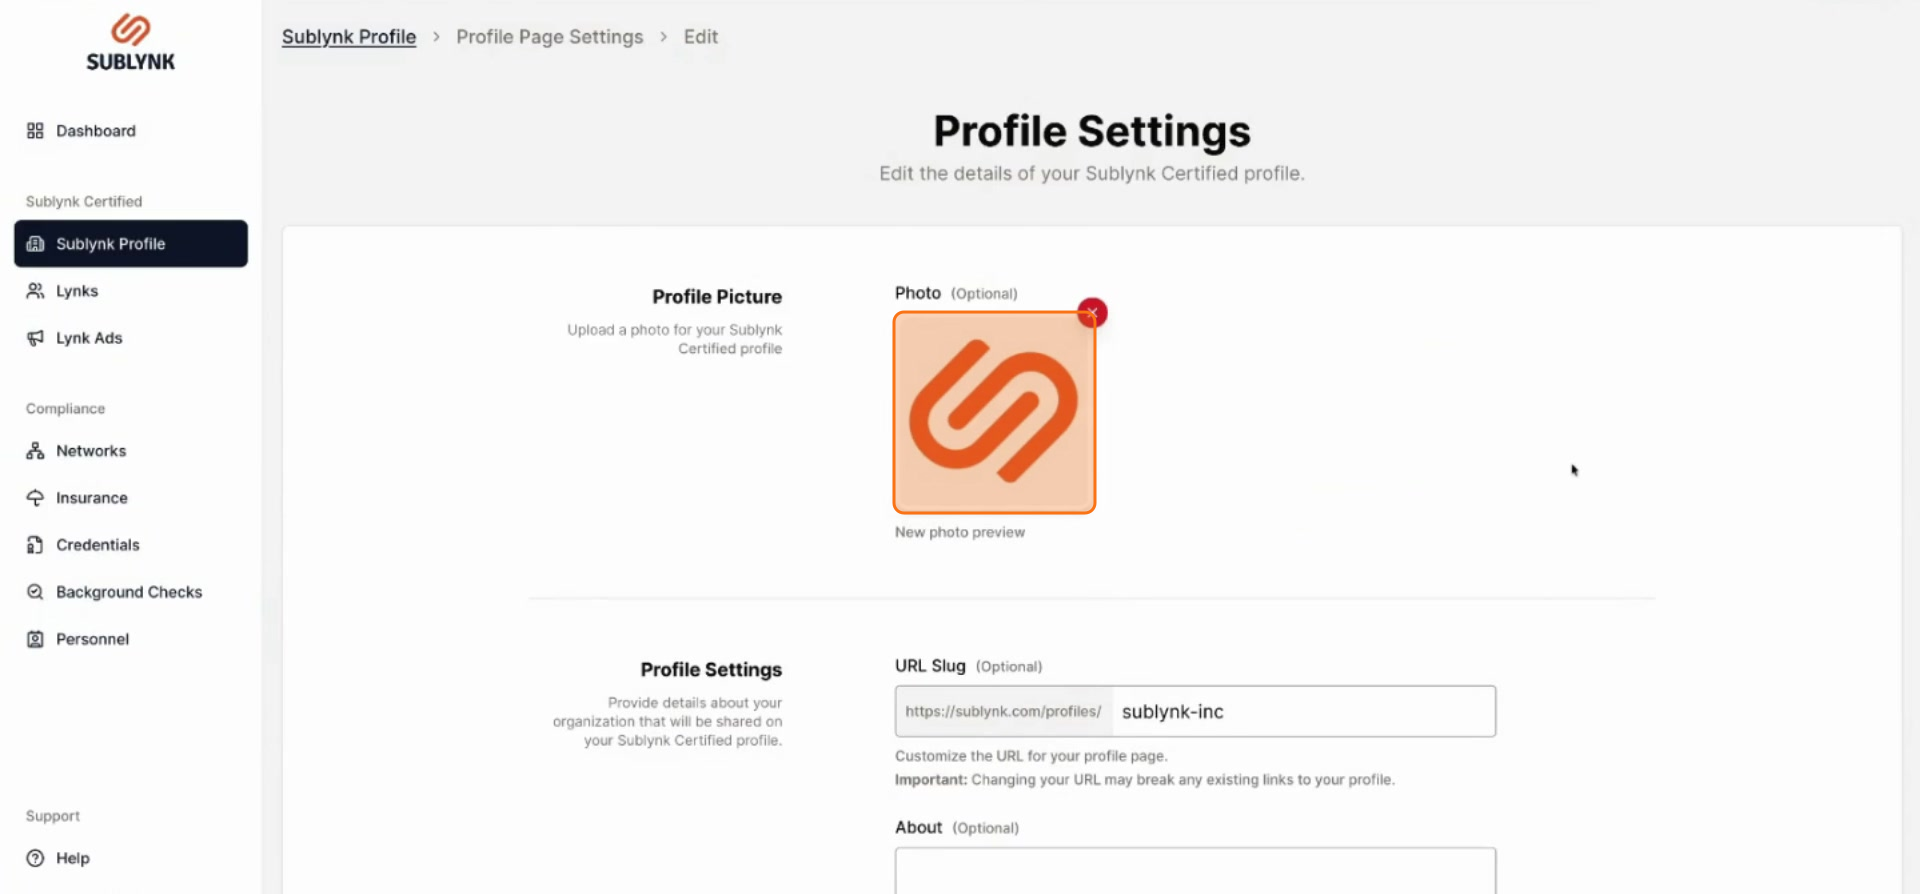
Choose a URL that accurately describes your organization and its location. If you are part of a franchise, do not use the root franchise name.
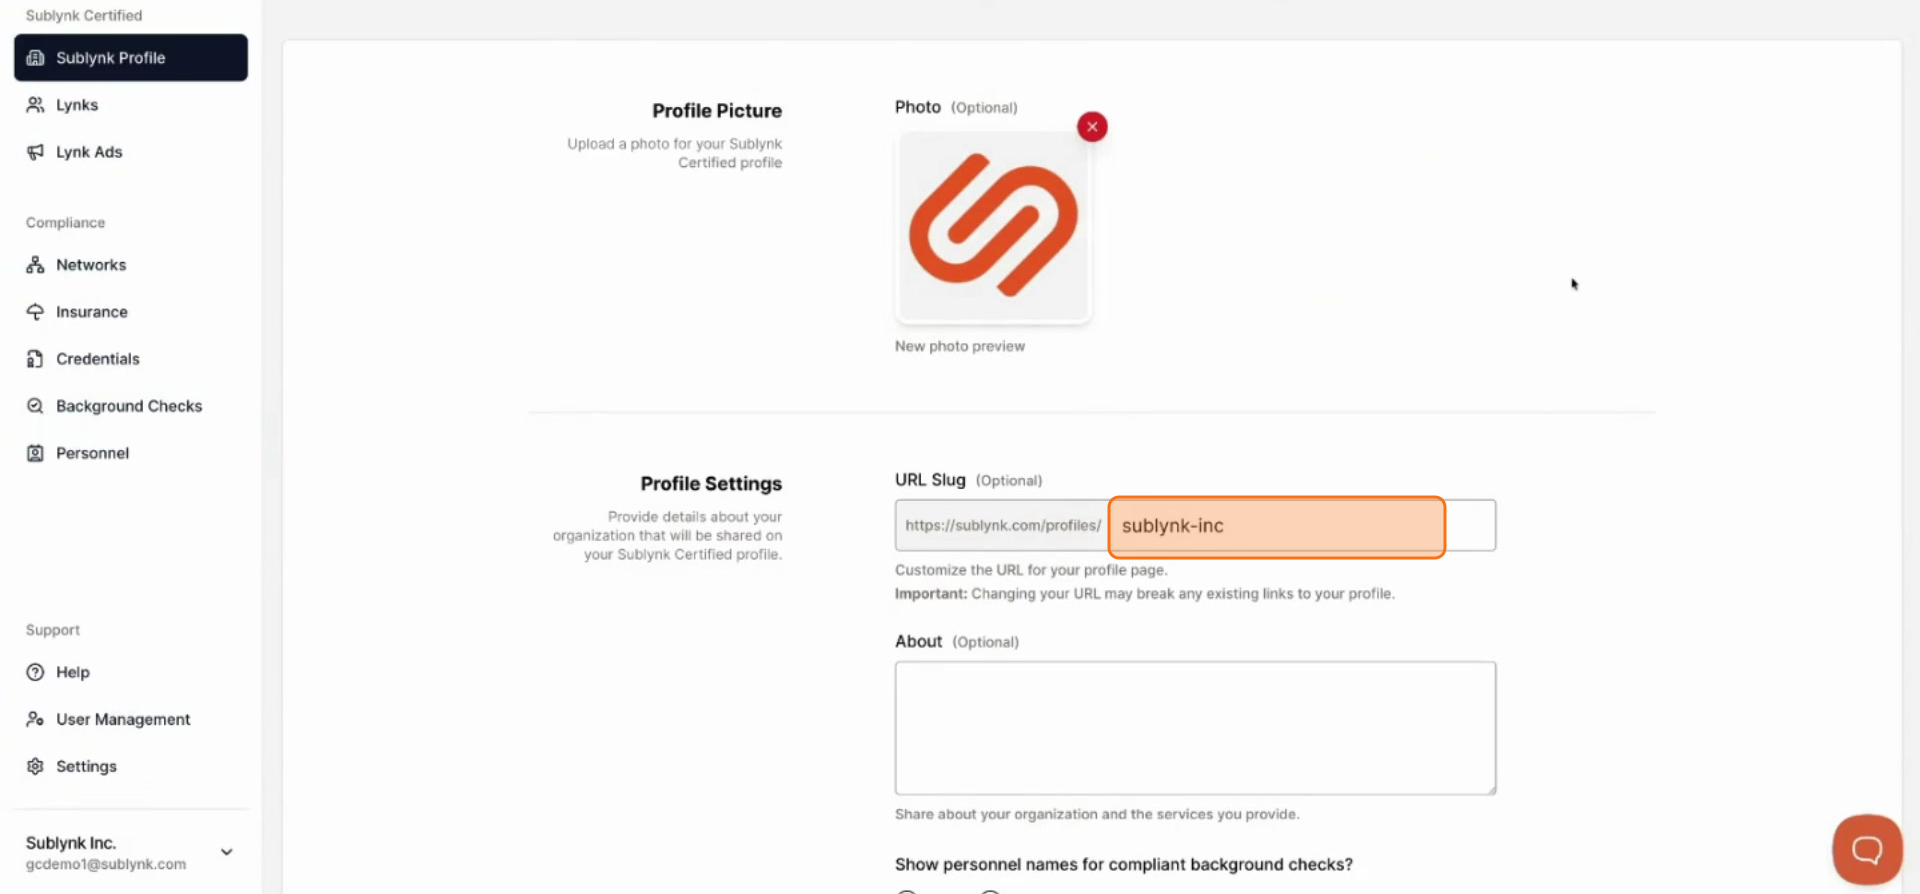
Fill out the About us section with details about your organization.
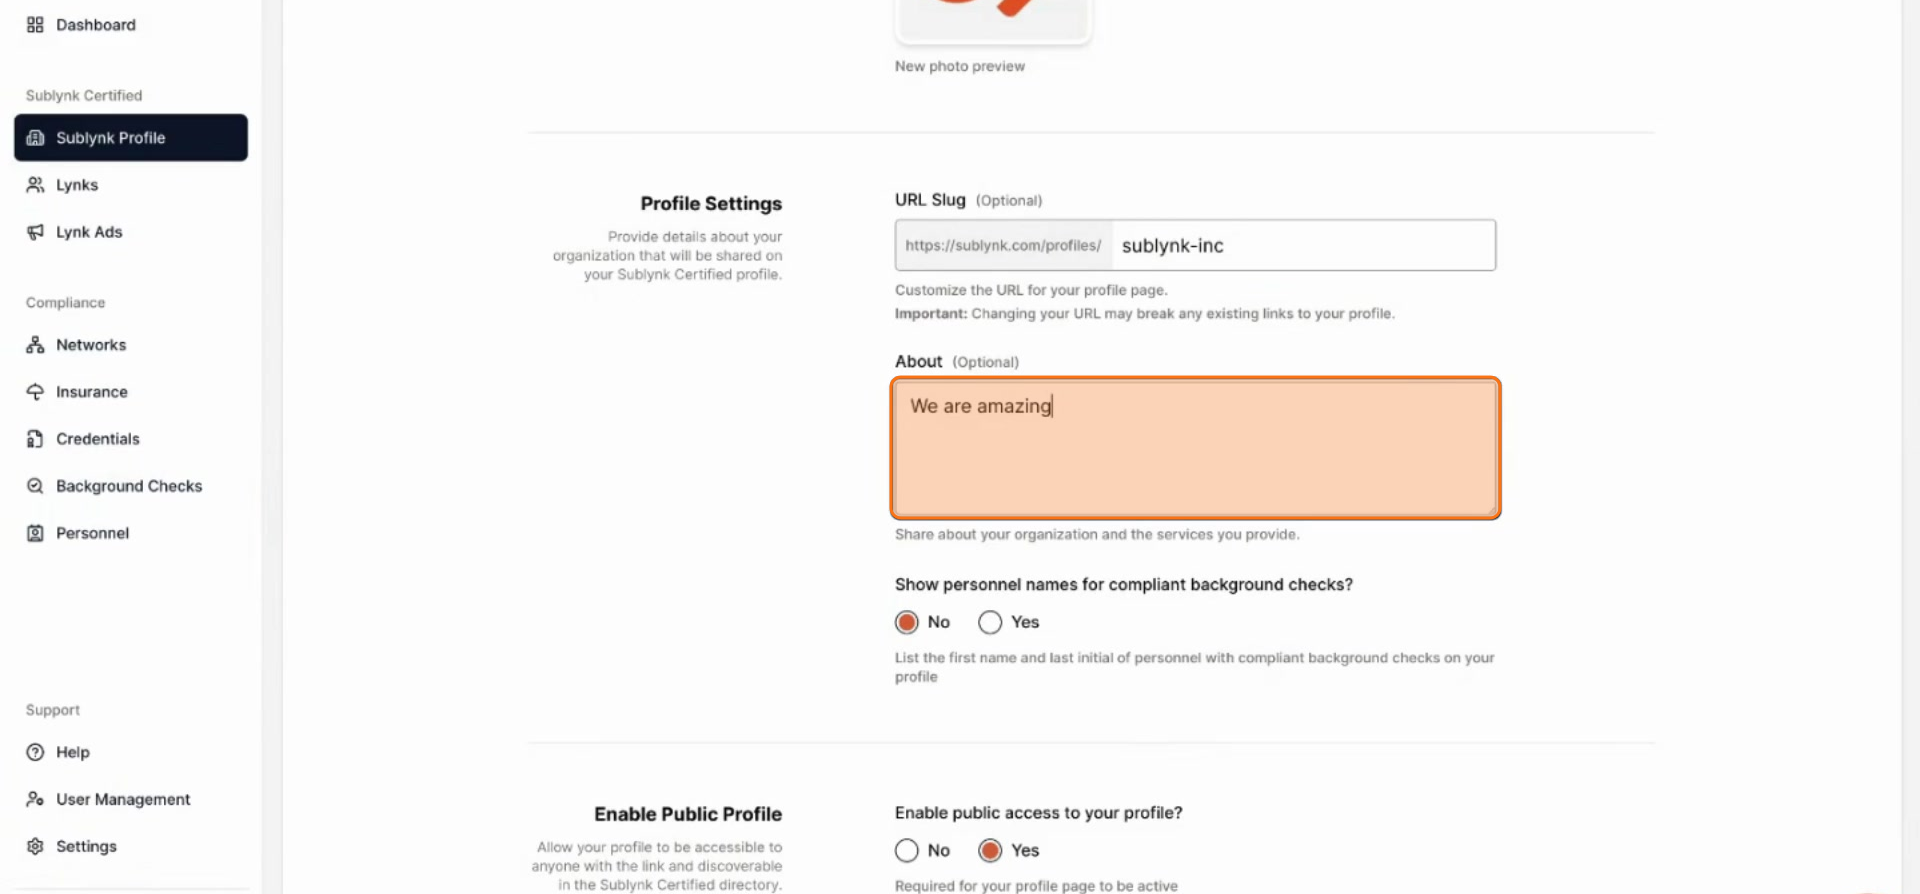
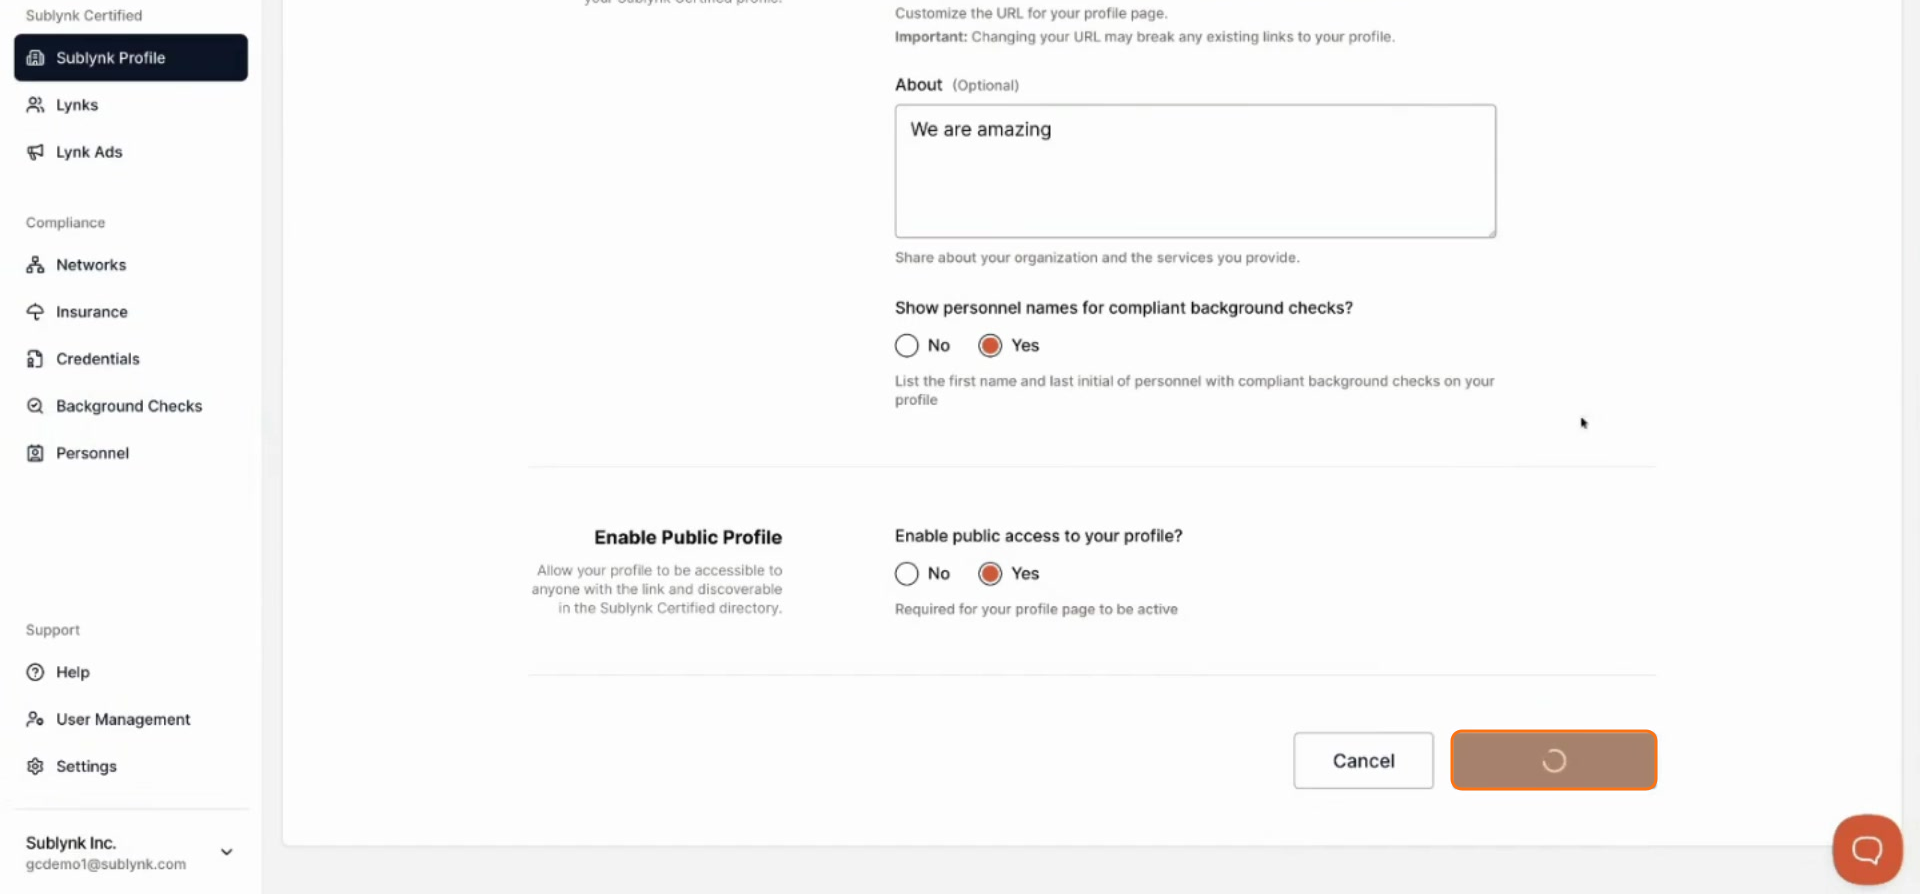
Select whether you want to display personnel names for compliant background checks. This is strongly encouraged to build trust.
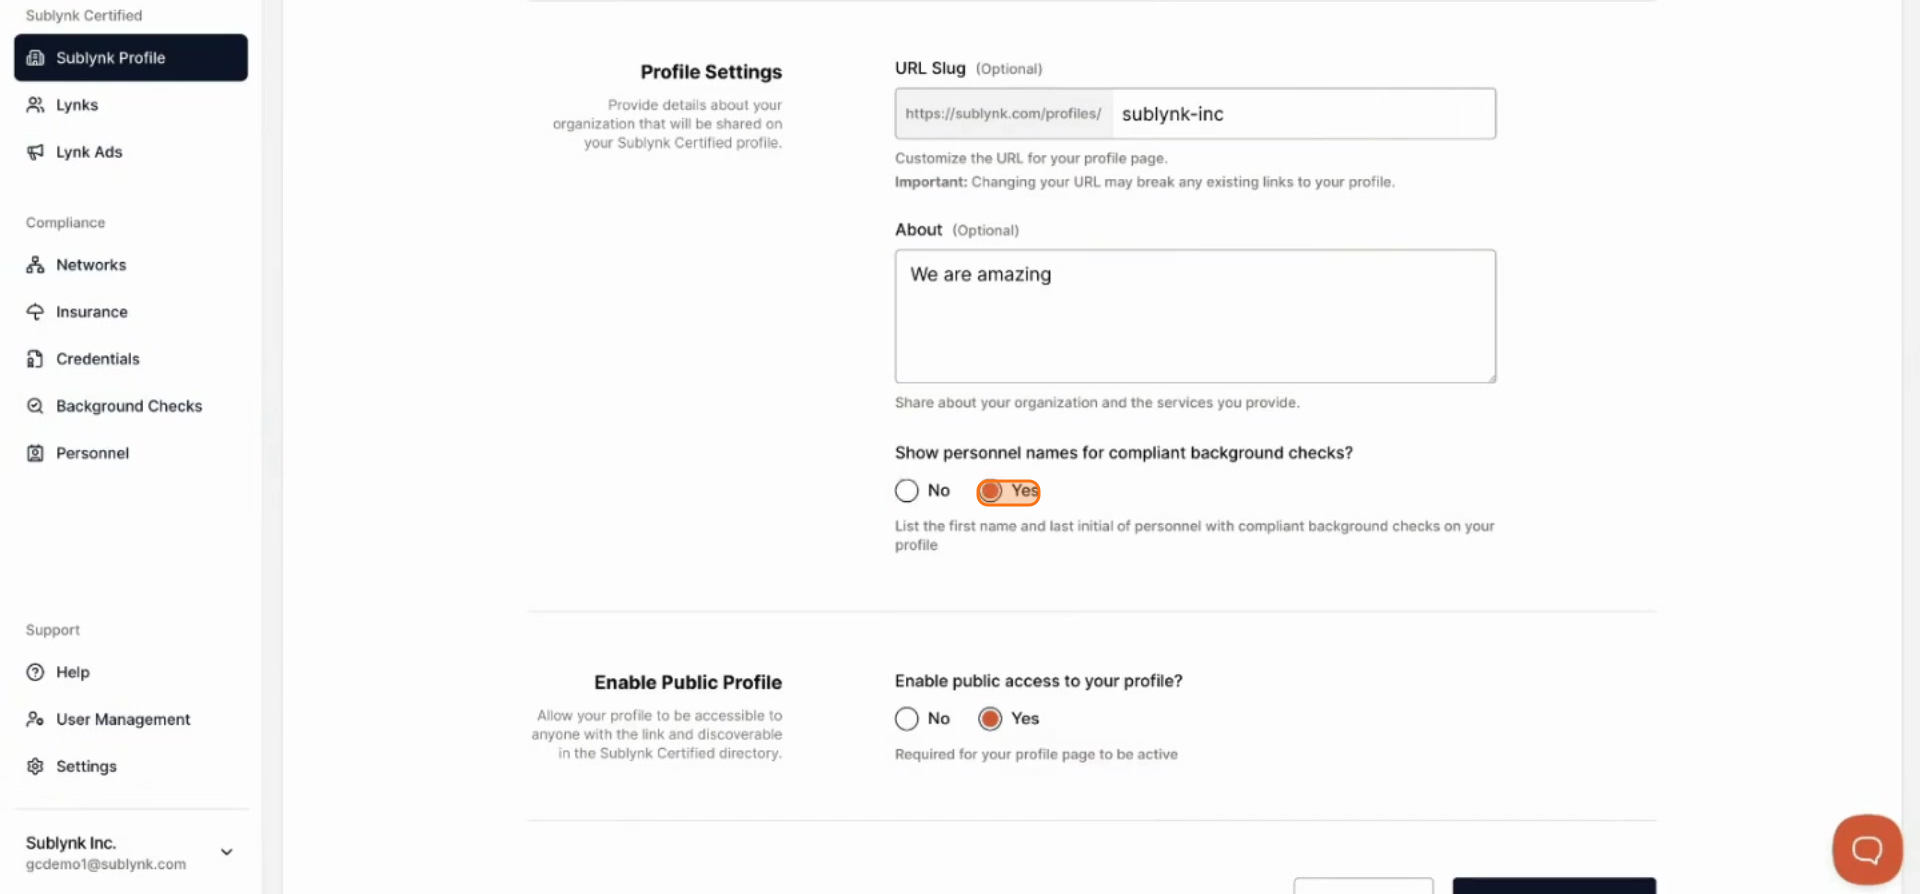
Click Save changes to publish your profile and make it live.
Part 4: Share Your Profile & Start Growing
View your live public profile, share it with customers, and embed your Sublynk Certified badge on your website.
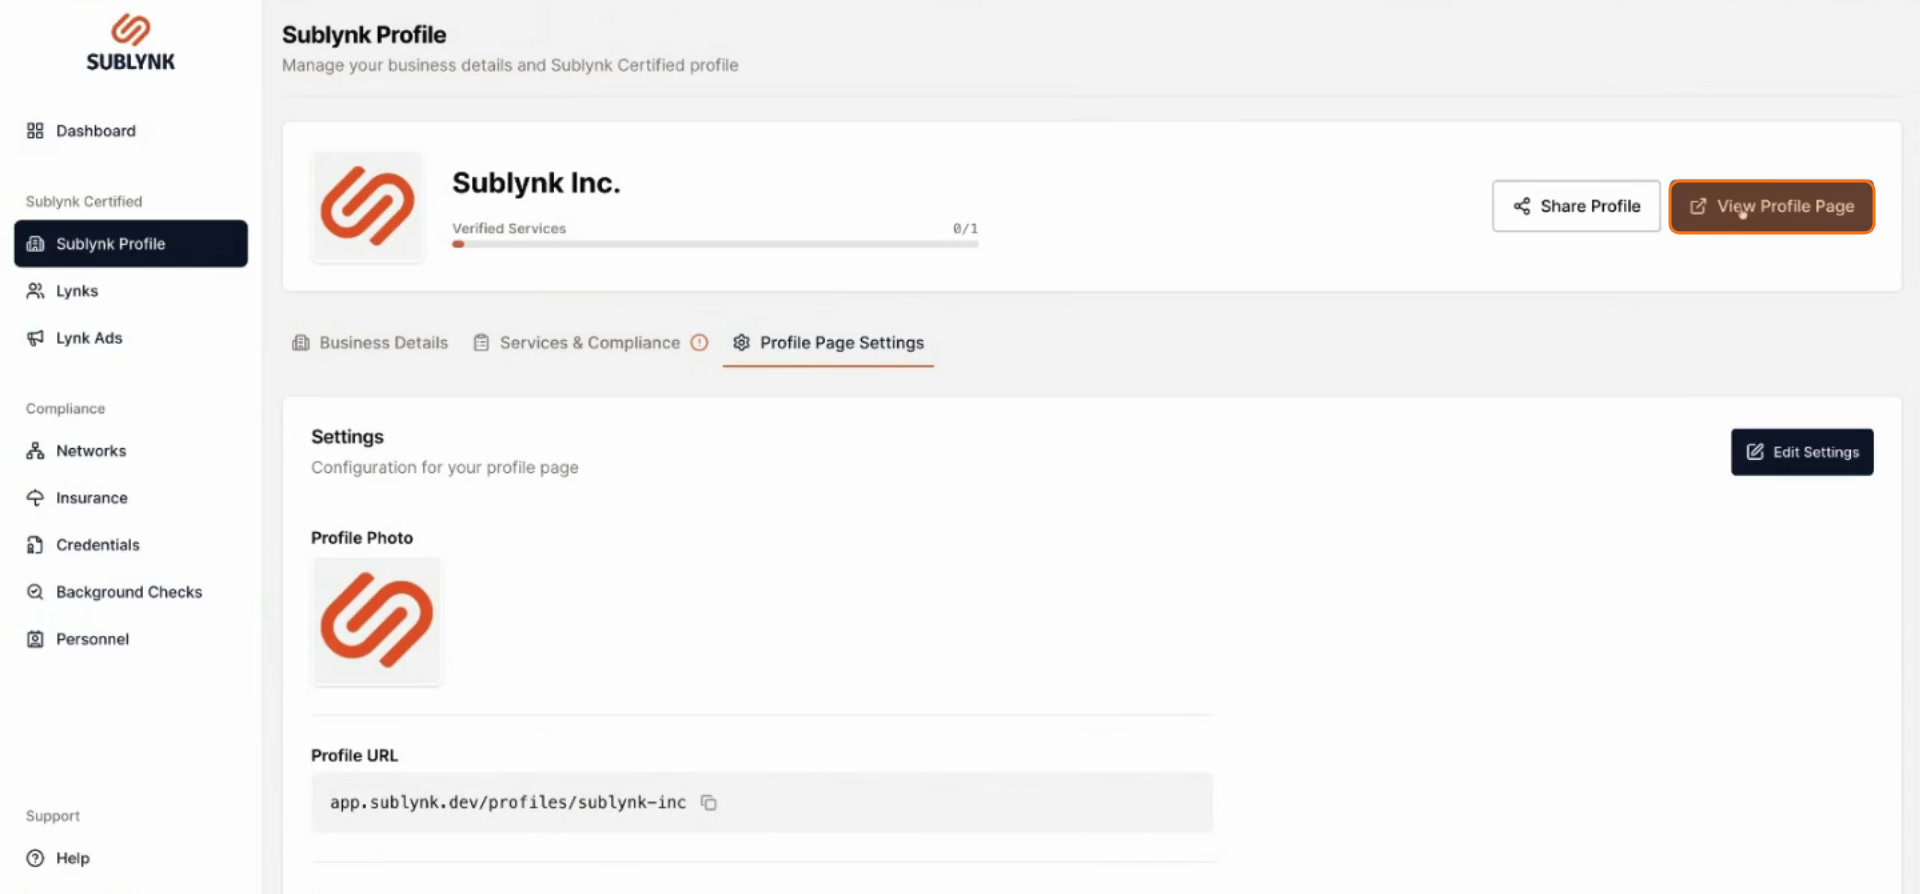
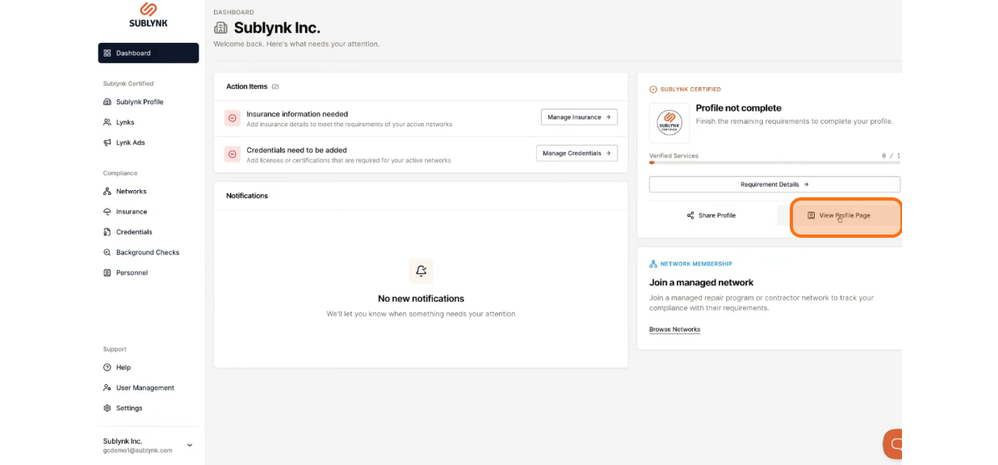
Step 24
Click View profile page from the settings or your dashboard to see the live public version of your profile.
Step 25
From your Dashboard, you can view your profile page at any time.
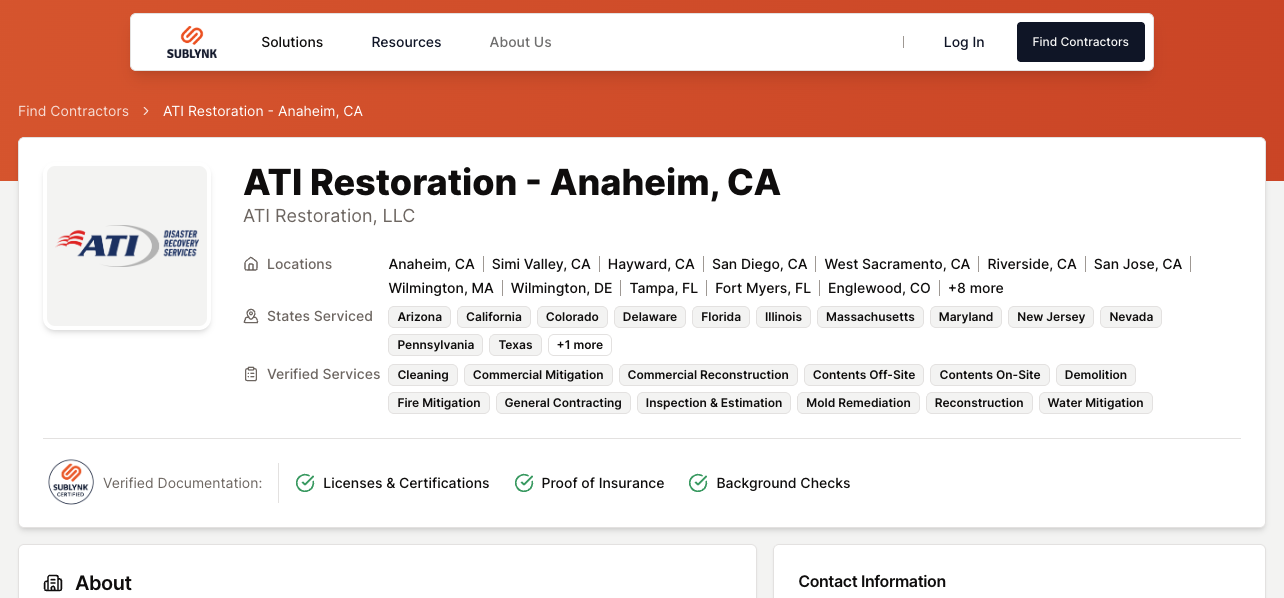
Step 26
This is an example of a public profile page. View an example profile here.
Step 27
From your Dashboard, you can return to your profile page at any time.

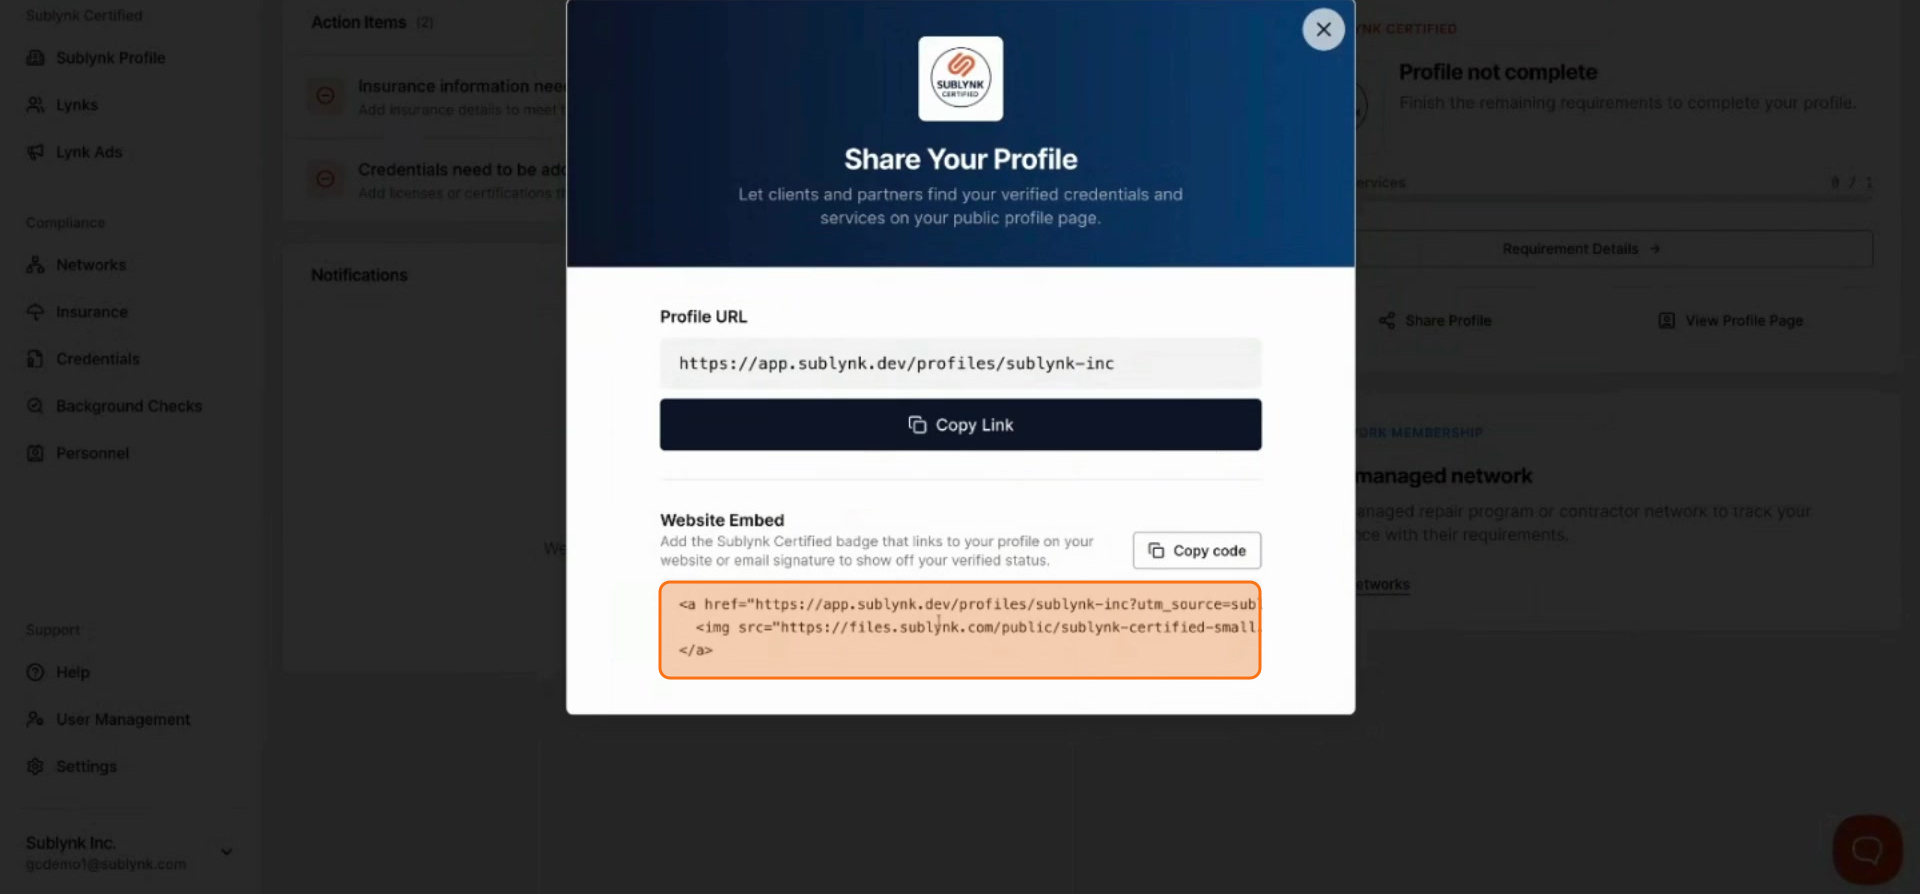
Step 28
To share your profile, click Share profile. This gives you access to your profile URL and website embed code.
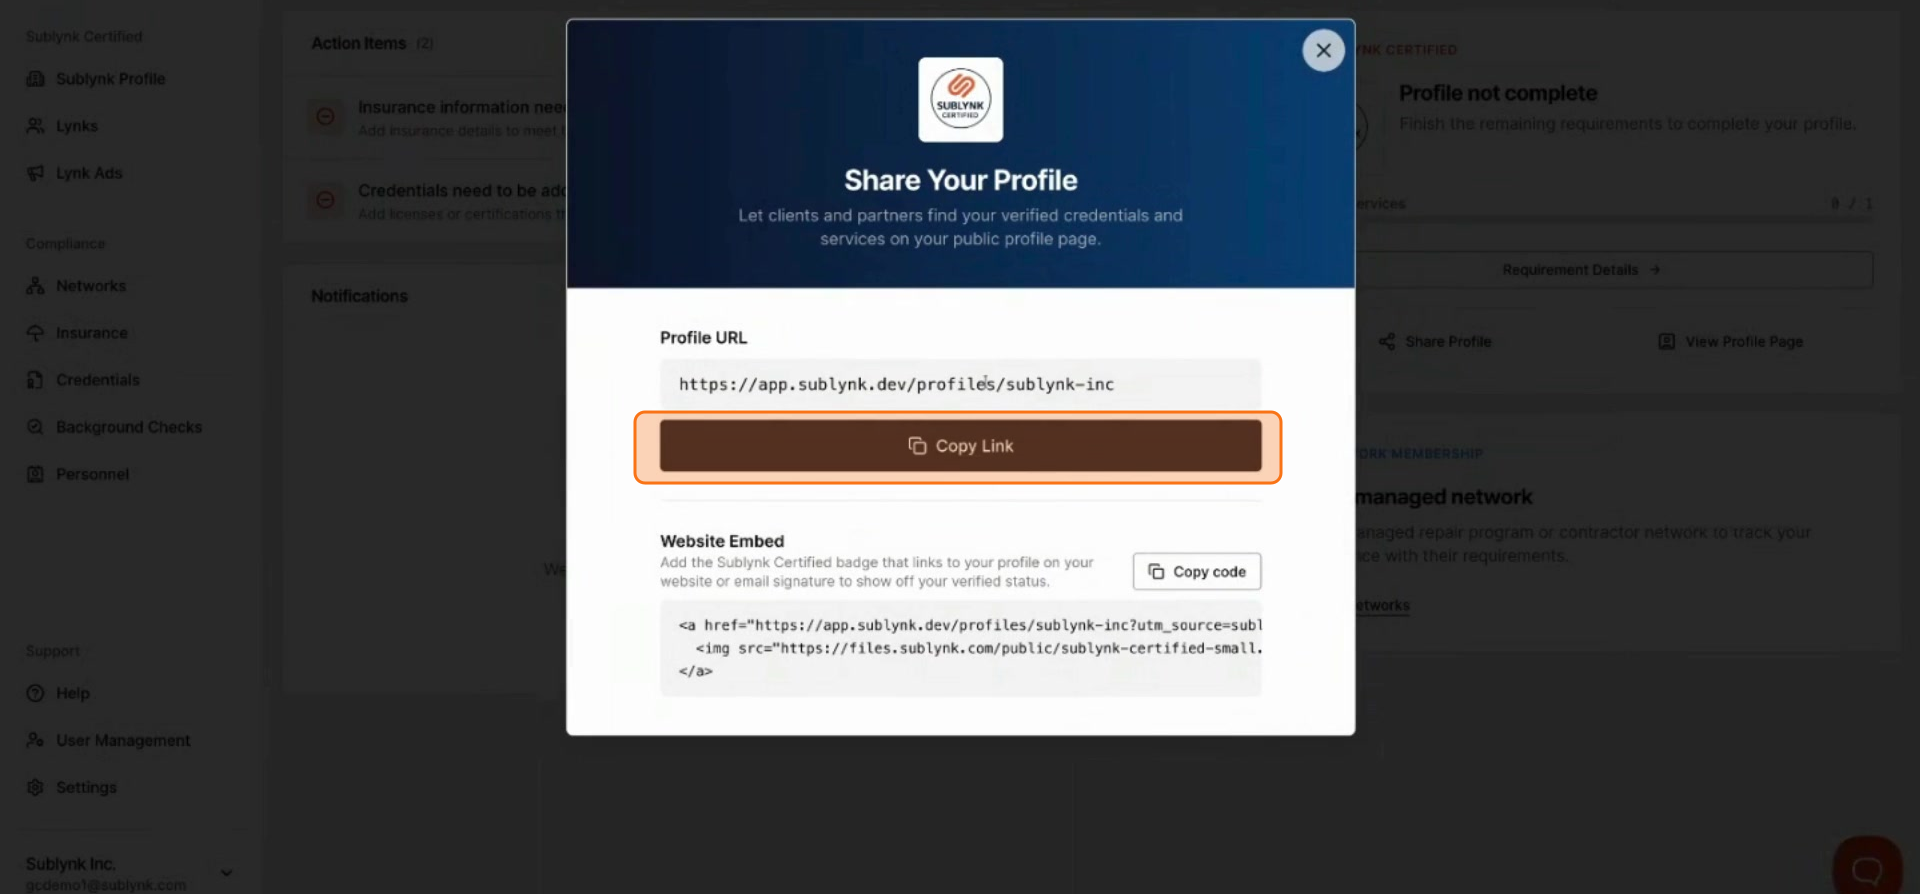
Provide the HTML embed code to your IT team to display your Sublynk Certified badge on your website or any digital channel.
Once you have completed all required insurance, credentials, background checks, and profile setup, your profile will be live and visible on the Sublynk contractor search page.
Want to see the Sublynk Certified Network in action?
Book a Demo